B. Create a test script with PC Web
I. Create a Precondition
Precondition can be created and used for multiple scripts with the same precondition. There are two ways to create a precondition: Create with ATOMP Studio and Import precondition.
Option 1: Create with ATOMP Studio
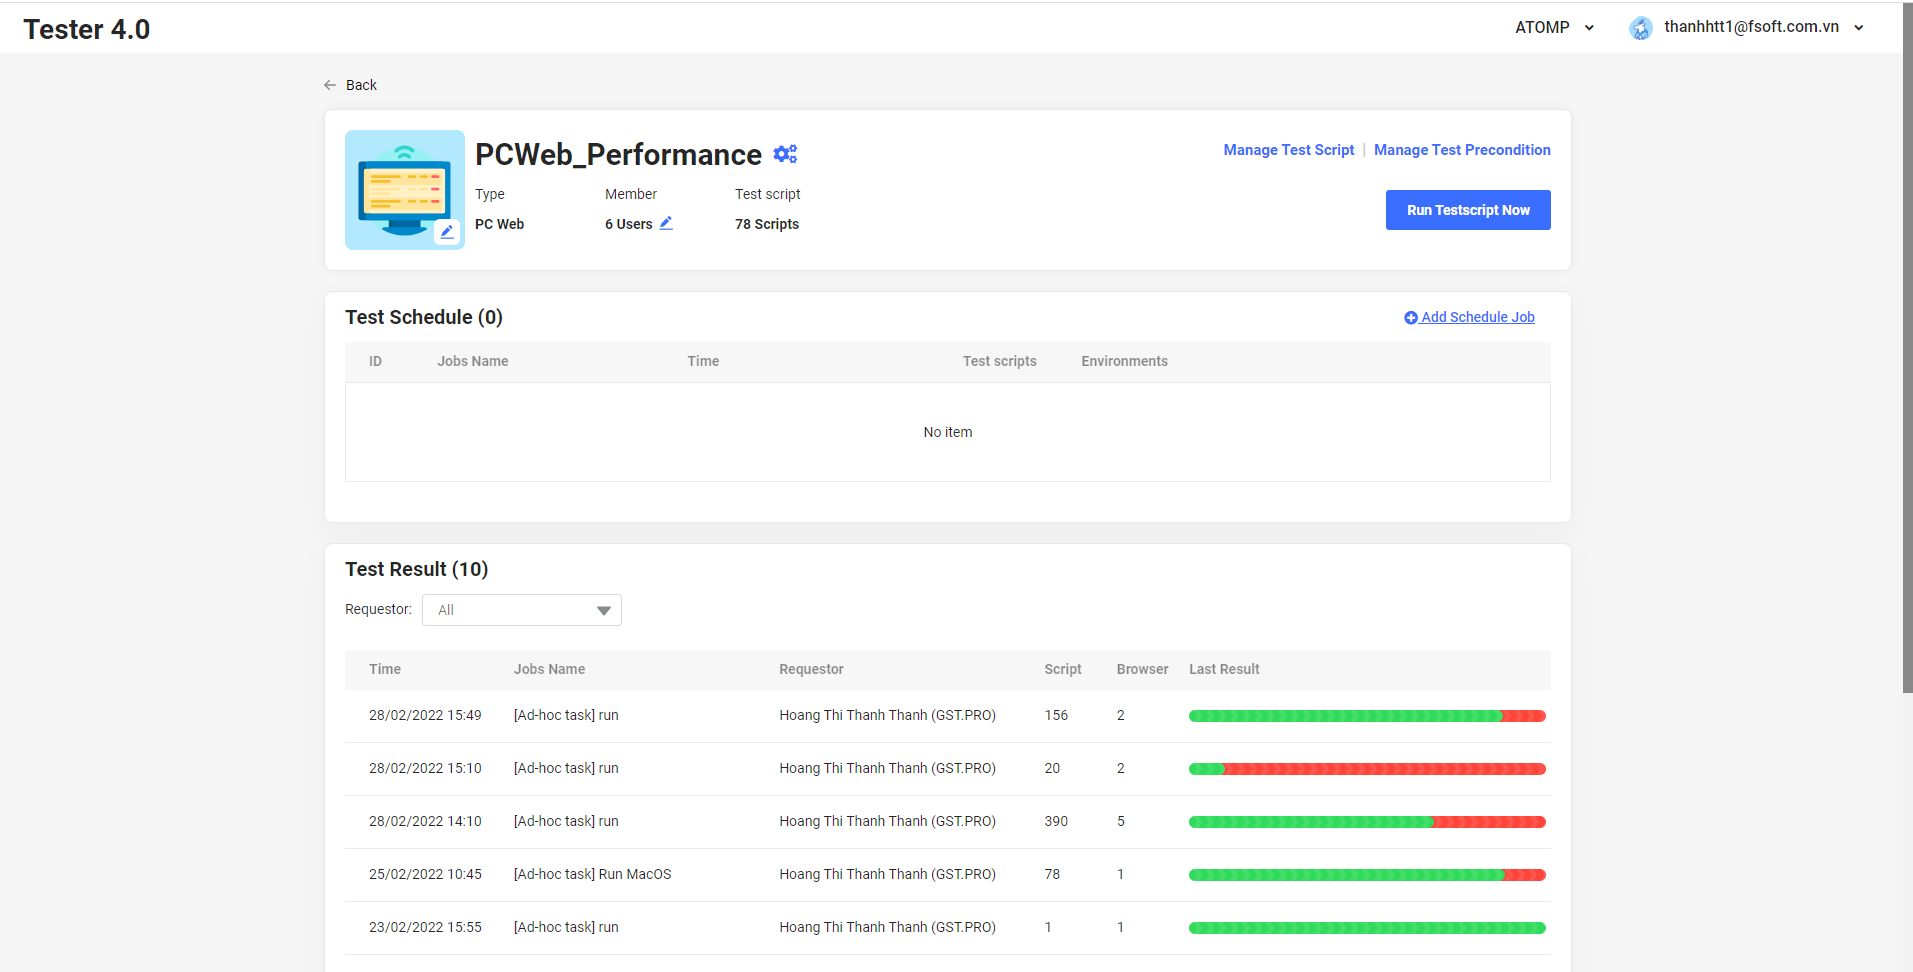
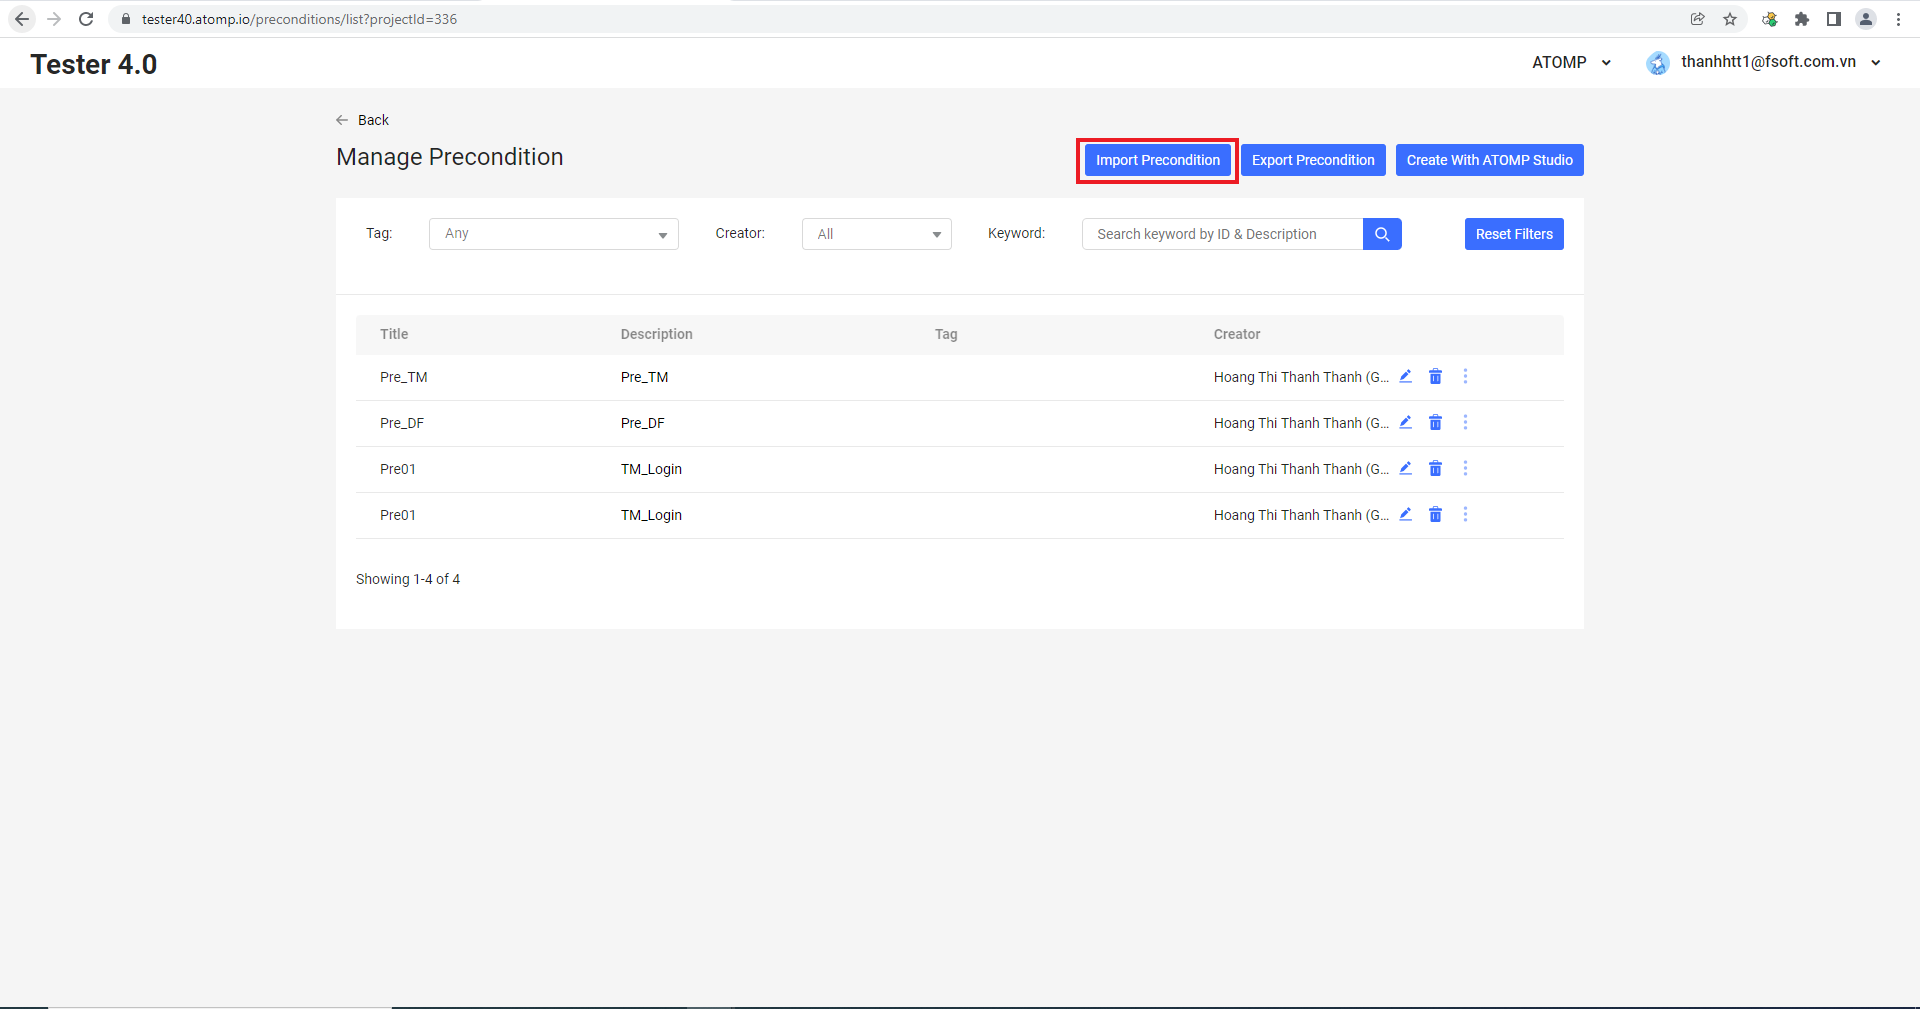
Step 1: Click on the [Manage Test Precondition] button.
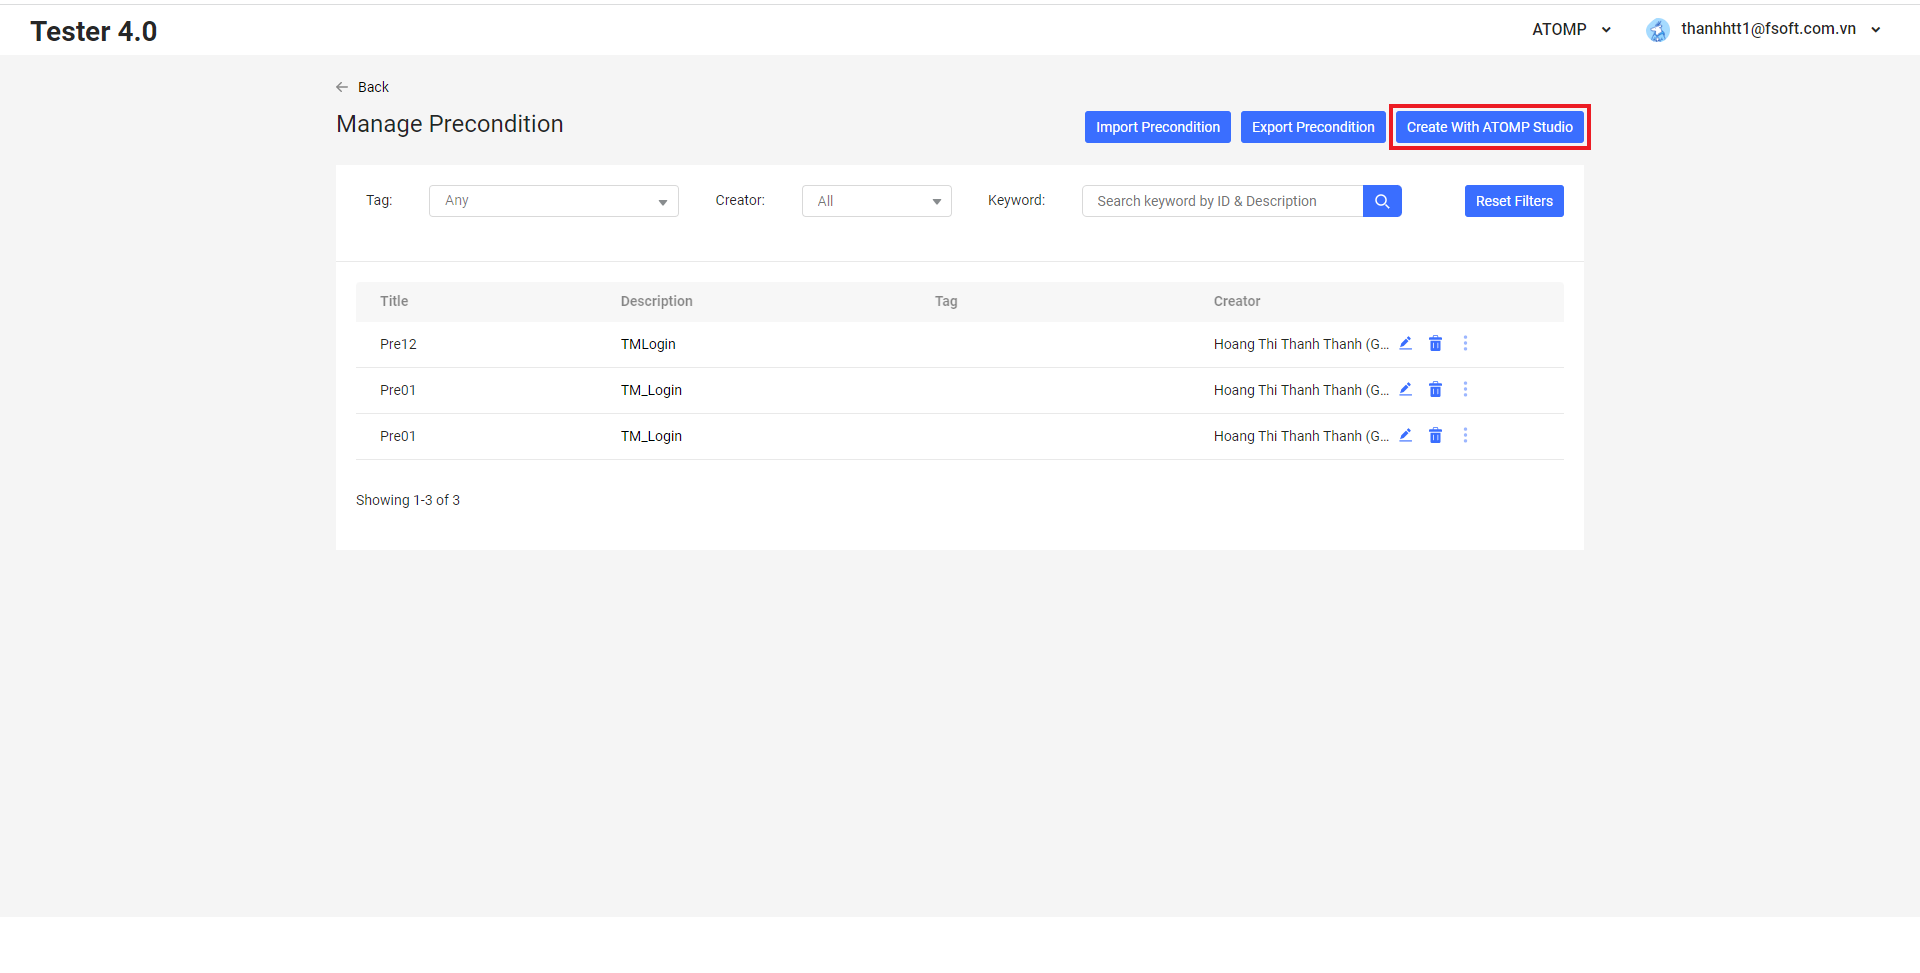
Step 2:Click on the [Create with ATOMP Studio] button. The Studio Web primary screen will be displayed.
Step 3: Select a precondition parent (if applicable) by clicking on [+] button besides text [Precondition].
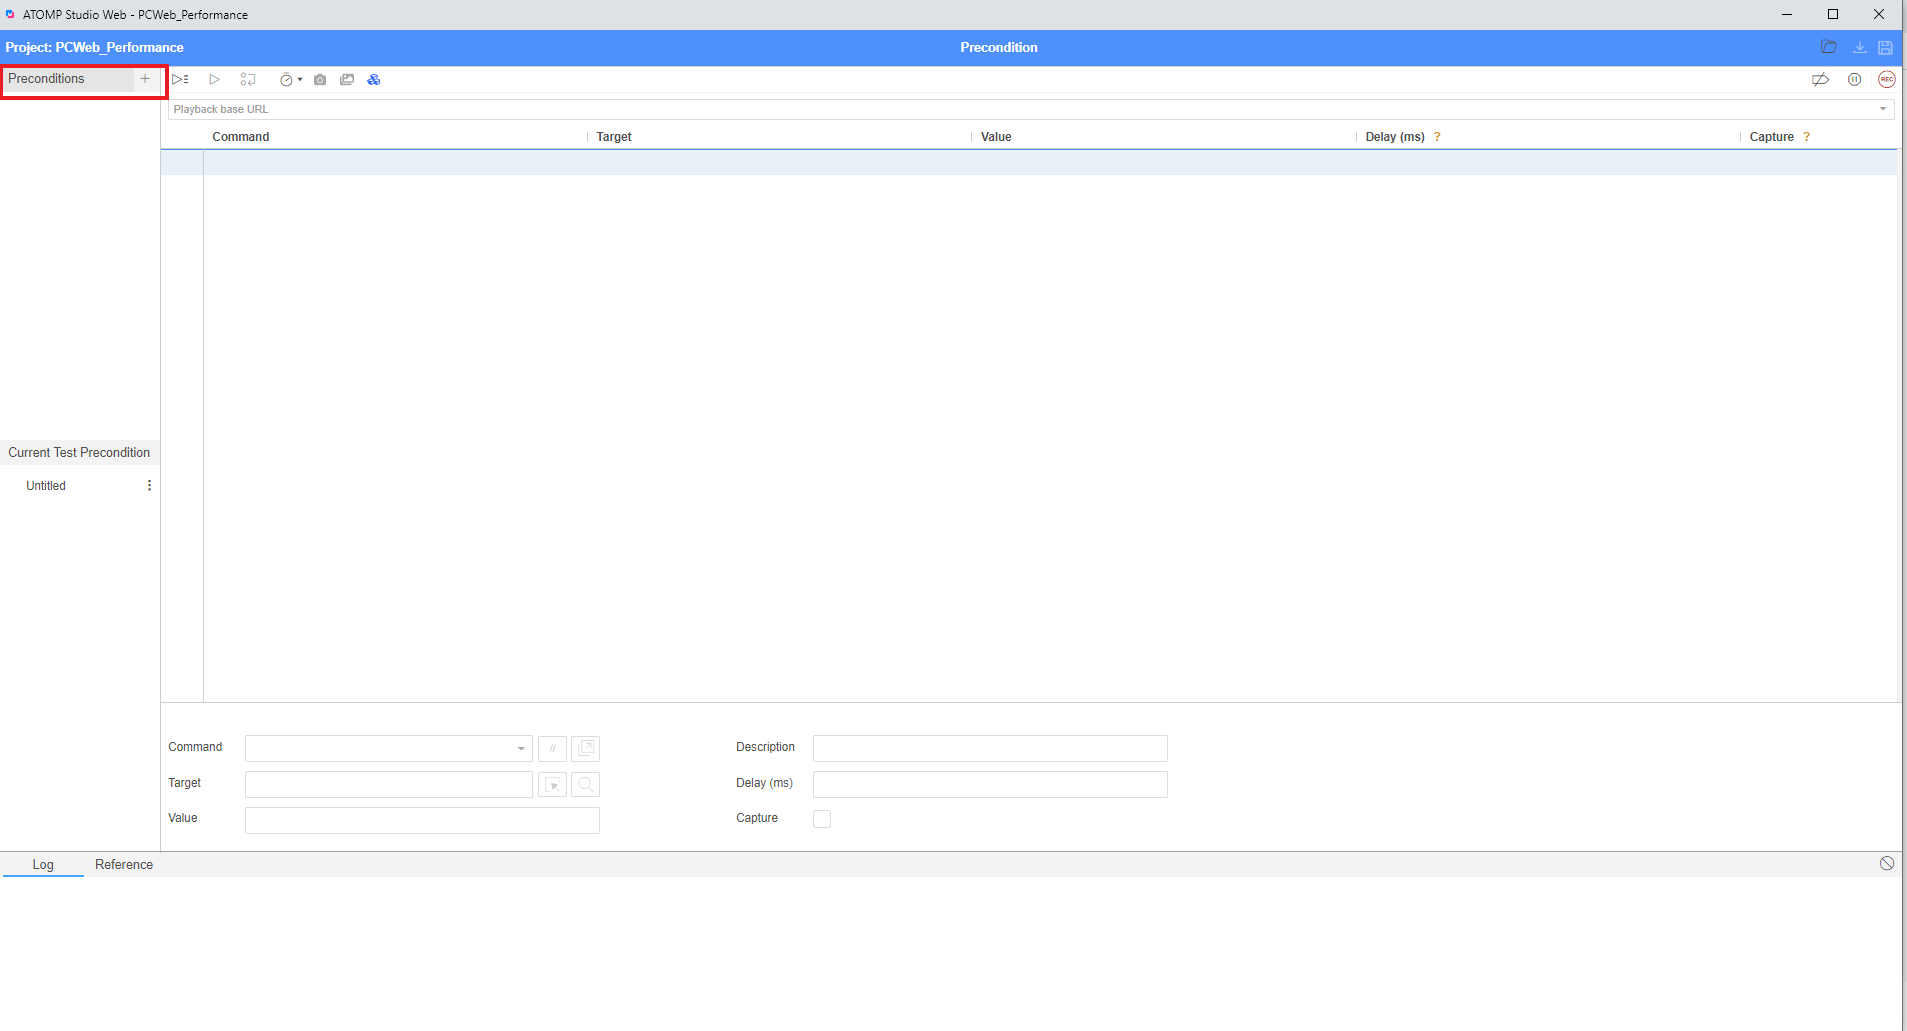
After popup [Add Precondition] is displayed, user can tick precondition which you want to add then click on [Add Precondition] button. The parent precondition will added to current precondition.
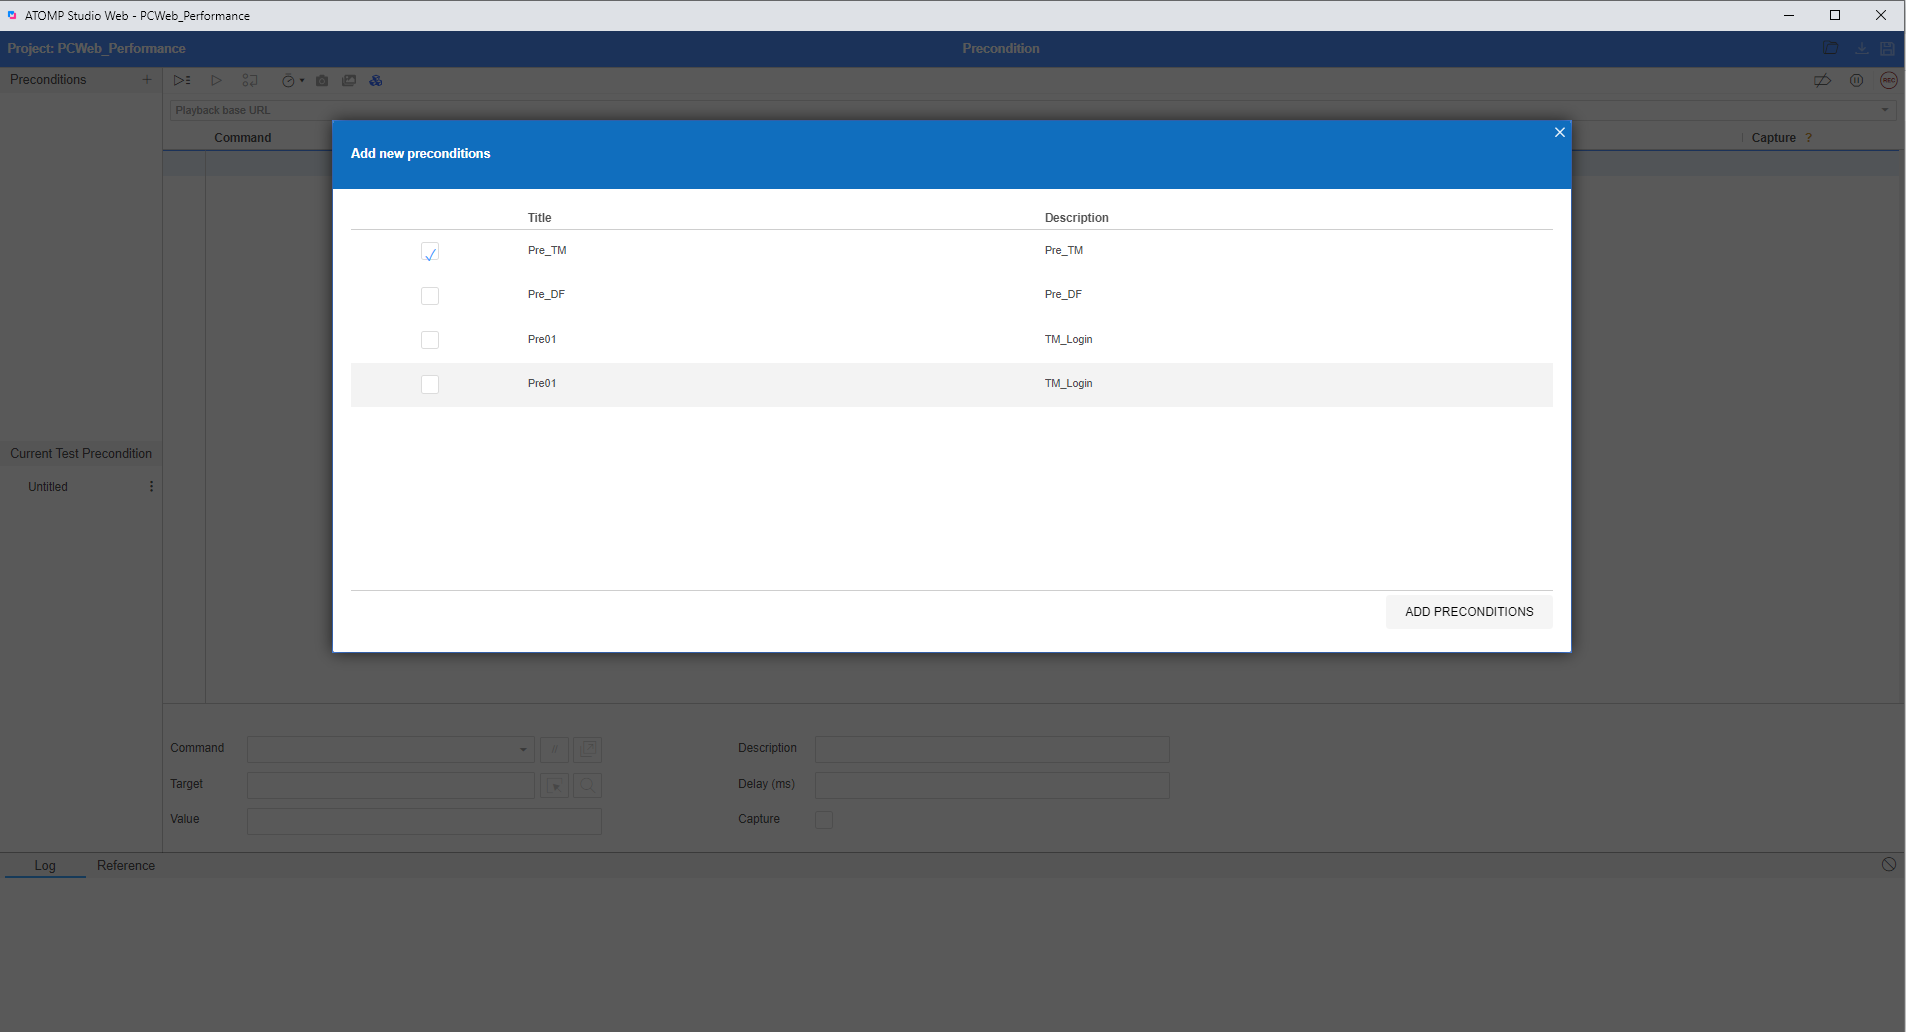
When you add parent precondition, you can click on  button to preview precondition.
Step 4: Click on the button [Record script]  to start recording your browser’s interactions.
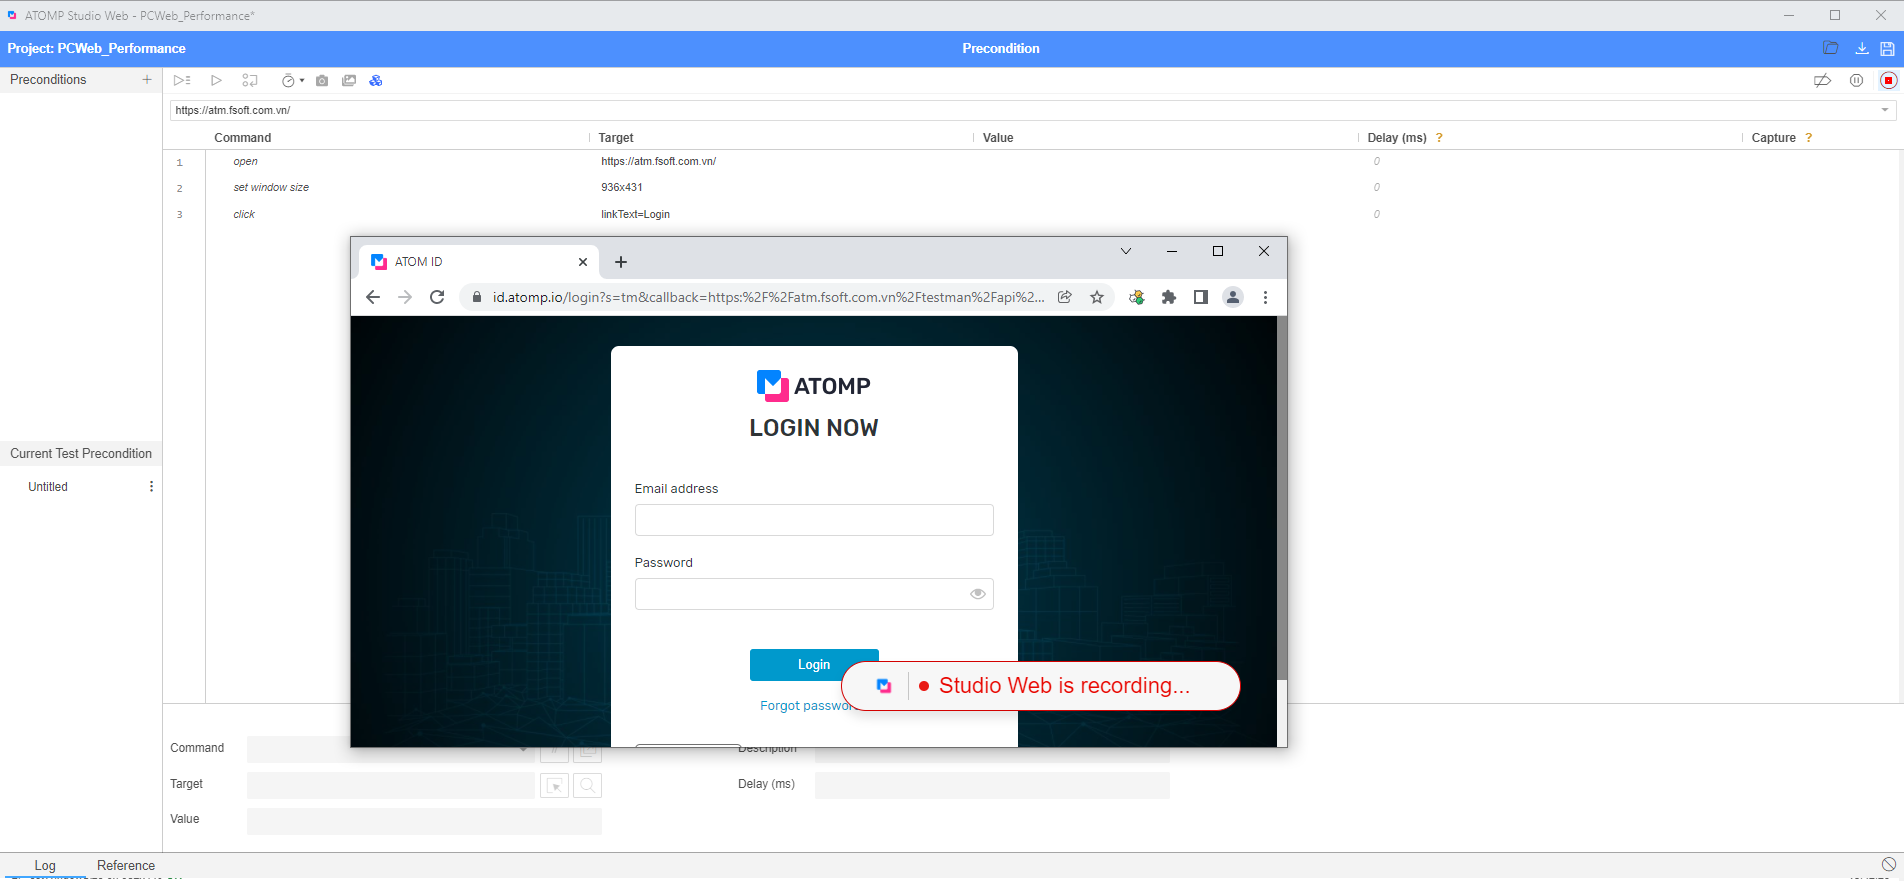
Step 5: Before you can start recording, you must specify a valid base URL for your project by clicking on the [START RECORDING] button to open your URL. Your test will start by navigating to this URL.

Step 6: Once the URL has been opened, after executing 1 action, the tool automatically generates a test script for that action and displays as a step (refer to the picture below)
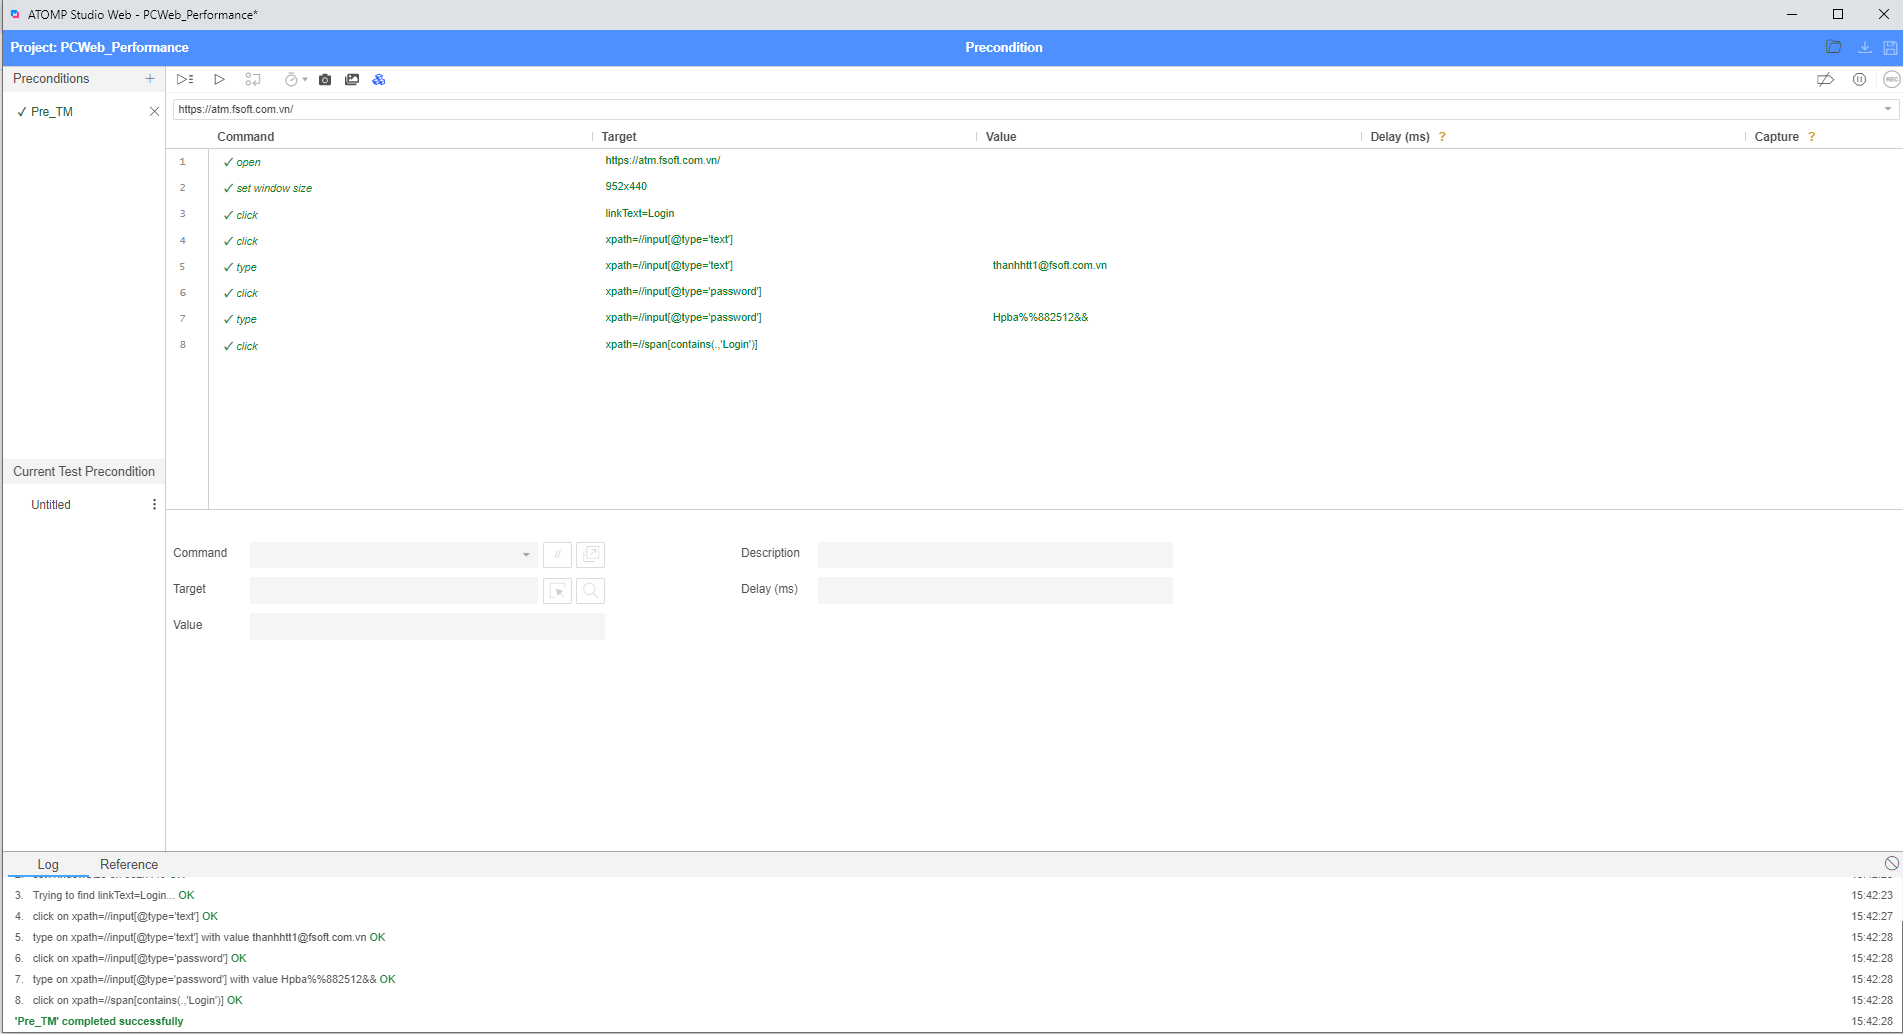
Step 7: Click on the  button to stop recording => the
  button will be enabled.
Step 8: Click on the button to run and view all created steps.
Step 9: Click on  button to save precondition. Popup “Save Pre-condition” will be displayed.
=> Enter the information of the precondition that you want to save => Click on the [Save] button => This Precondition will be saved in the “Manage Precondition” screen.
Option 2: Import precondition
If you have available precondition’s test script, users can import it into the system. Please follow these steps:
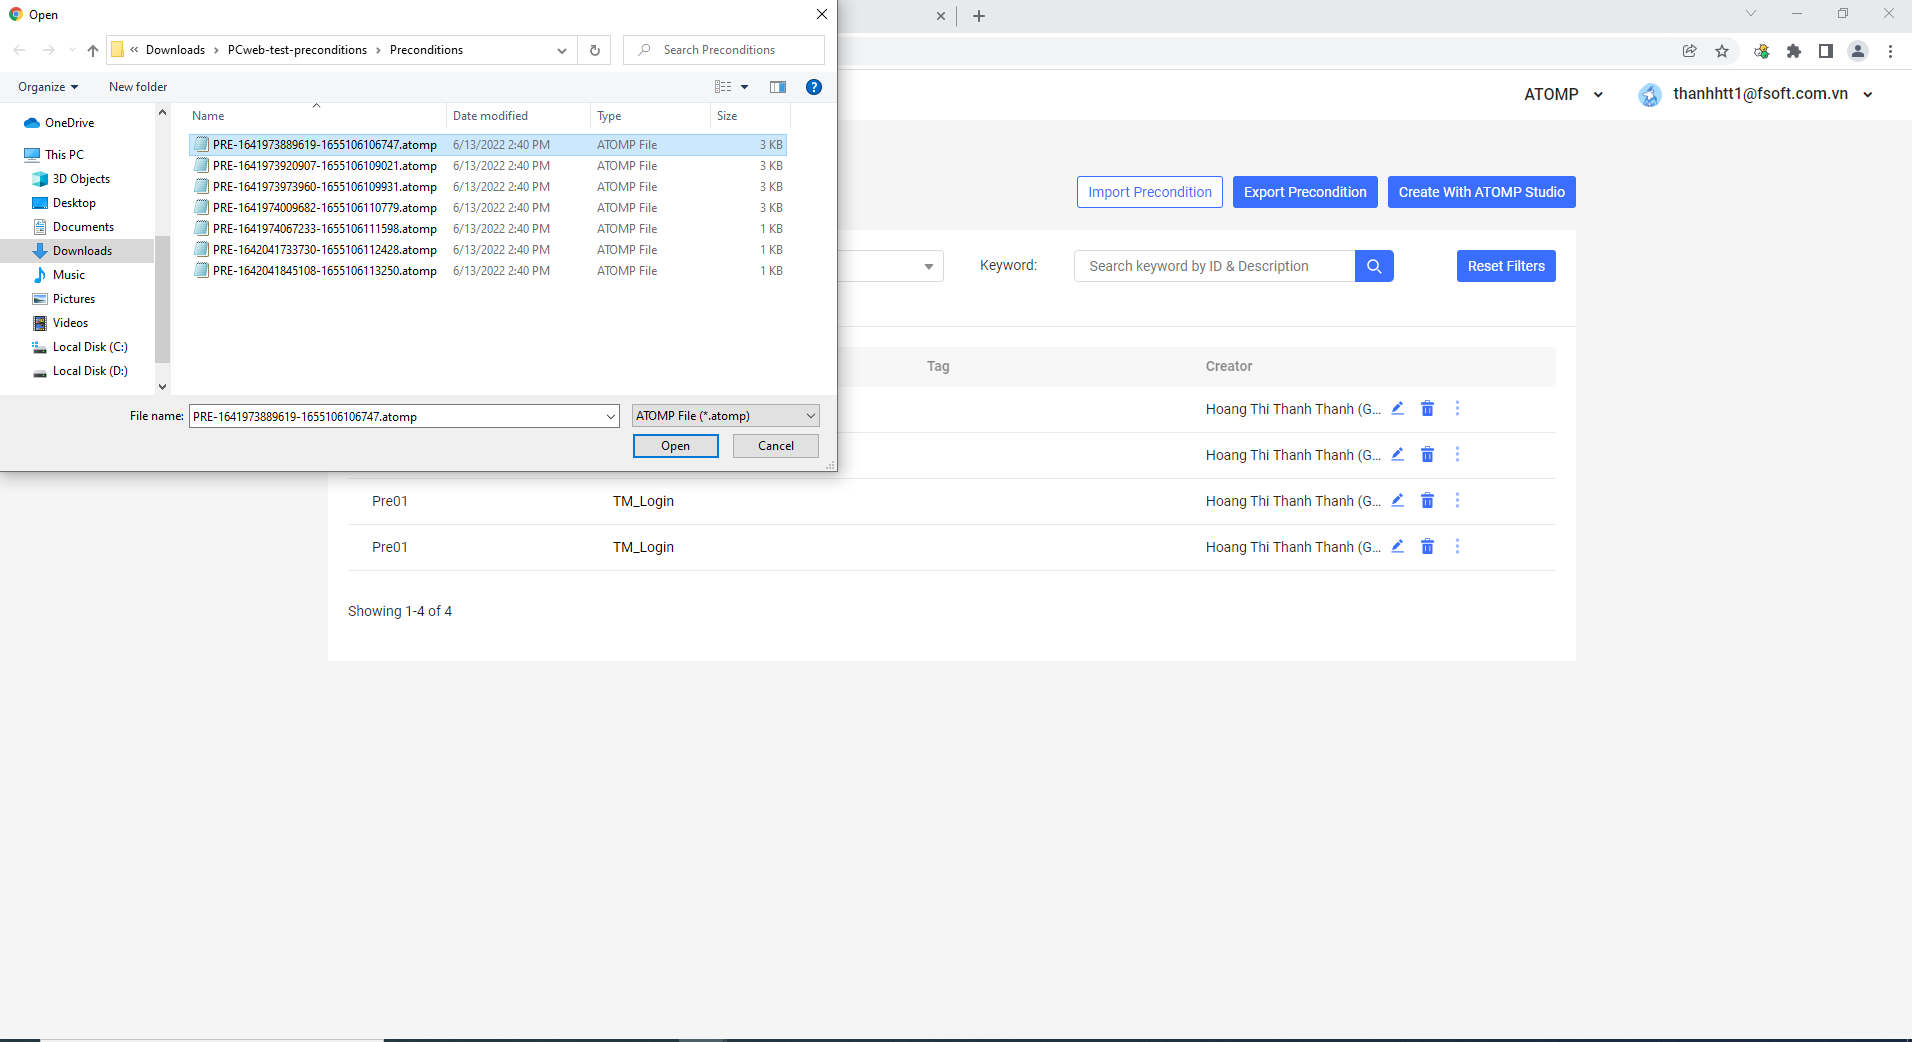
Step 1: Click on the [Import Precondition] button to open the [Import Precondition] pop up.
Step 2: Select the test script file you want to import (file format must be correct as defined by the system), then click the [Open] button.