Part 2: Setting
I. General Info
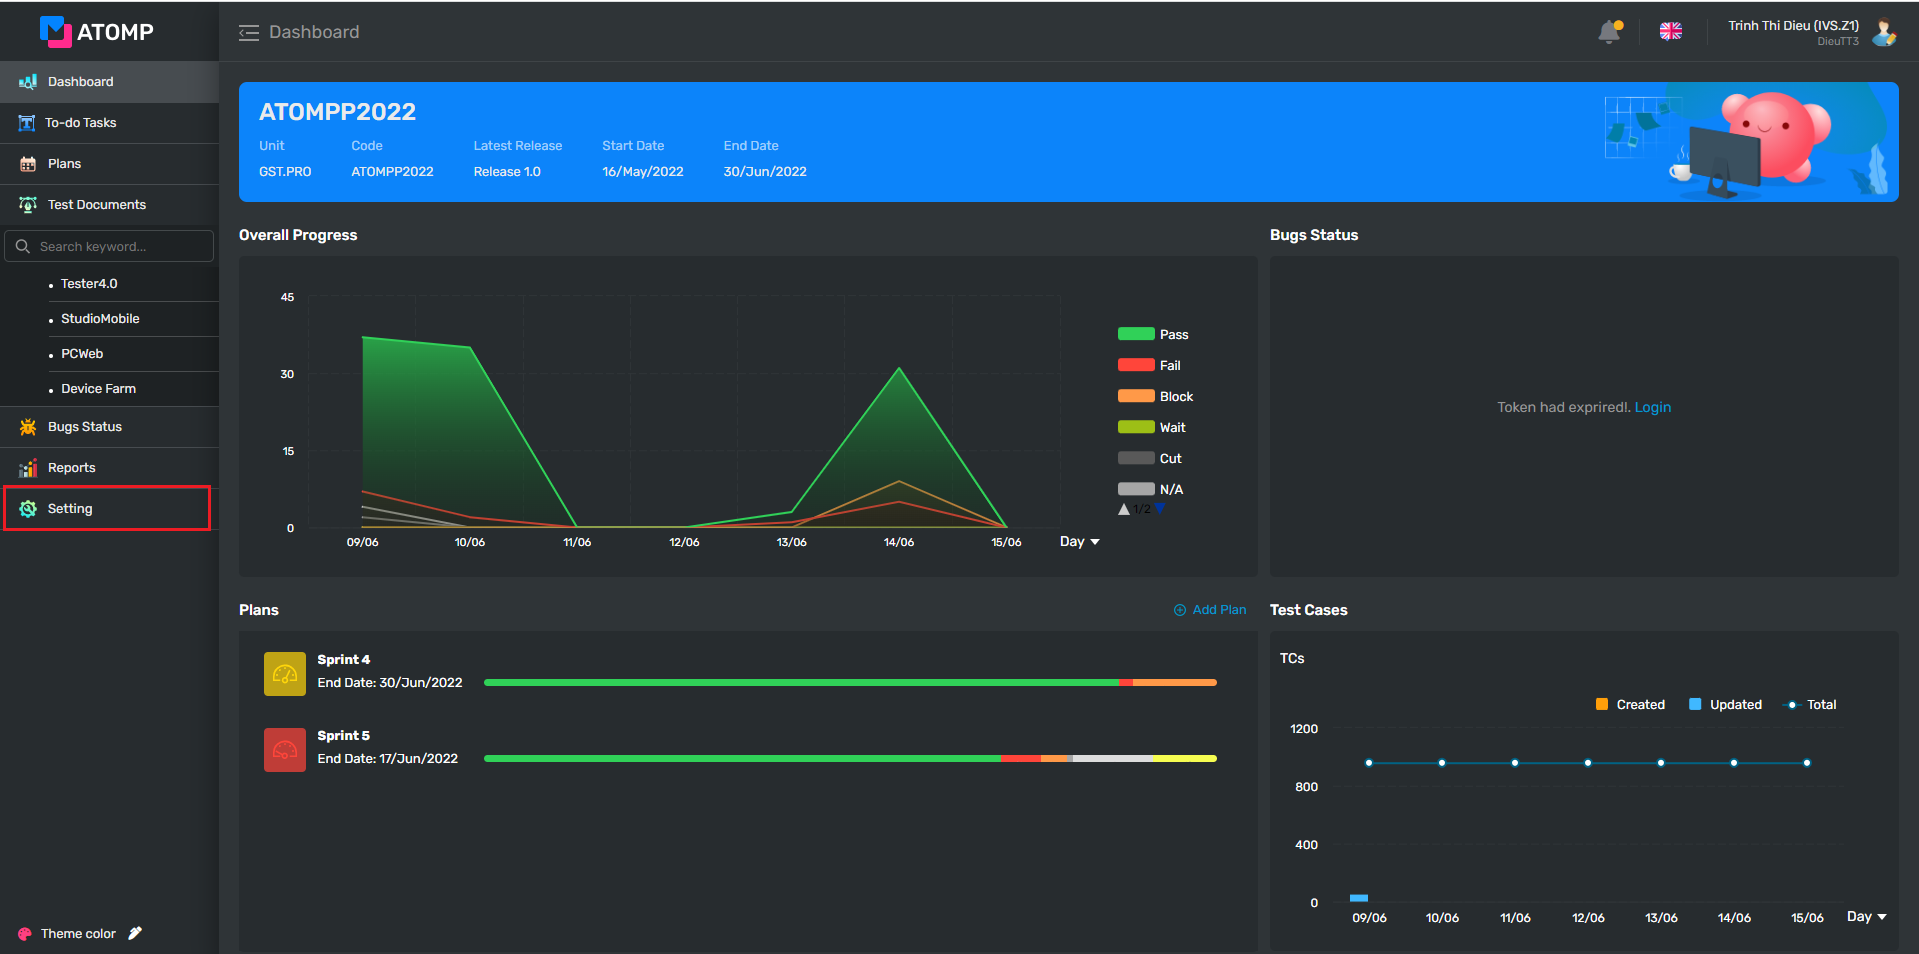
The General info screen shows the project information that admin has created. PM can change the following project’s information: Project Manager, Planned Start, Planned End and Description.
Bug Management Integration: User can set the Bug Management to Jira tool or none. If user decides to use the Jira tool, user can log bugs from the Test Management tool to the Jira tool and view all bugs of the project.
- Subproject
To make it easier to manage, first create a subproject
Step 1: Click [Setting] on the left menu.
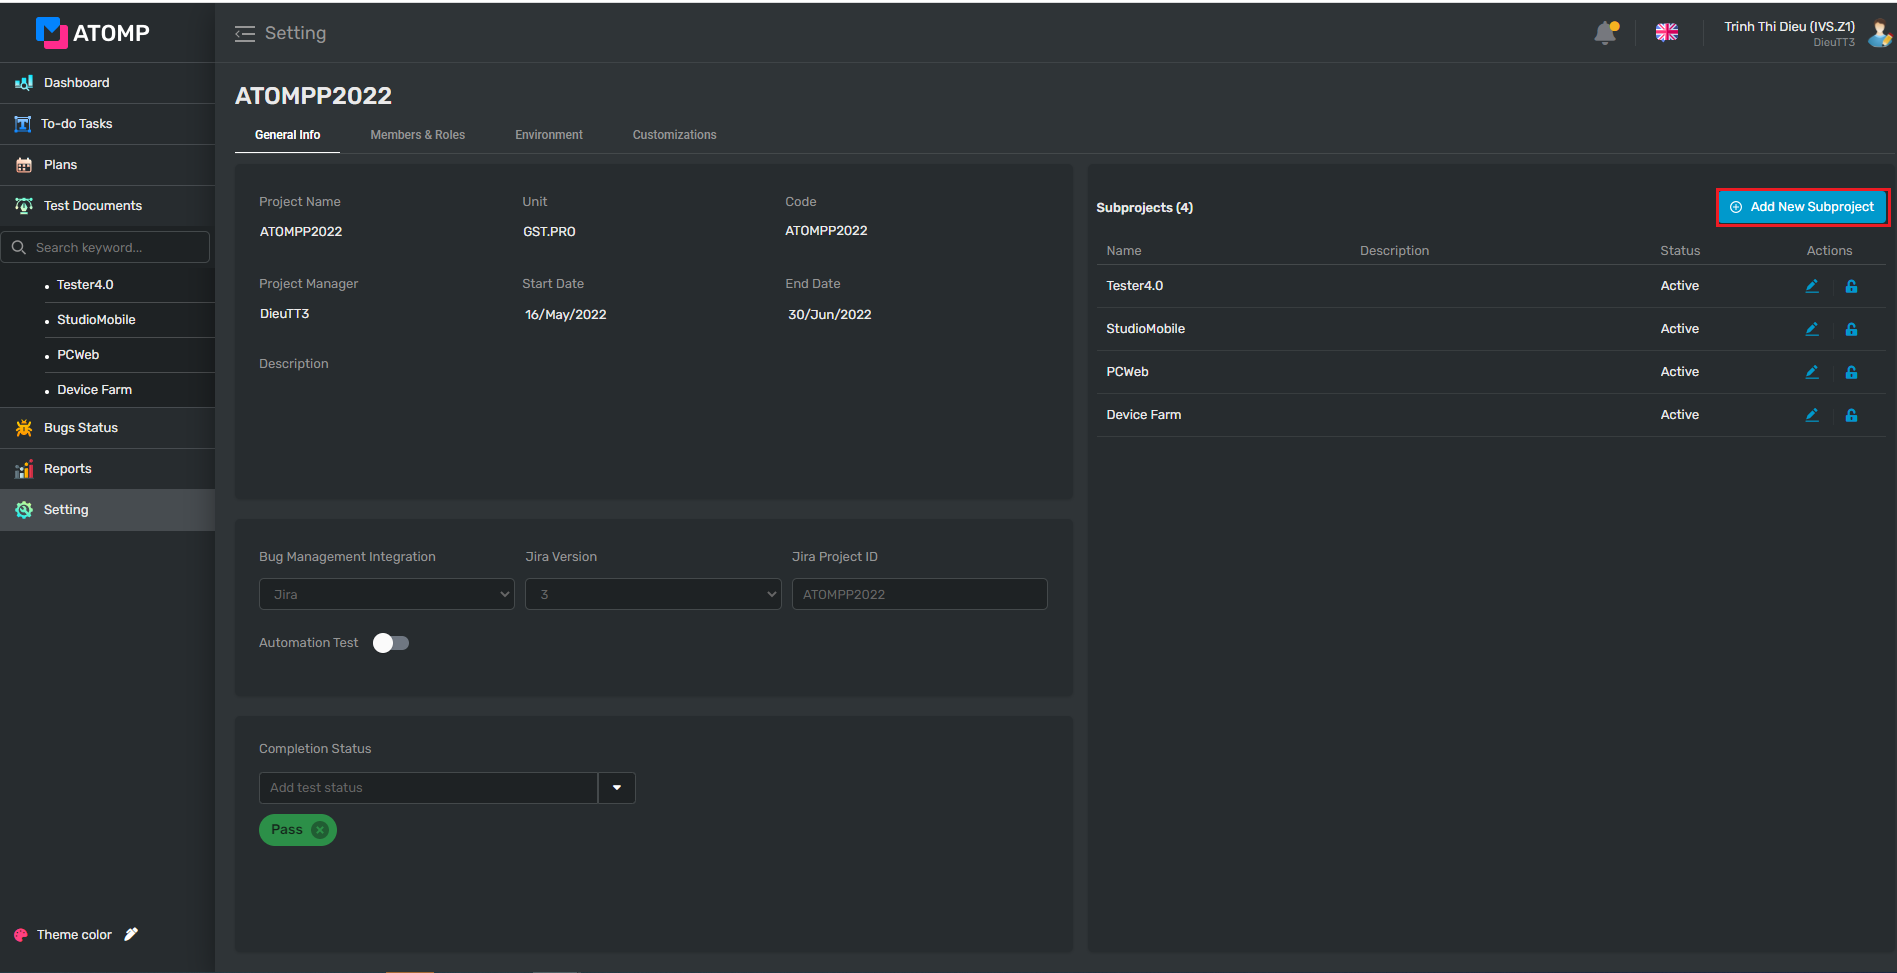
Step 2: Click button [Add New Subproject]
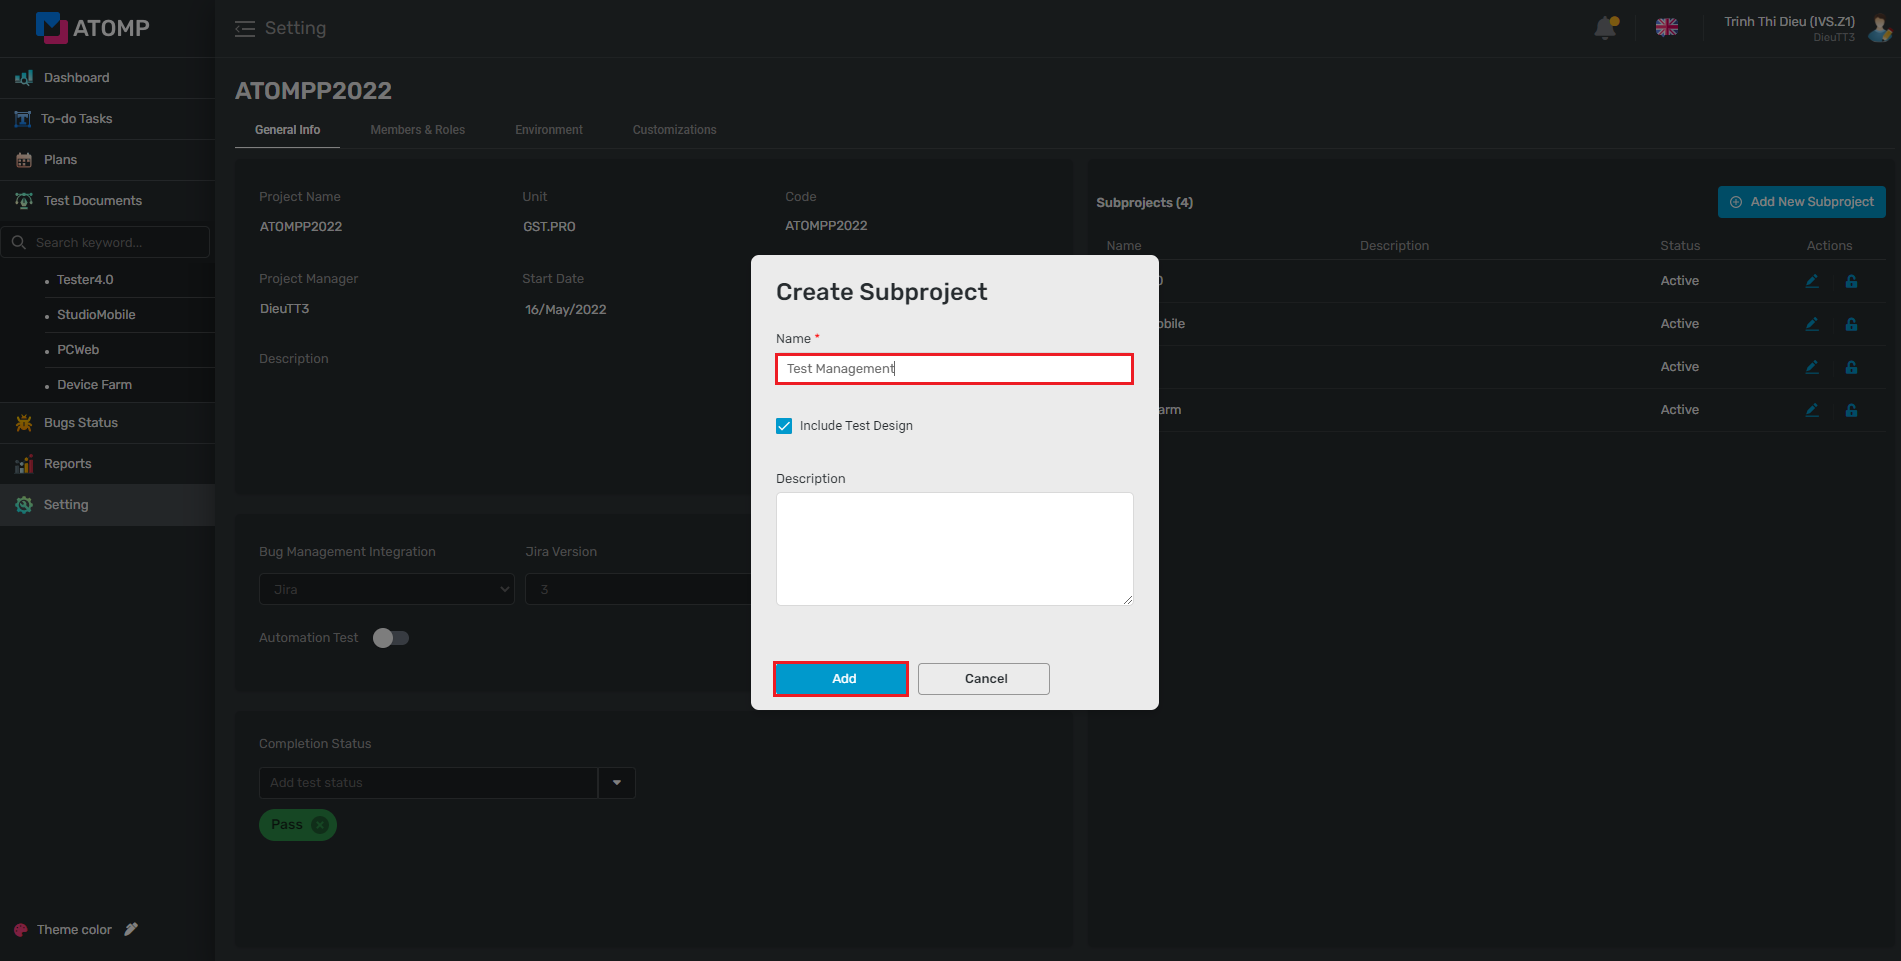
Step 3: Fill in Subproject at “Name” field (mandatory)
You can input Description for Subproject (this field is not mandatory)
Step 4: Click button [Add]
• Bug Management Integration
You can set Bug Management Integration to Jira tool in 3 steps:
Step 1: Click [Setting] on the left menu.
Step 2: Choose Jira option from the dropdown list => after selecting Jira version -> show dropdown list [Jira version]
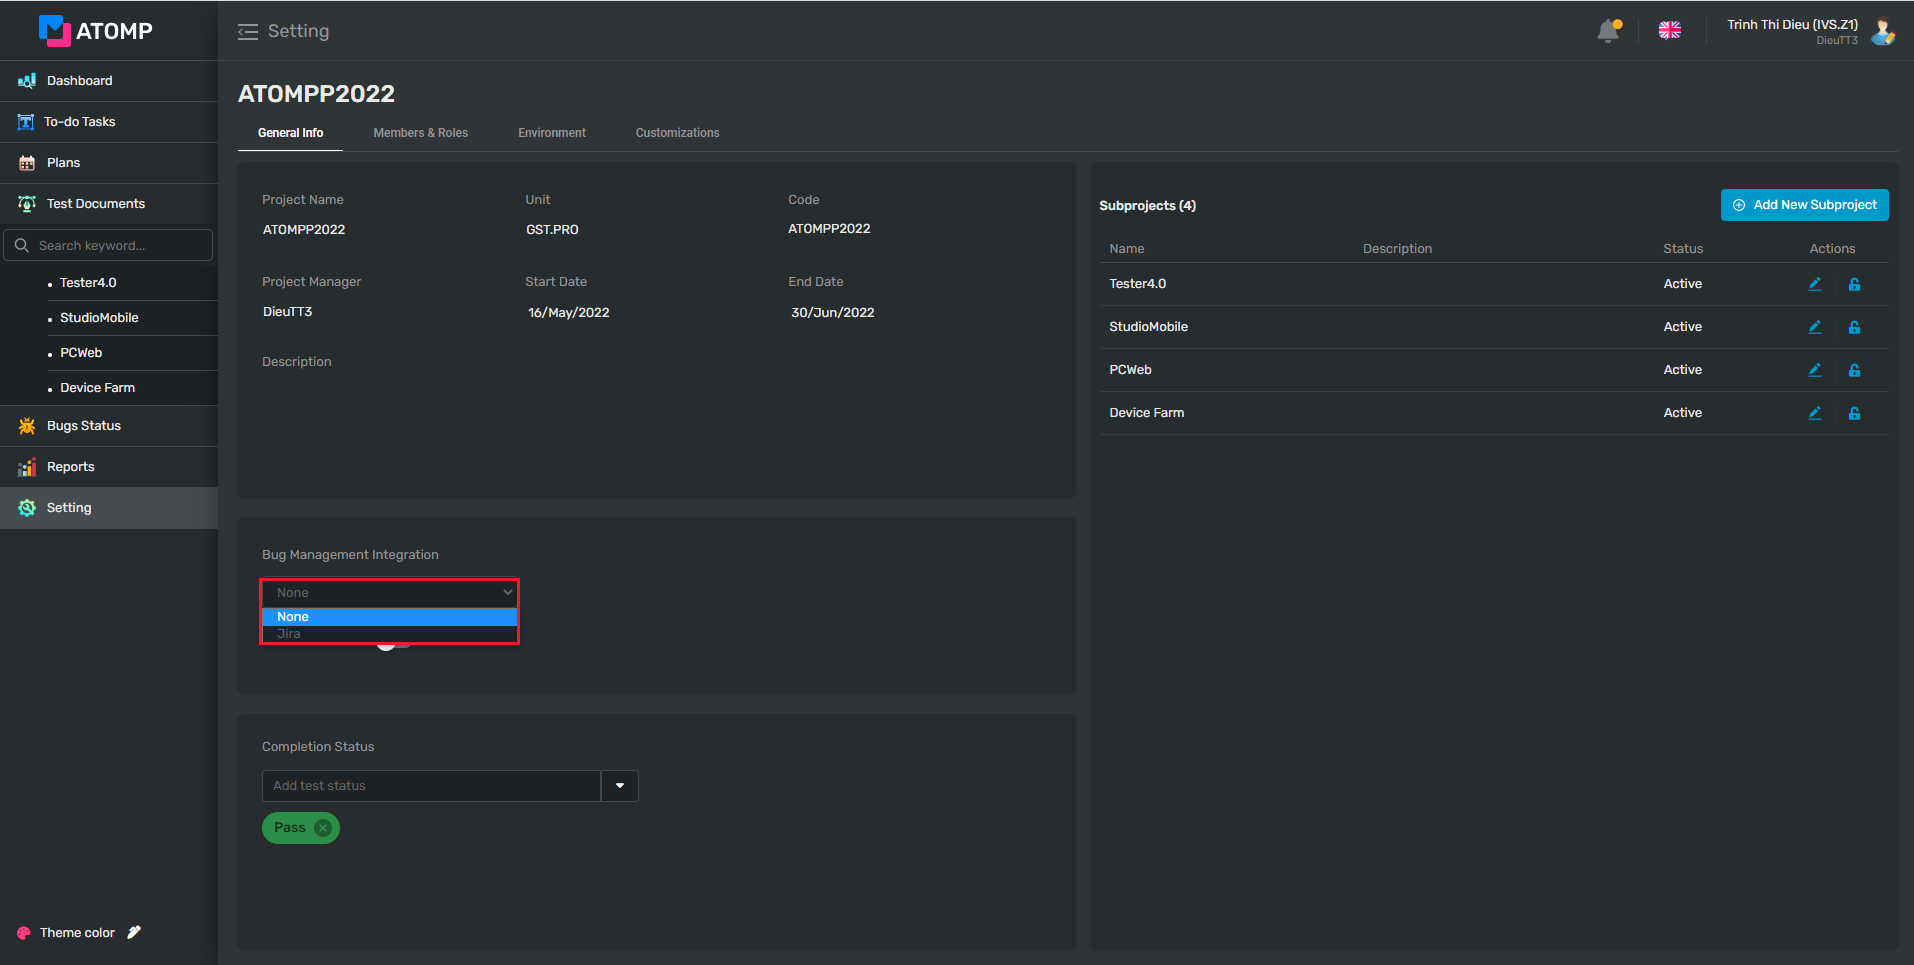
Step 3: Choose Jira version from the dropdown list => selecting Jira option -> show text box [Jira Project ID].

Step 4: User inputs the project ID correctly inside the Jira tools.
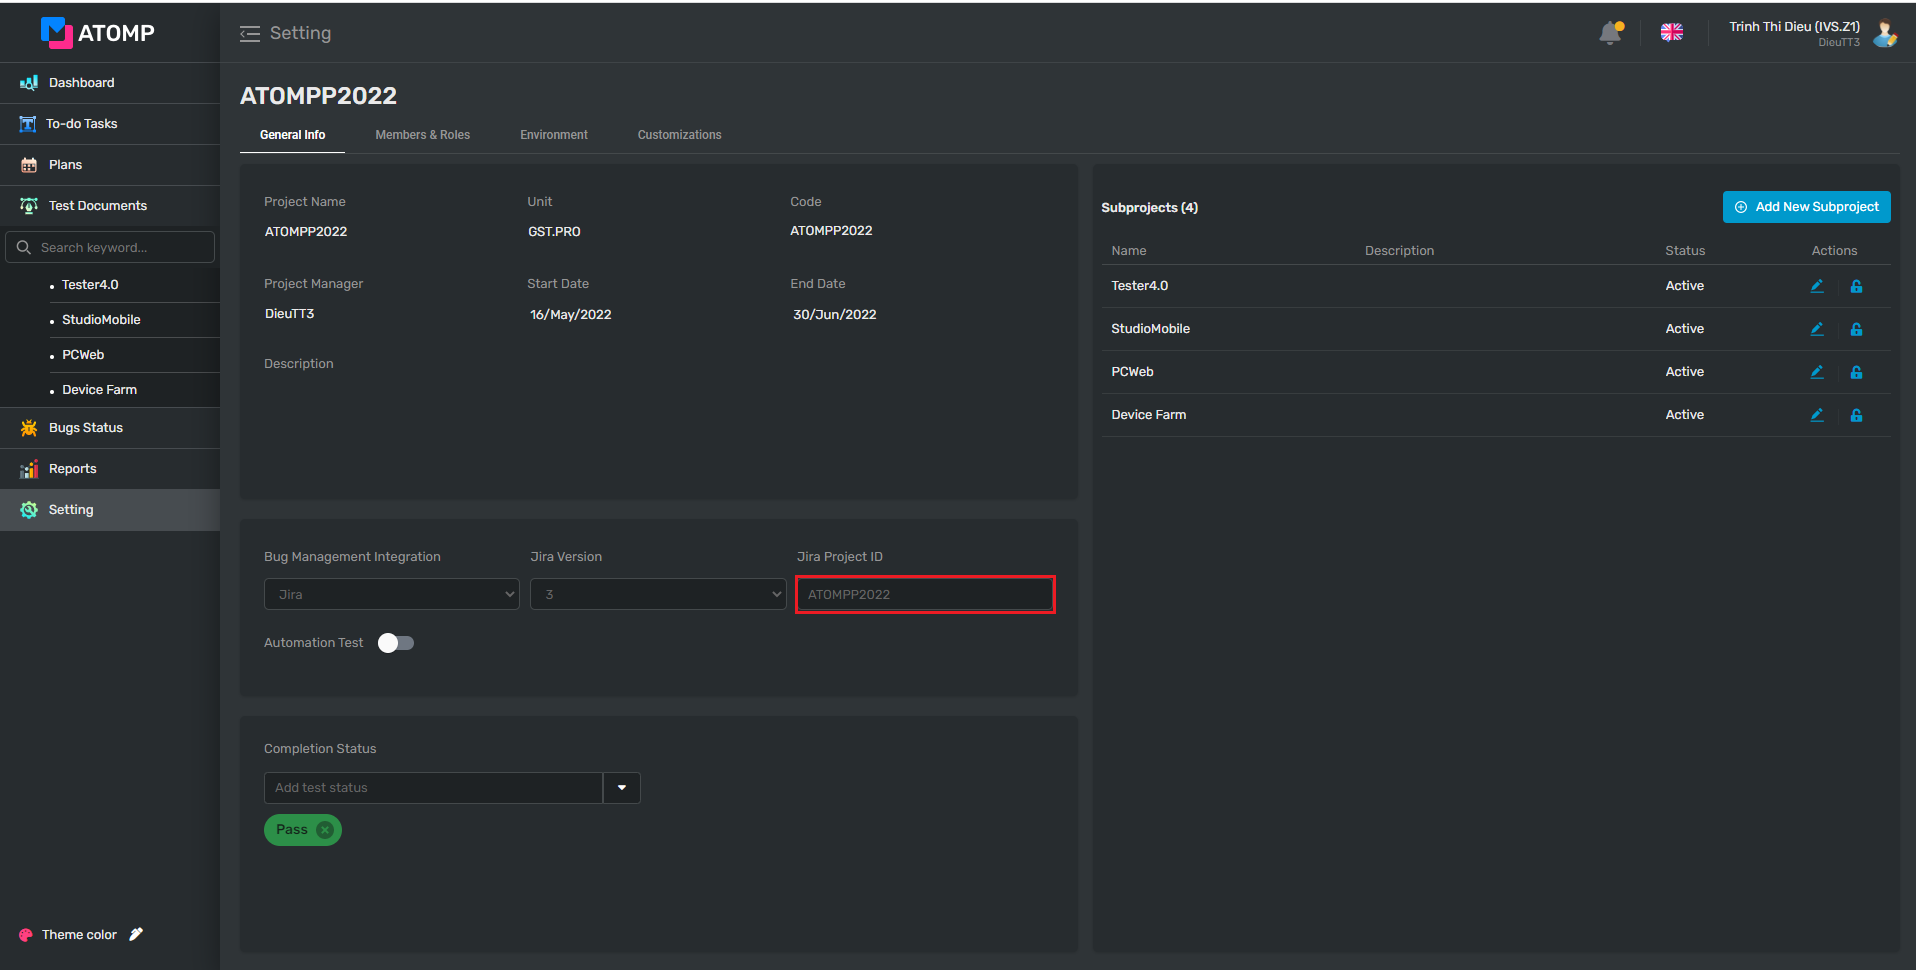
After setting the Bug Management Integration as Jira, all the project’s bugs on Jira will be linked to Test Management.
- Completion Status
You can add any status which is suitable for the condition to complete your project
Step 1: Click [Setting] on the left menu.
Step 2: Click on dropdown at “Add test status” field, then select any status.
