Part 3: Create Test Document With Test Design
I. How to create Test Document for a project?
This is the process for creating a Test Document for a project by Test Management:

1. How to create a Test viewpoint?

Step 1: From the toolbar on the left side of the screen, move the cursor to the icon Test Document => then select subproject name => Test Viewpoint tab will be displayed normally.
Step 2: Users click on Create New Test Viewpoint button.
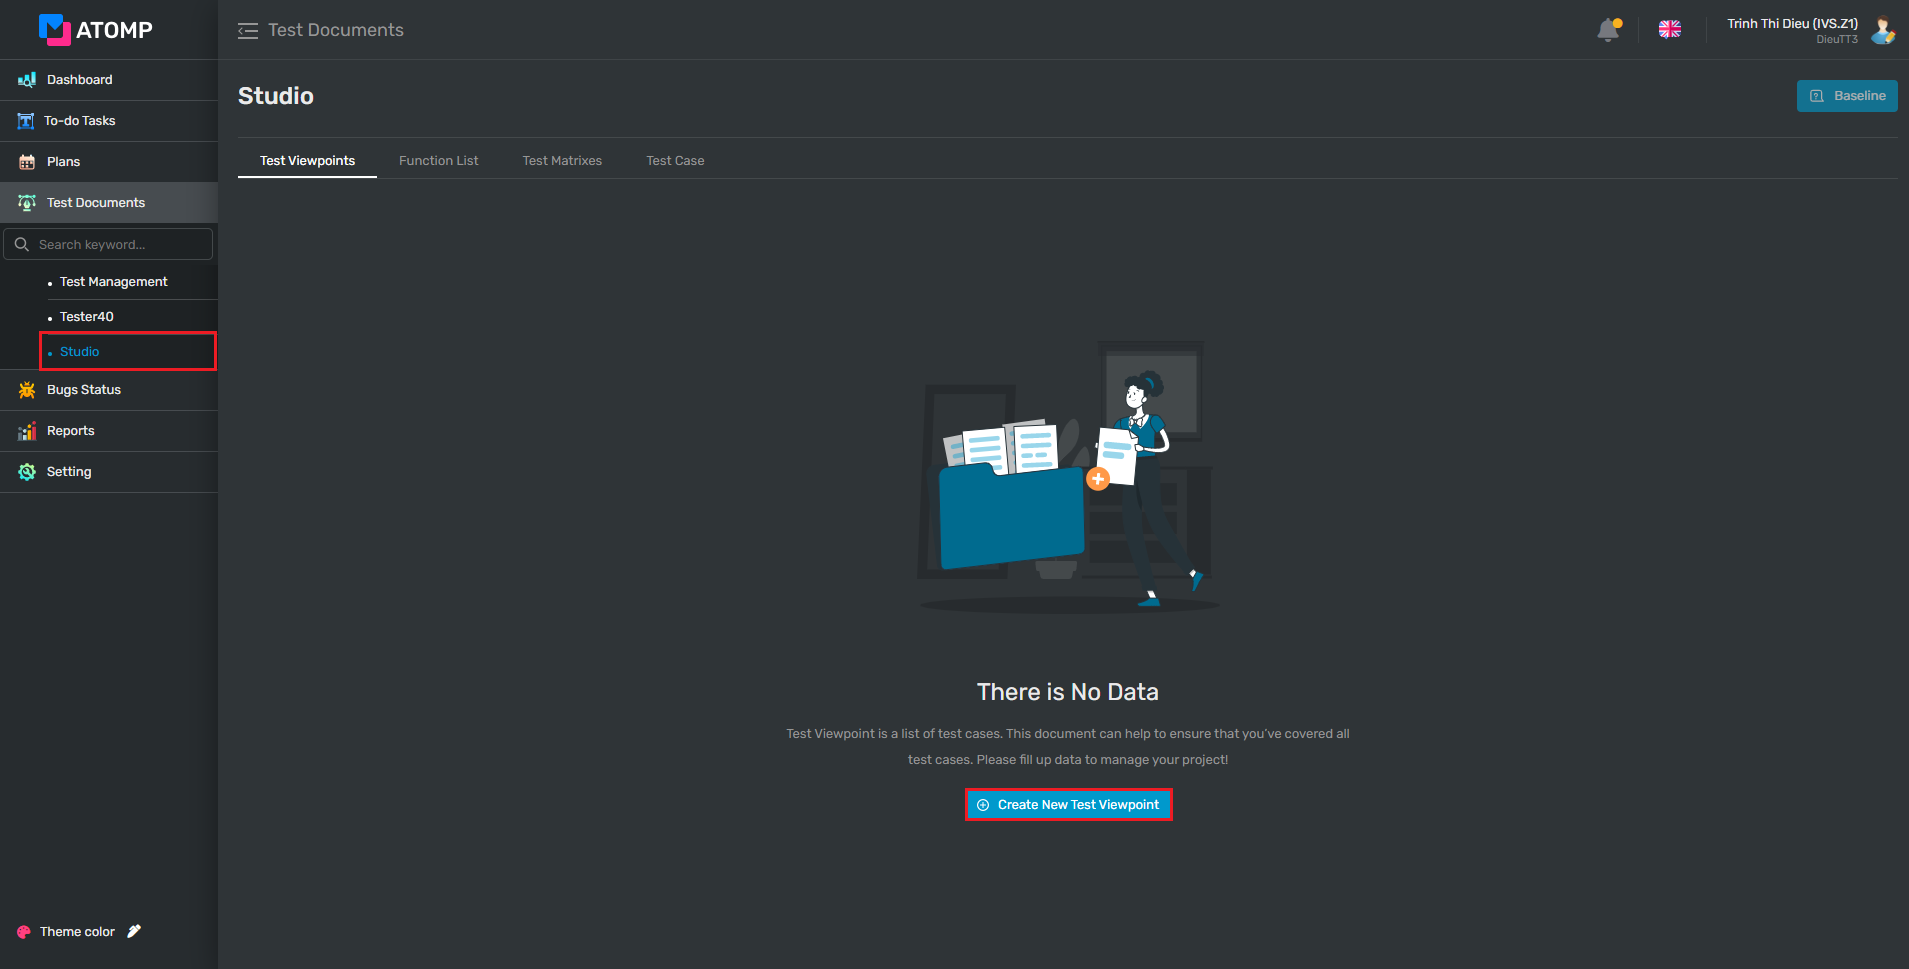
⇨ Create new test viewpoint screen will be displayed as below:
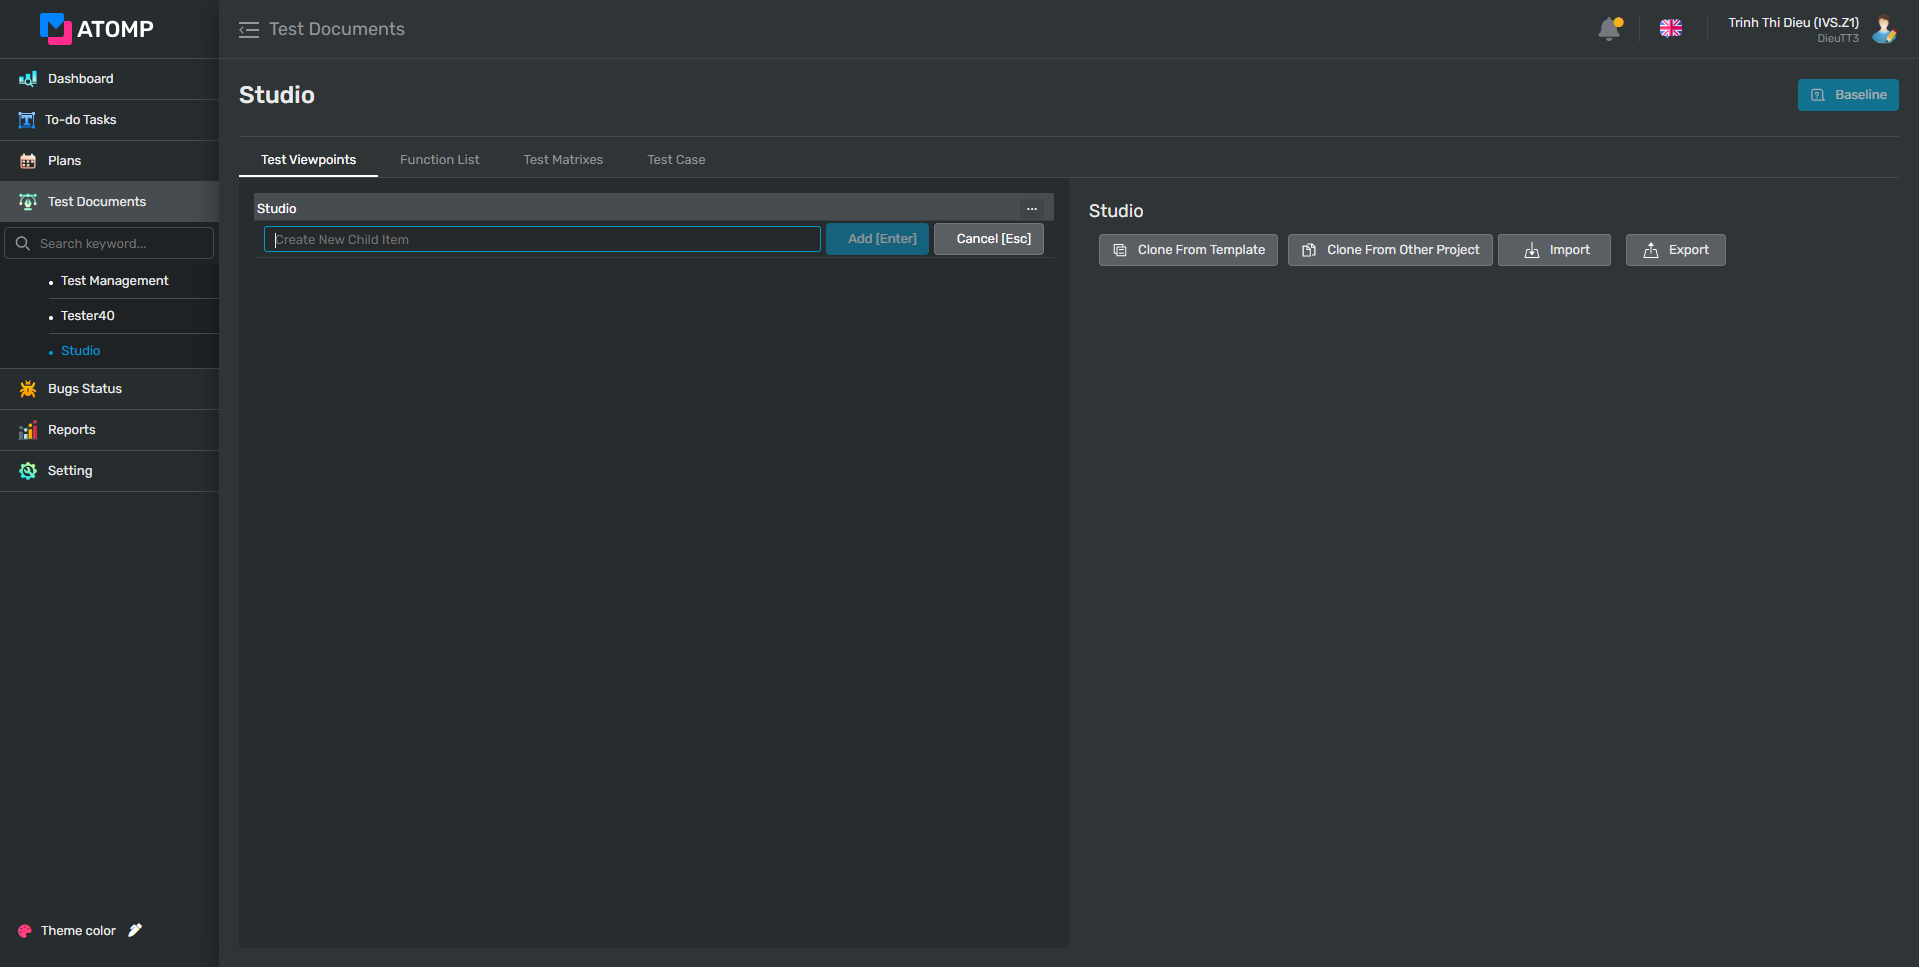
Step 3: On the Create New Test Viewpoint screen, there are 4 ways to create a Test Viewpoint:
- 1st way: input data into the text box create new child.
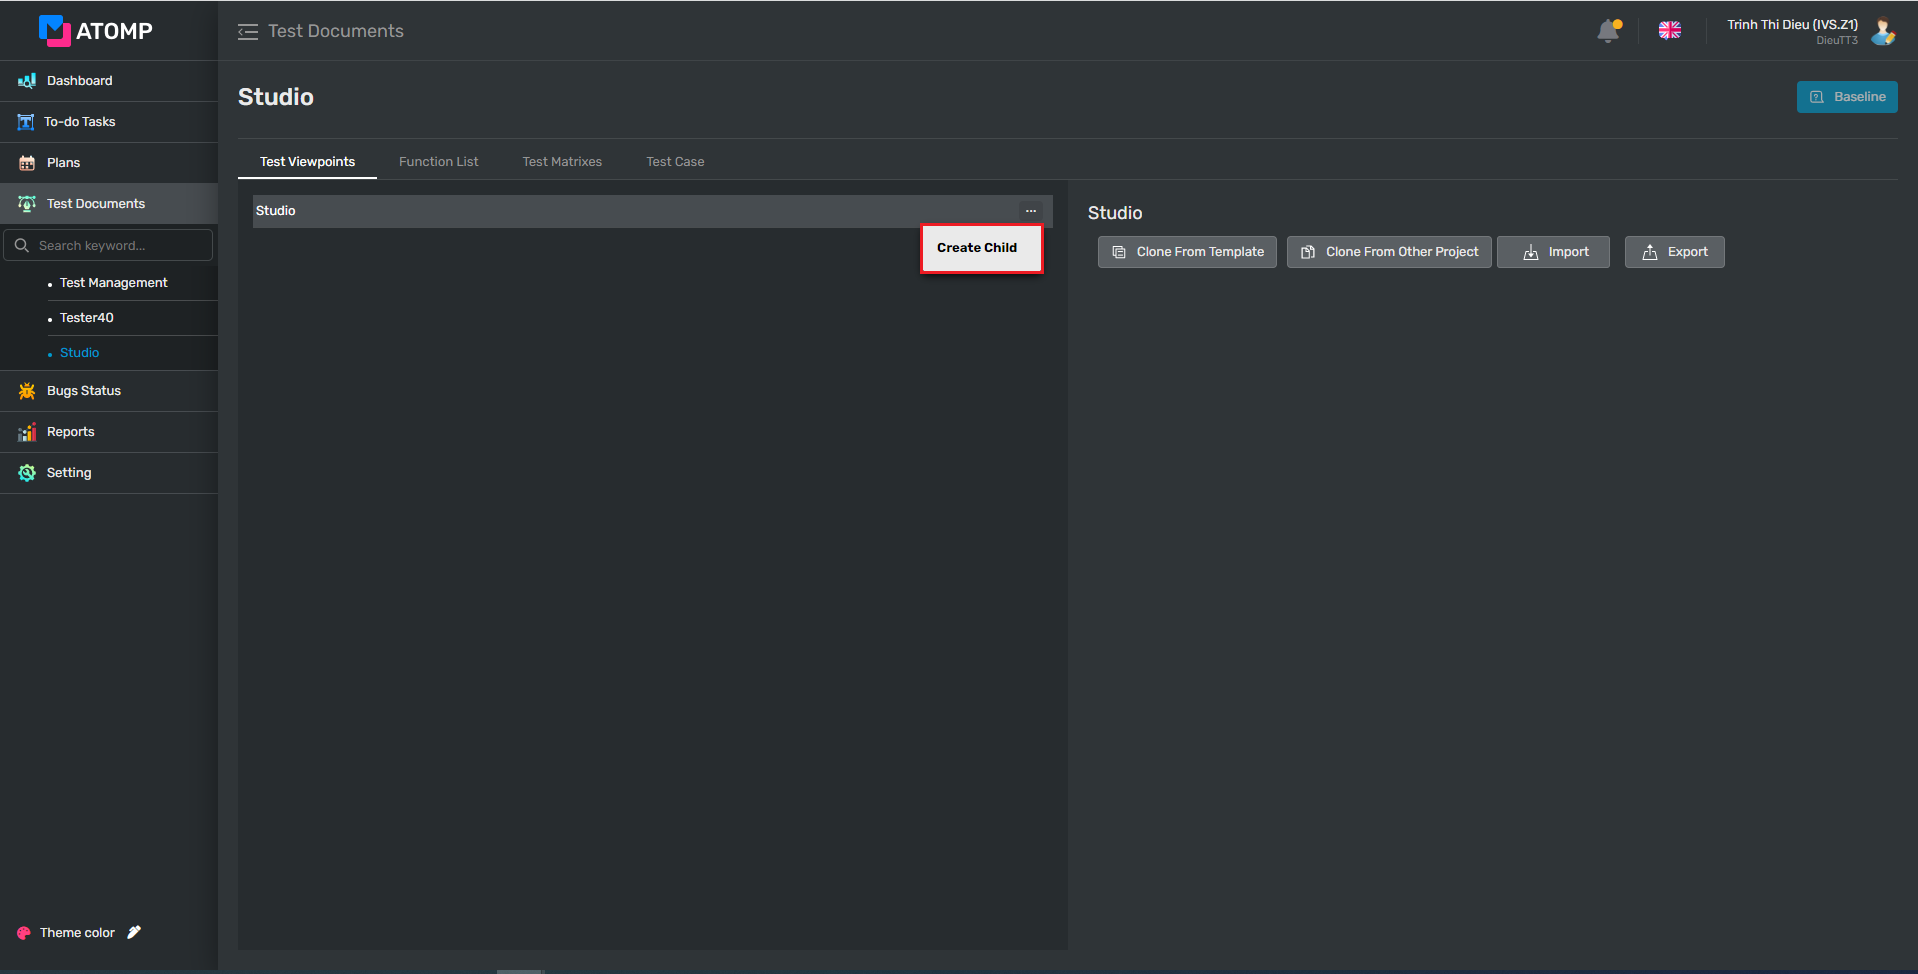
- Click on […] button
- Click on [Create Child] button => Text box input Create New Child will be displayed.
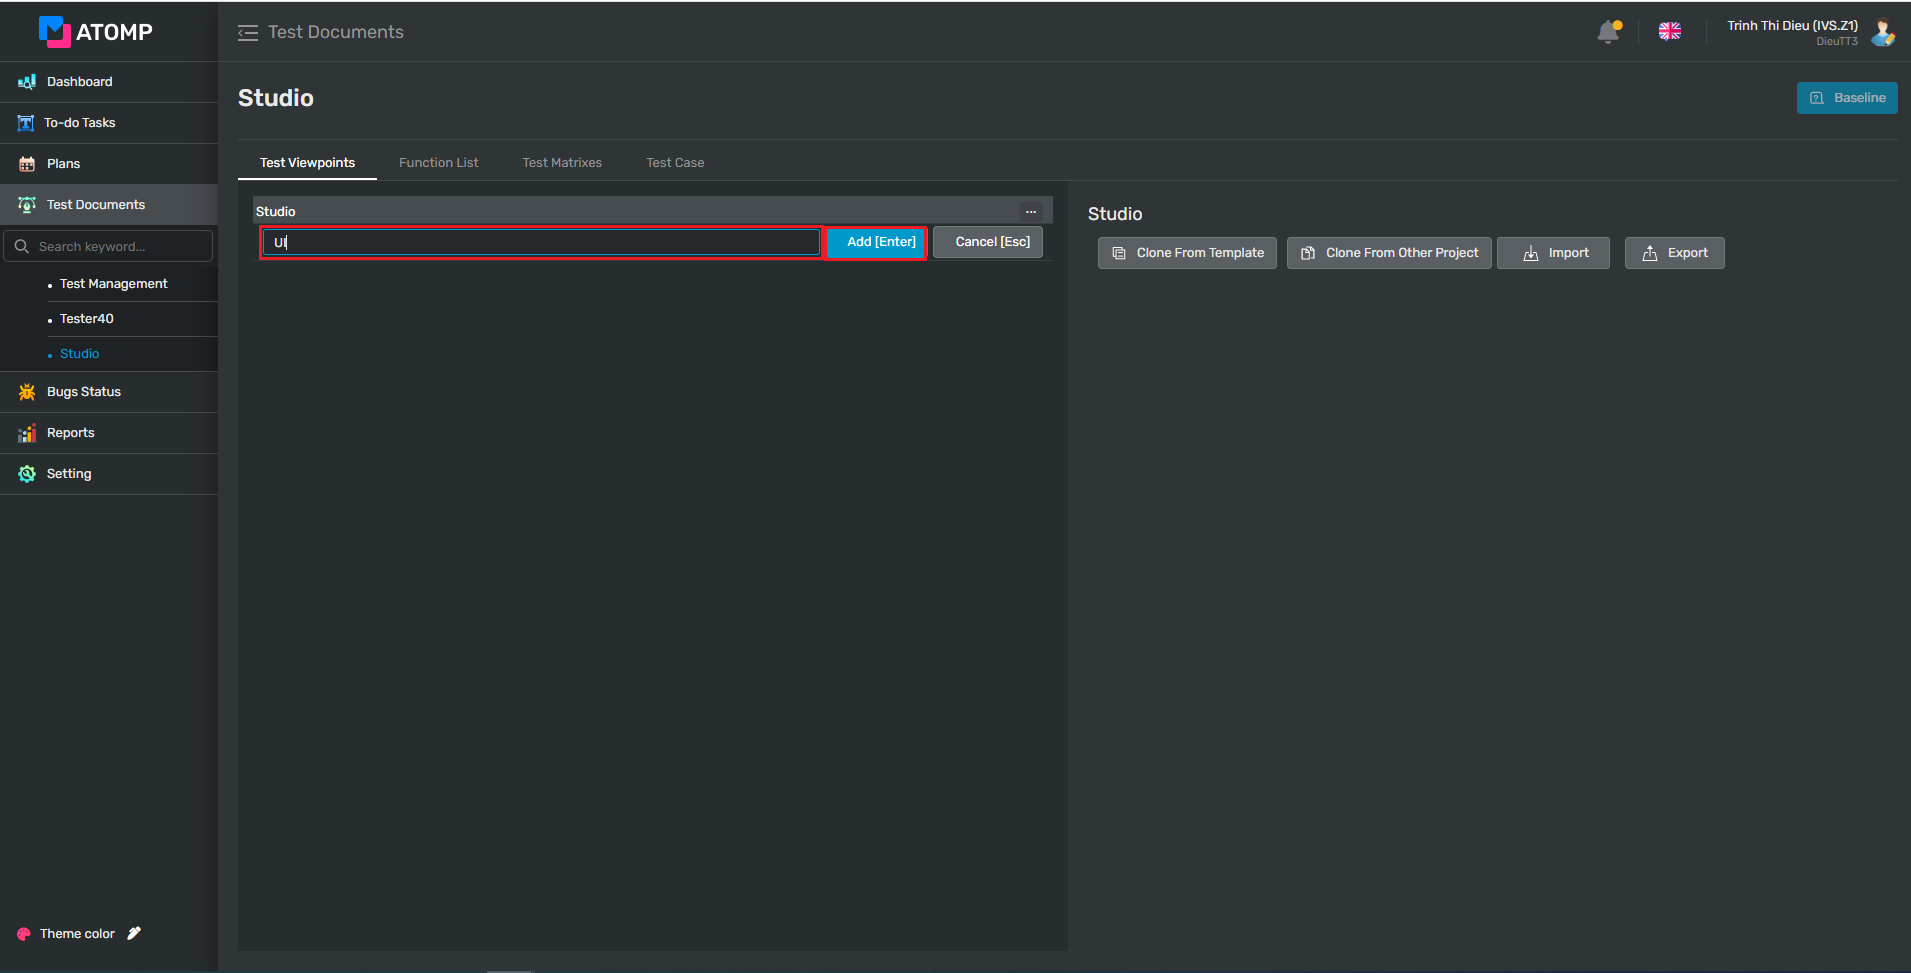
- Input valid data into the text box Create New Child
- Click on Add [Enter] button.
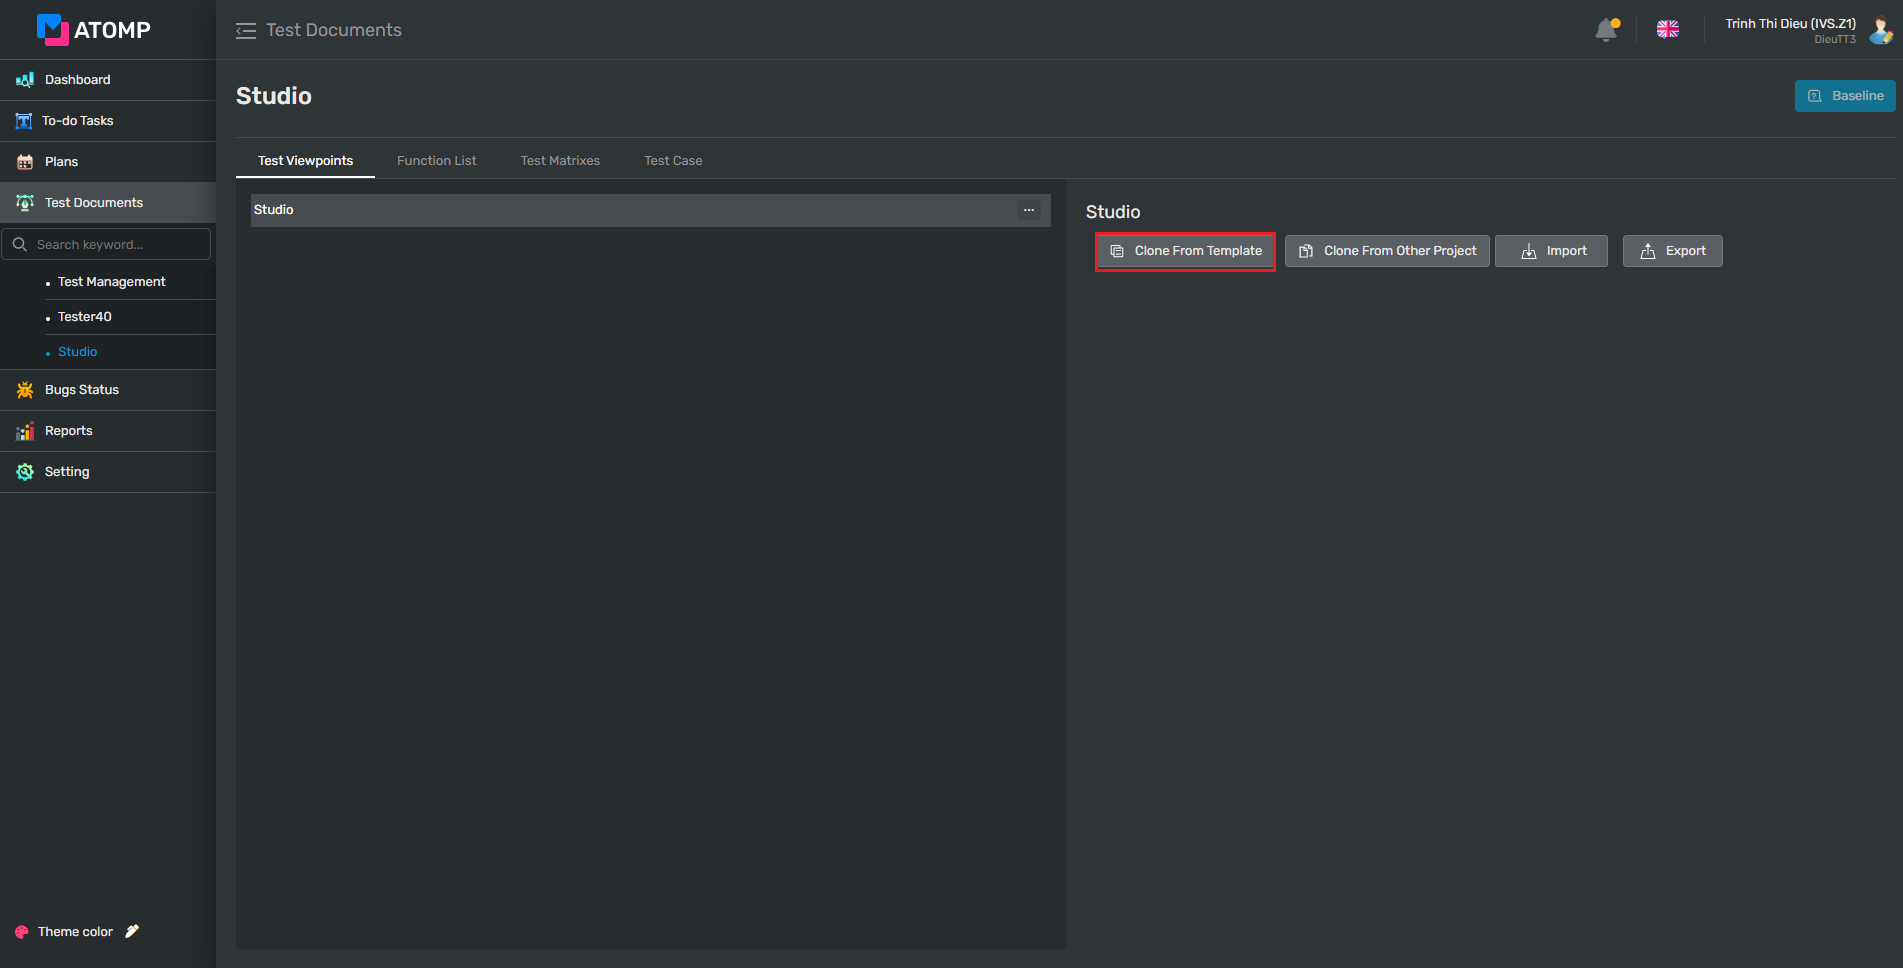
- 2nd way: Clone from template
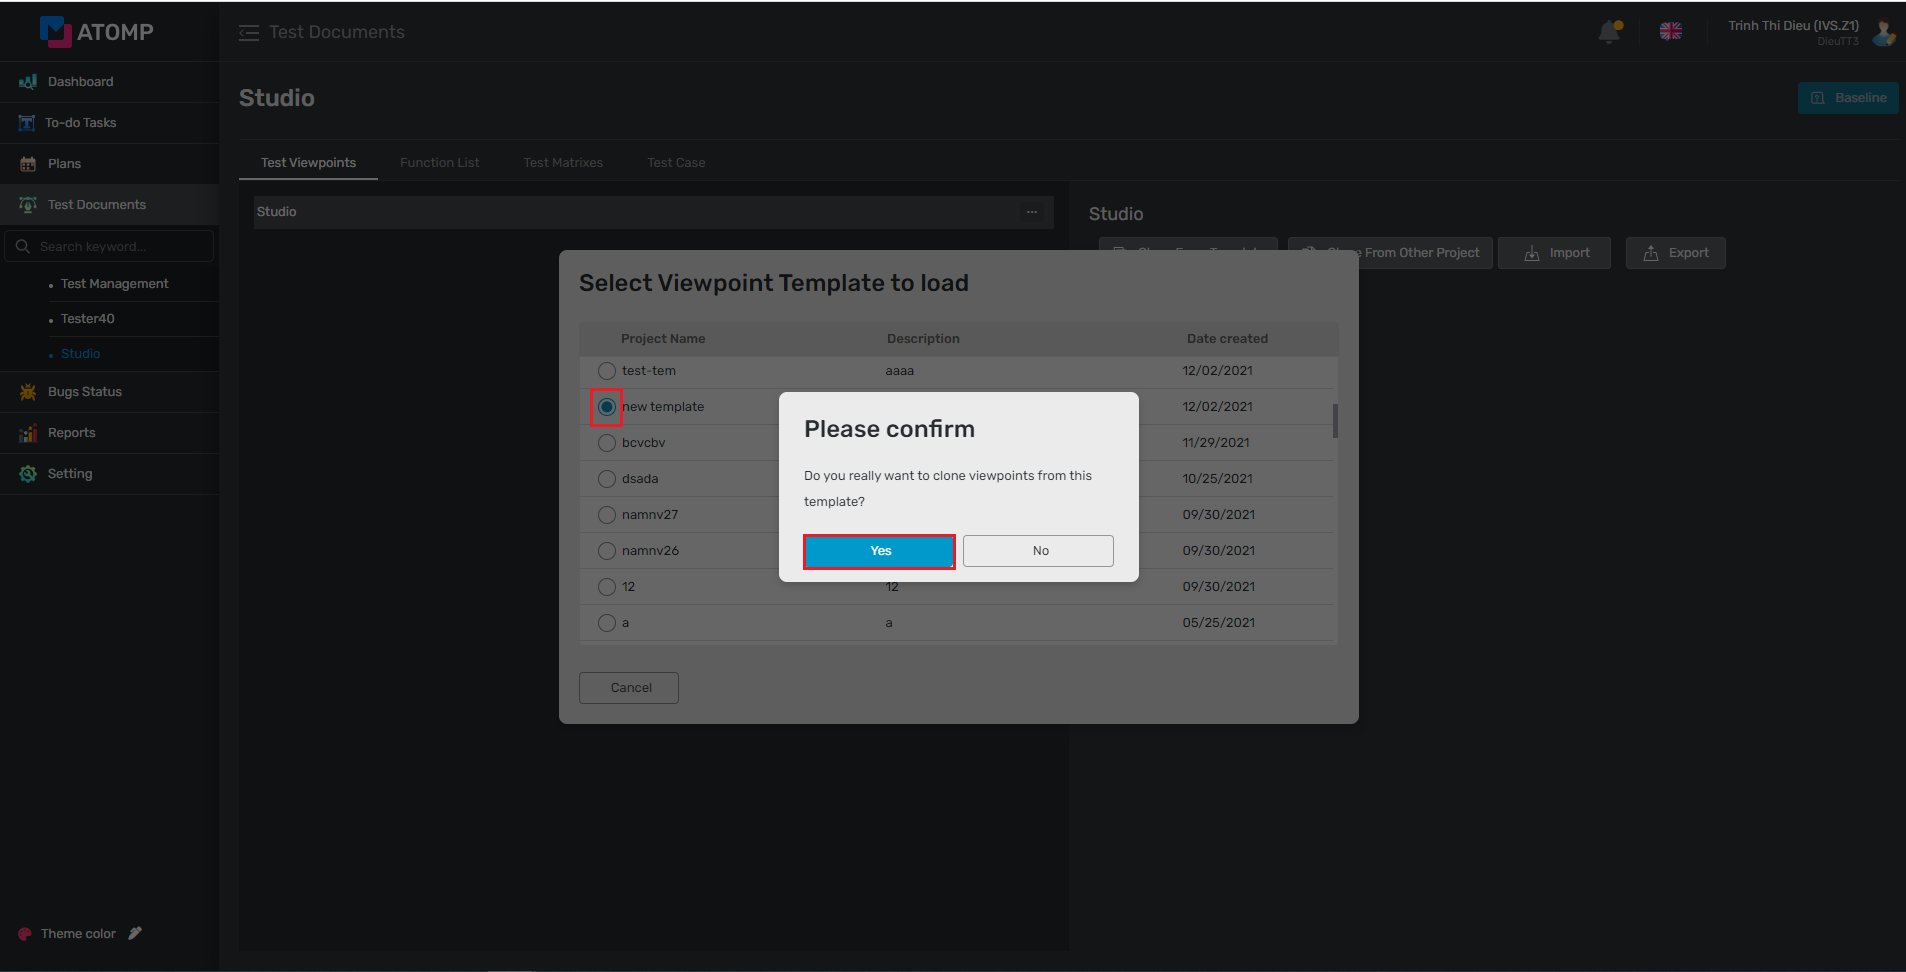
- Click on [Clone From Template] button.
2. Select any template that you want to clone inside the popup Select Viewpoint Template to load.
3. Click on [Yes] button inside the Please Confirm popup.
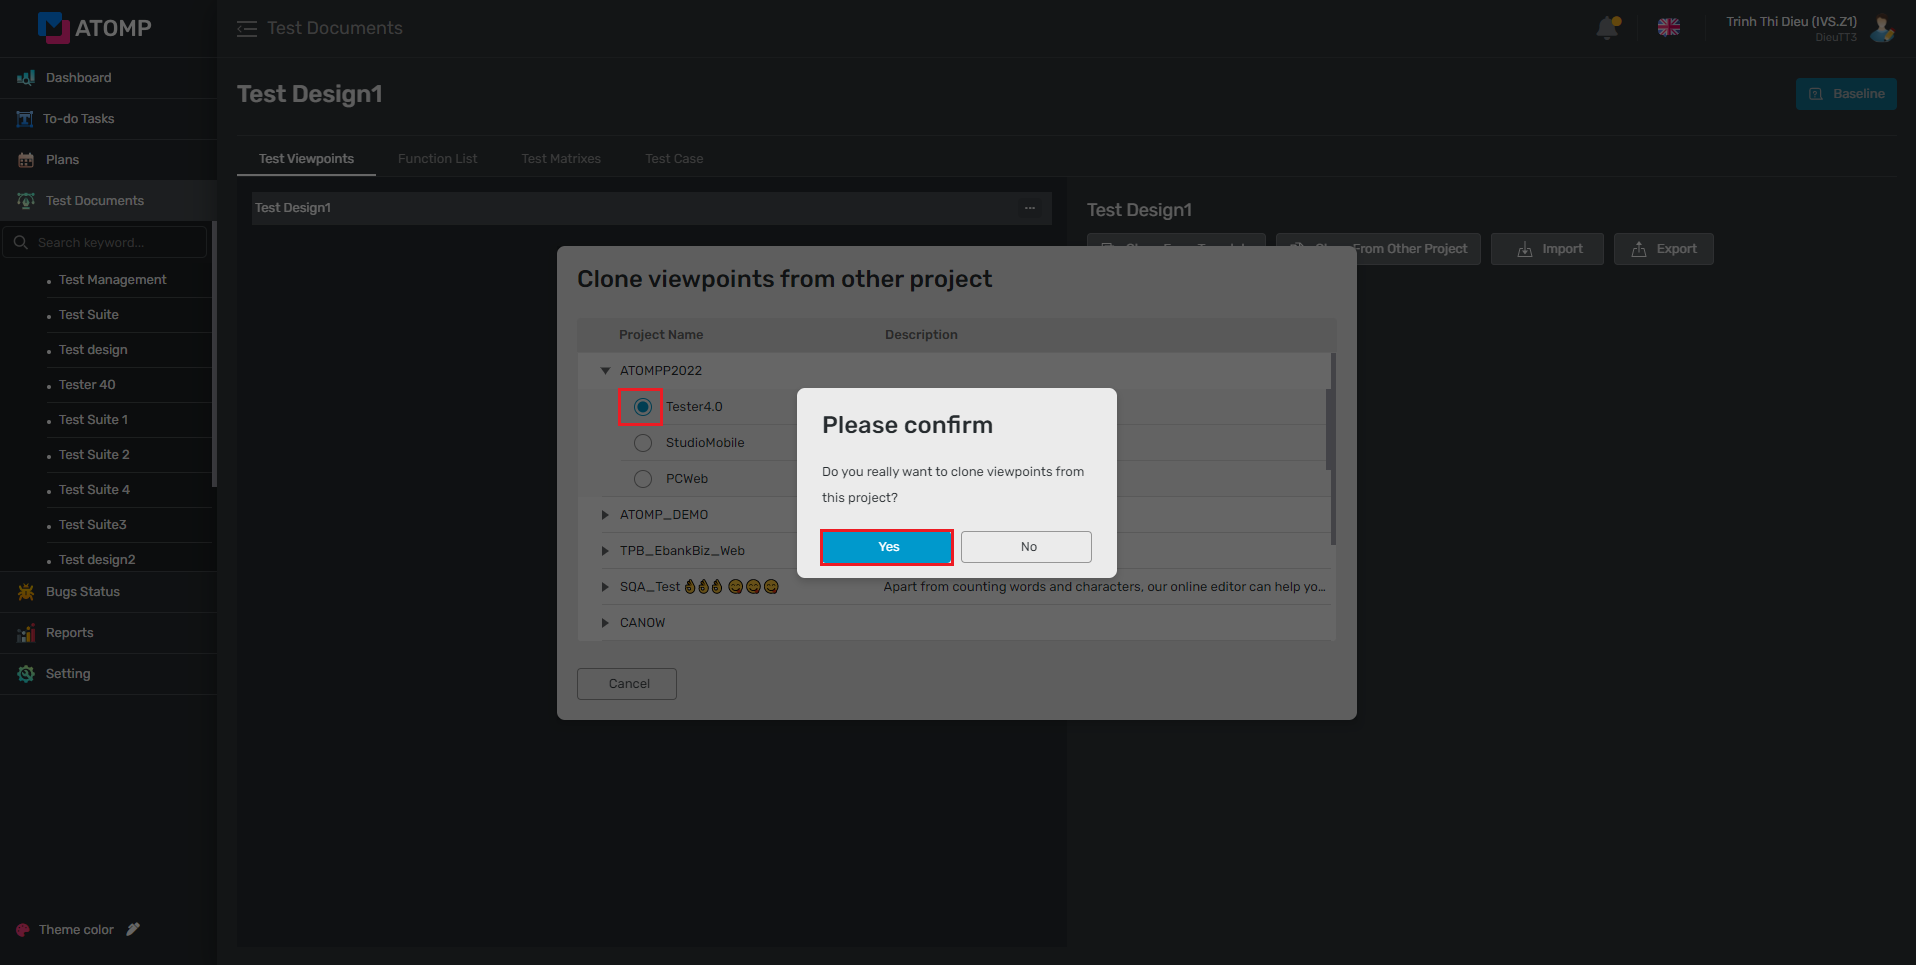
- 3rd way: Clone from other project.
1.Click on [Clone From Other Project] button.

2. Move cursor to the project you want to clone and click on show more icon.
3. Select a subproject name.
4. Click on [Yes] button inside the Please Confirm popup.
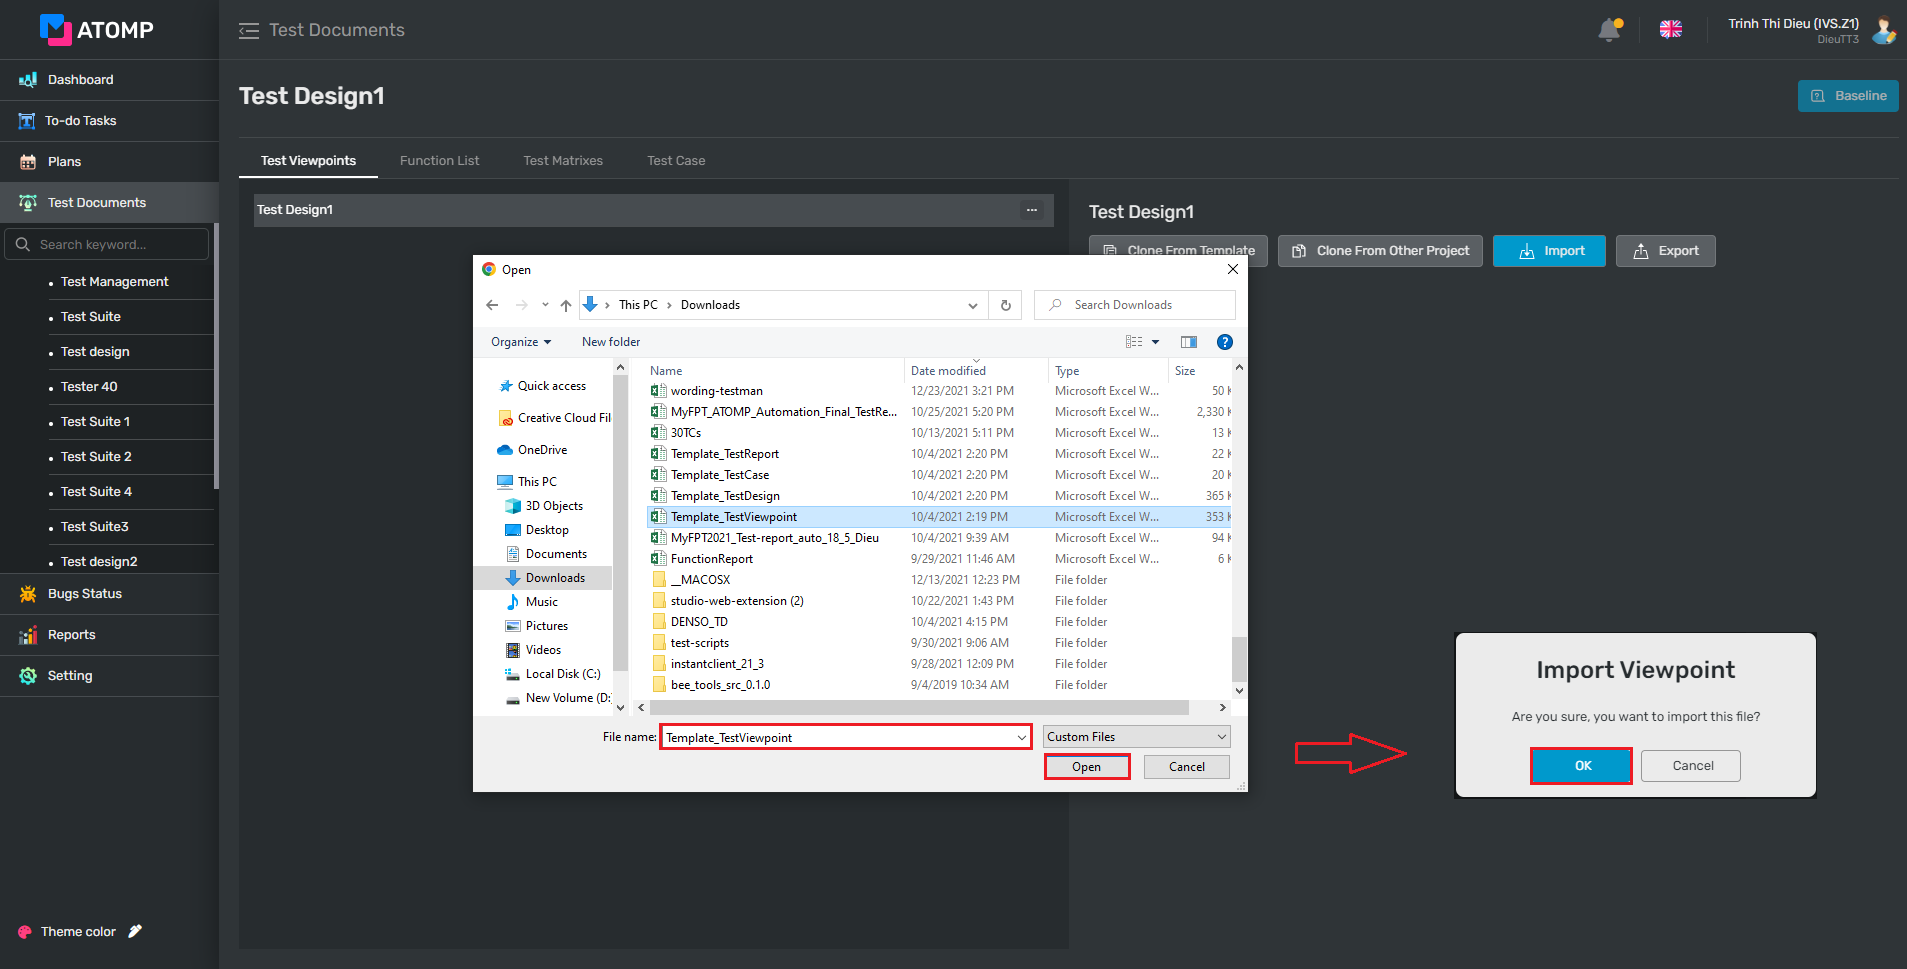
- 4th way: Import file.
1.Click on [Import] button.
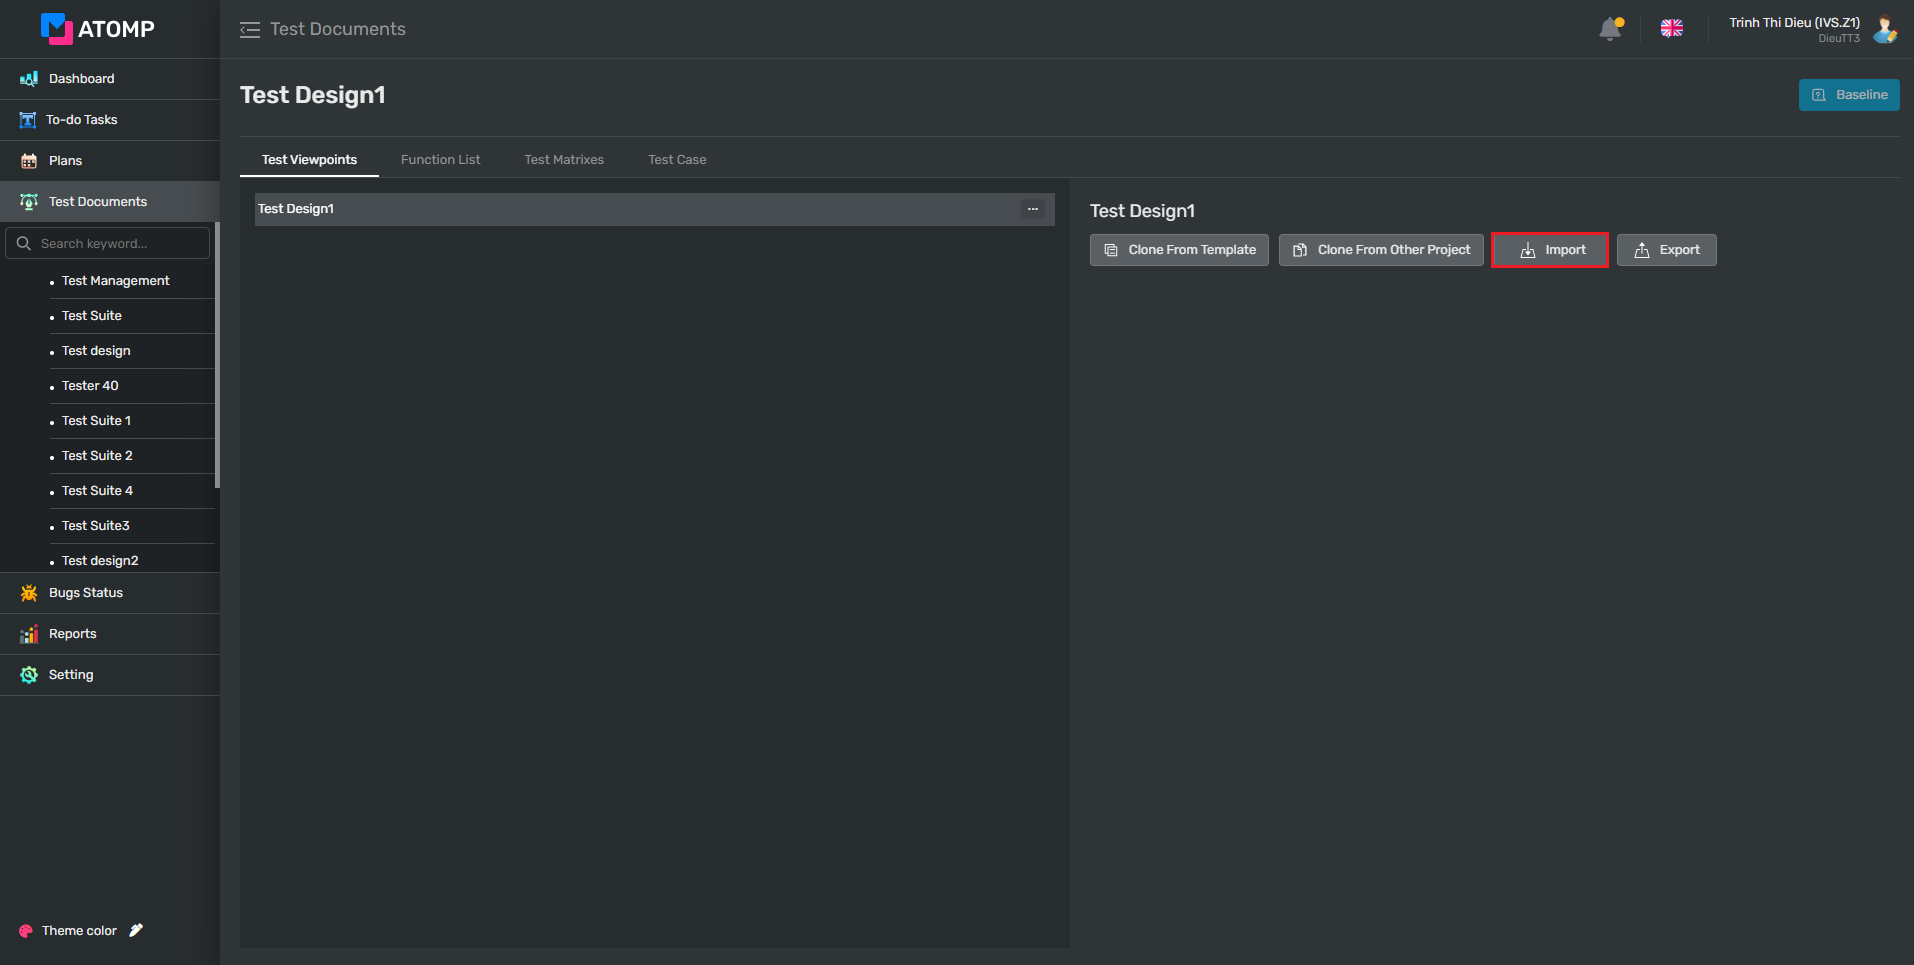
2. Select a valid file (< 3MB) from your computer or download a sample file by clicking [Export] button.
3. Click on [OK] button inside the Import Viewpoint popup.
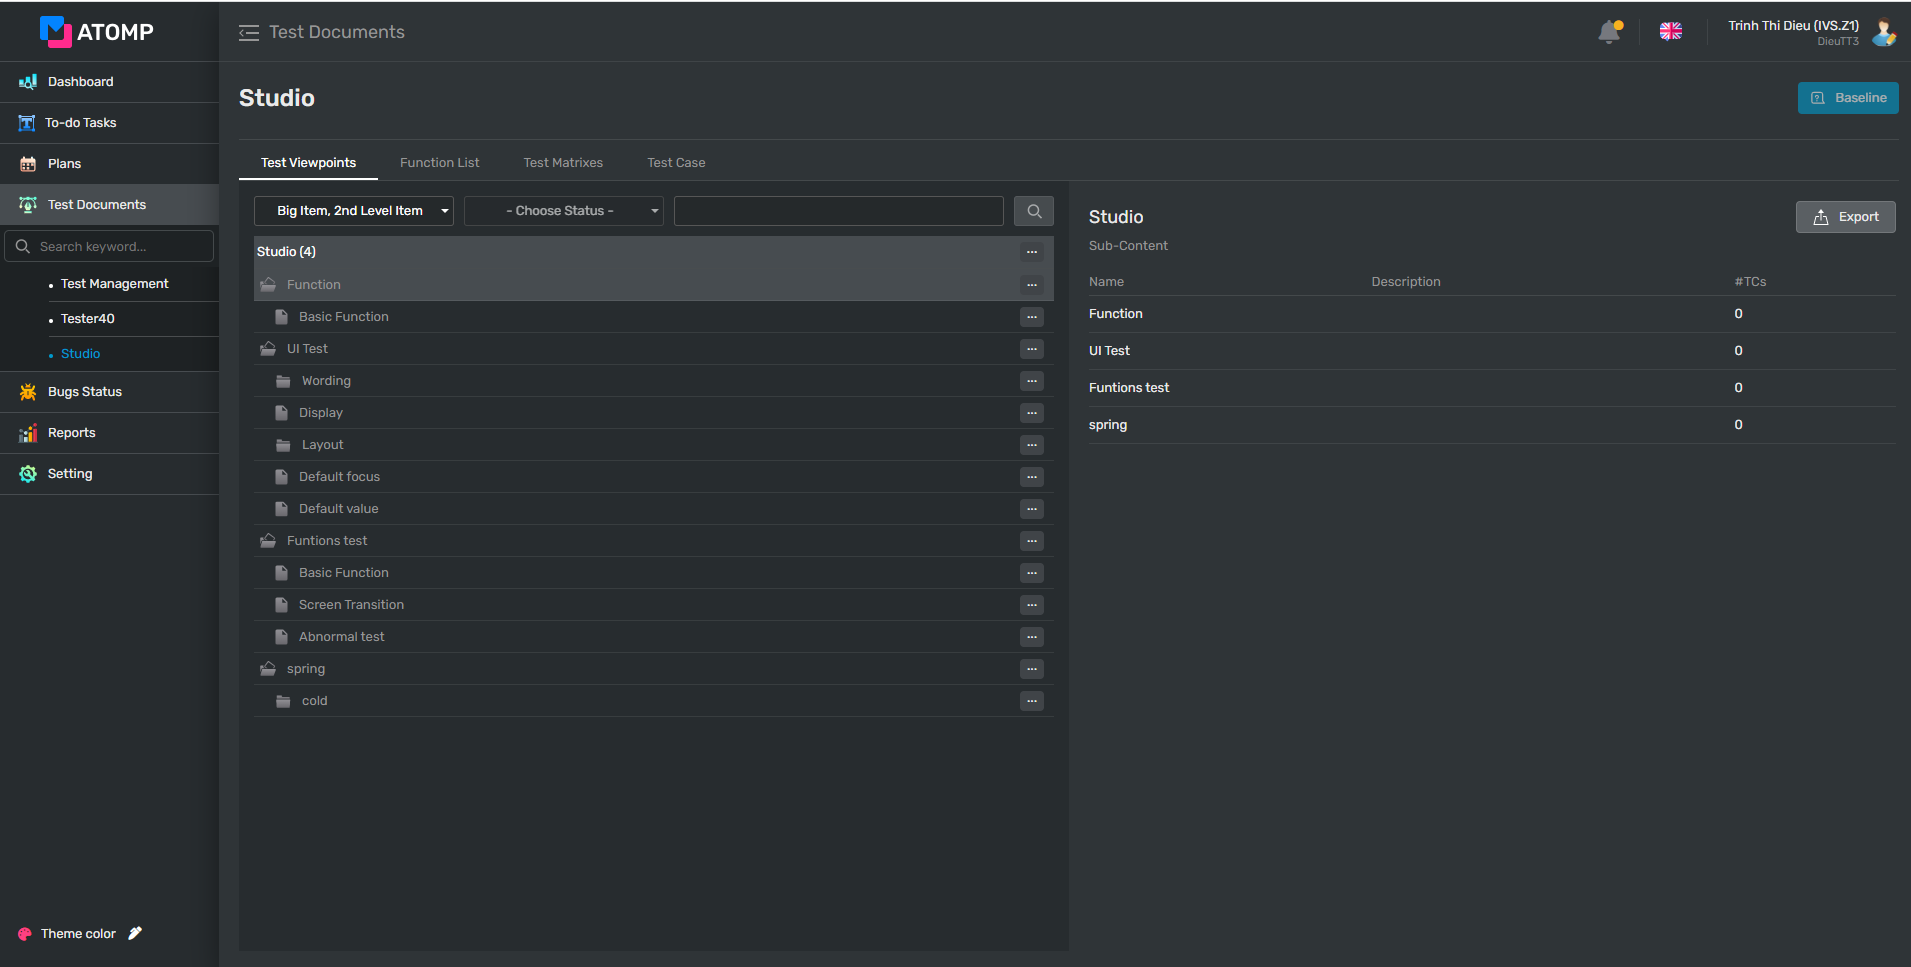
⇨ After creating Test Viewpoint successfully, data will be displayed as below:
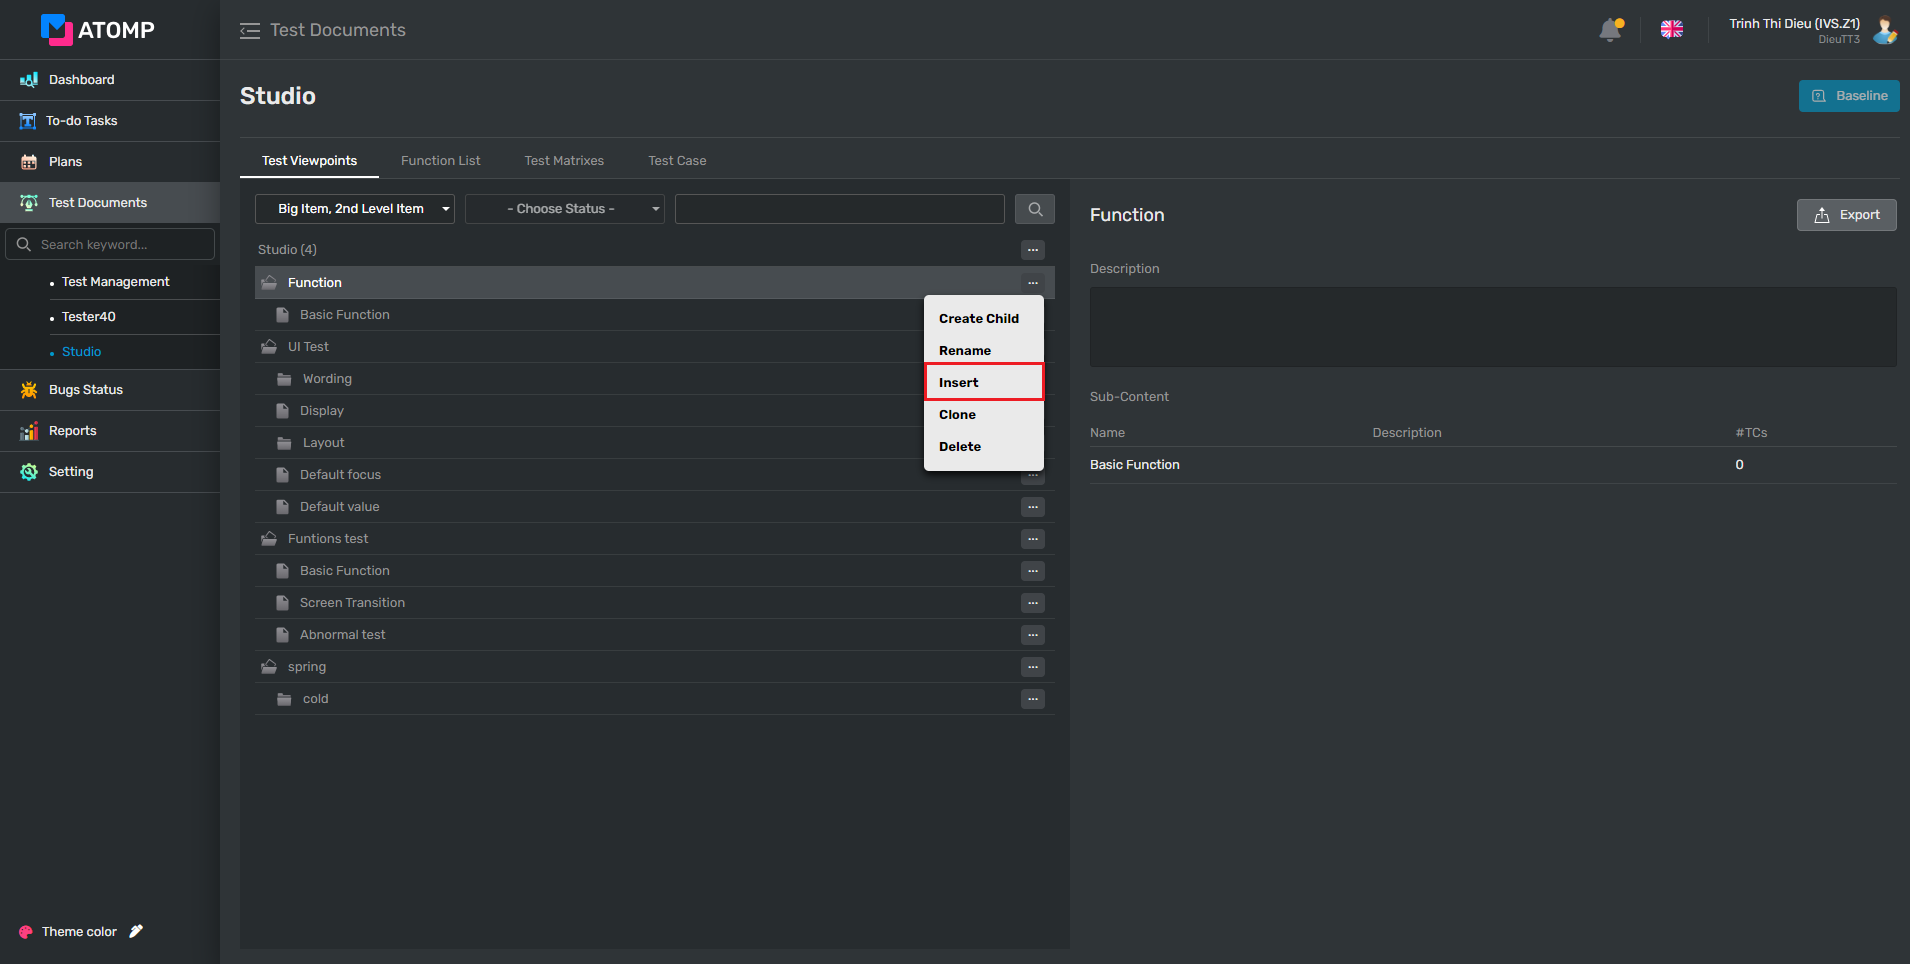
➢ You can create child viewpoint of the viewpoint you created before by 4 steps below:
(1): Click on […] button at any line of the viewpoint.
(2): Click on [Insert] button => a new line of the textbox input will be displayed as below.
(3): Input a valid name into the textbox Create New Child
(4): Click [Add [Enter]] button to save the new data (or user can press the “Enter” key from keyboard).
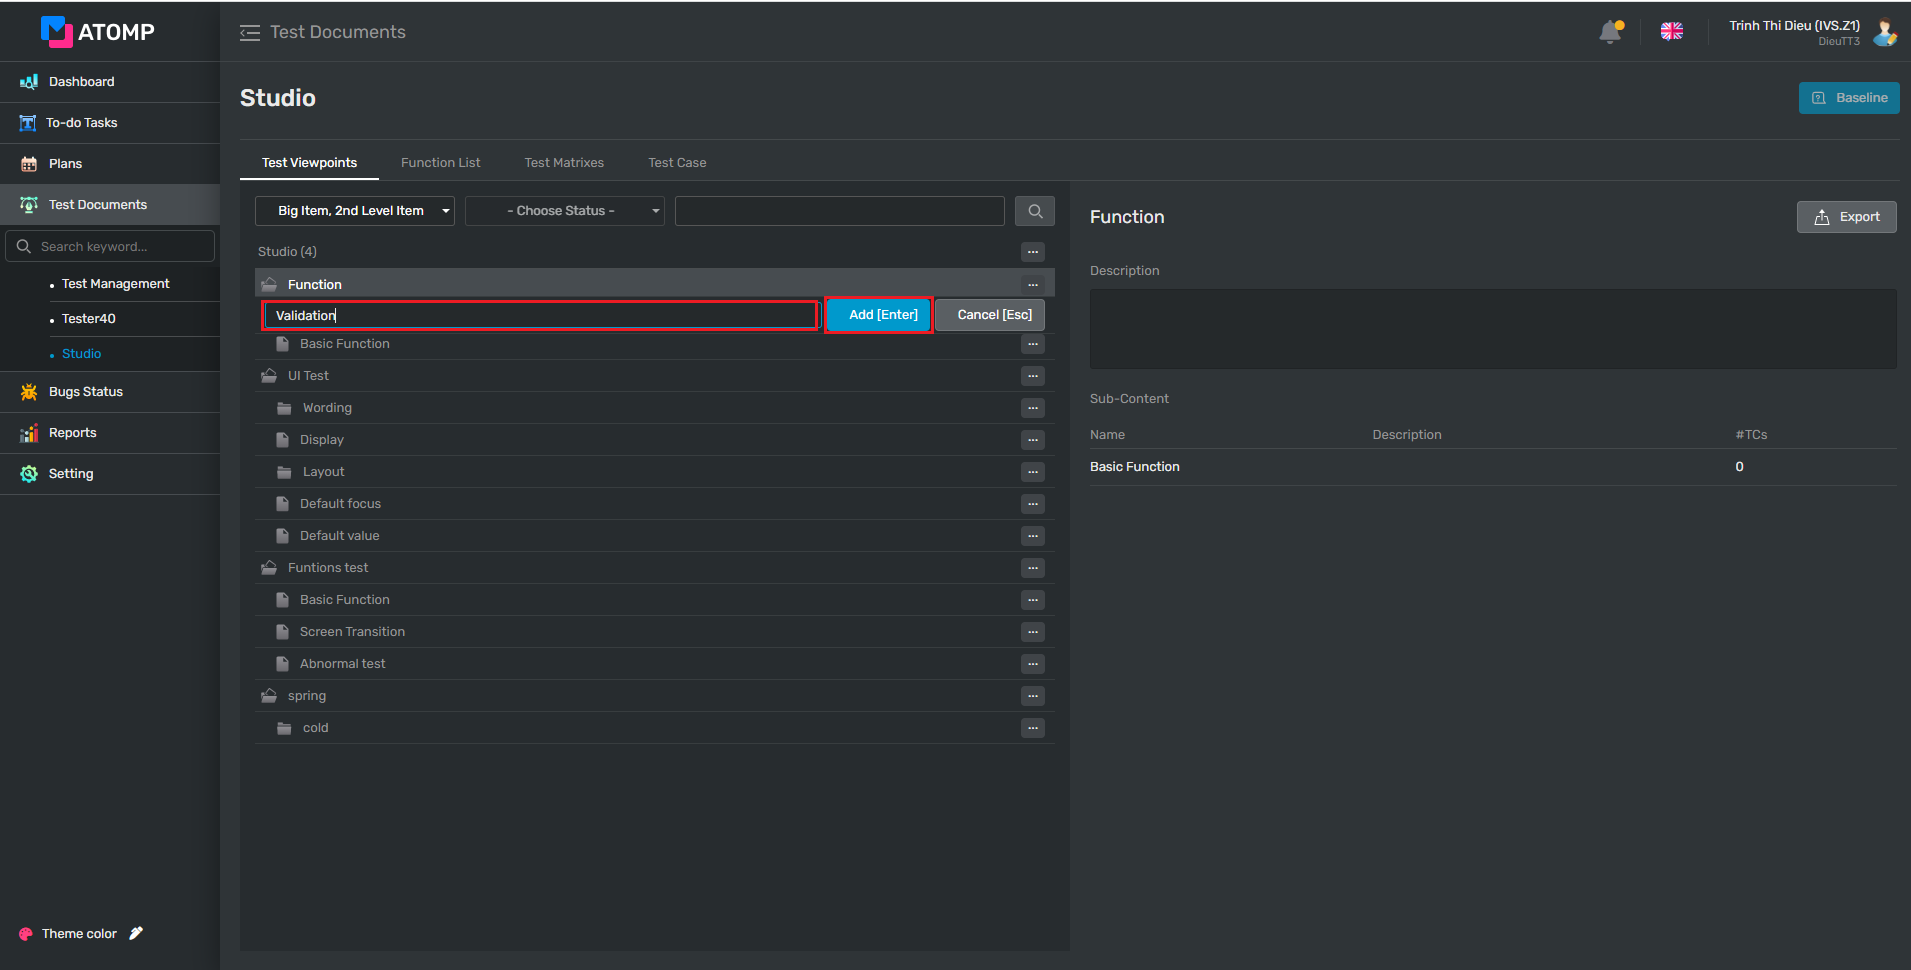
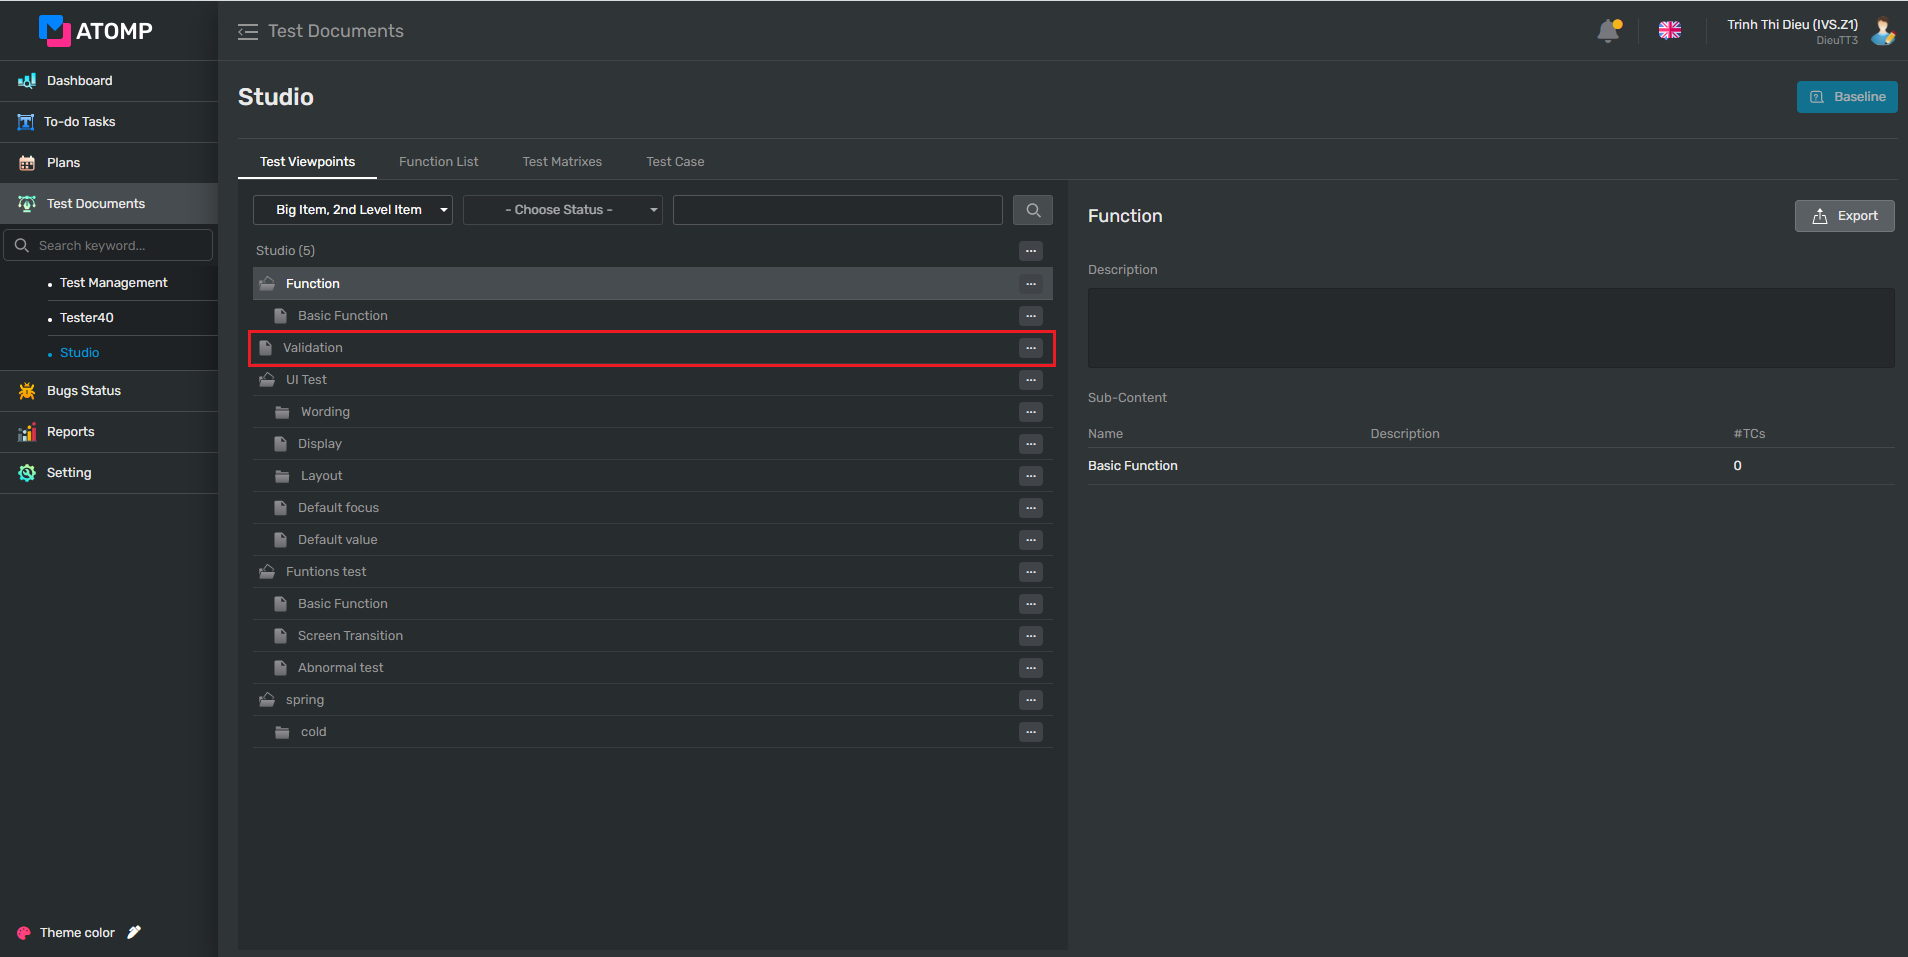
⇨ After user inserts viewpoint successfully, new viewpoint will be displayed:
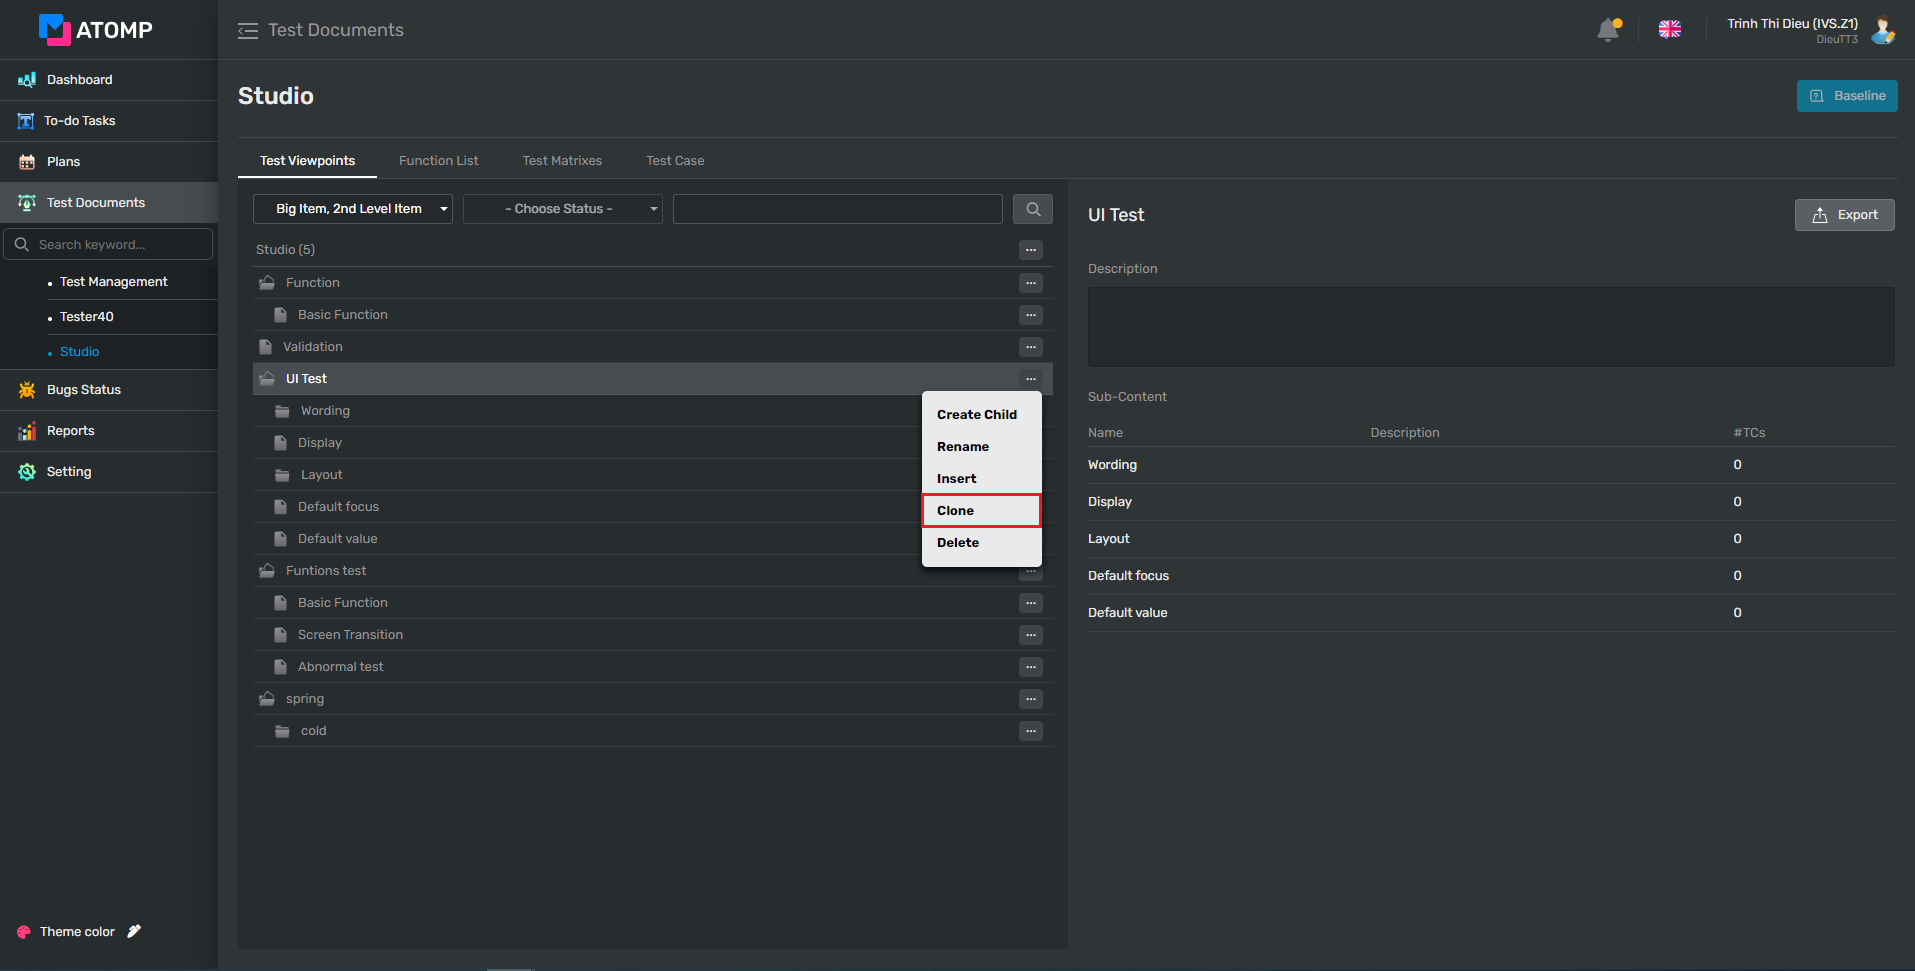
➢ To be more convenient in creating Viewpoints, you can clone them by:
Step 1: Click on […] button at the same line of the viewpoint you want to clone
Step 2: Click on [Clone] item inside the Option popup.
If you want to disable/enable a viewpoint, please follow these steps below:
Step 1: Click on […] button at the same line of the viewpoint you want to disable/enable
Step 2: Click on [Enable]/ [Disable] item inside the Option popup => Popup confirm will be displayed.

Step 3: Input the reason you want to disable/enable, then click on [OK] button. At this time, the test cases related to the viewpoint that you selected in step 1 are displayed with disable/enable status.
Note: If you disable/enable Parent Viewpoint, Child Viewpoint will also be disable/enable.
➢ If you want to delete a viewpoint, please follow these steps below:
Step 1: Click on […] button at the same line of the viewpoint you want to delete.
Step 2: Click on [Trash] item inside the Option popup => Popup confirm will be displayed.

Step 3: Click on [OK] button. At this time, the test cases related to the viewpoint that you selected in step 1 are displayed with disable status.
(After performing the above 3 steps, the selected “test viewpoint” has only been temporarily deleted, you can restore it by clicking on […] button corresponding to the “test viewpoint” you selected in step 1, then select “Enable” item on the option popup.)
Step 4: Perform Baseline version for Test Document (refer How to baseline version for a Test Document?). Now the “test viewpoint” you selected in step 1 has been permanently deleted.
Note: If you move Parent Viewpoint to the trash, Child Viewpoint will also be moved to the trash.
2. How to create a Function List?

Step 1: On the Test Document screen -> Select Function List tab => Click on Create New Function List button.
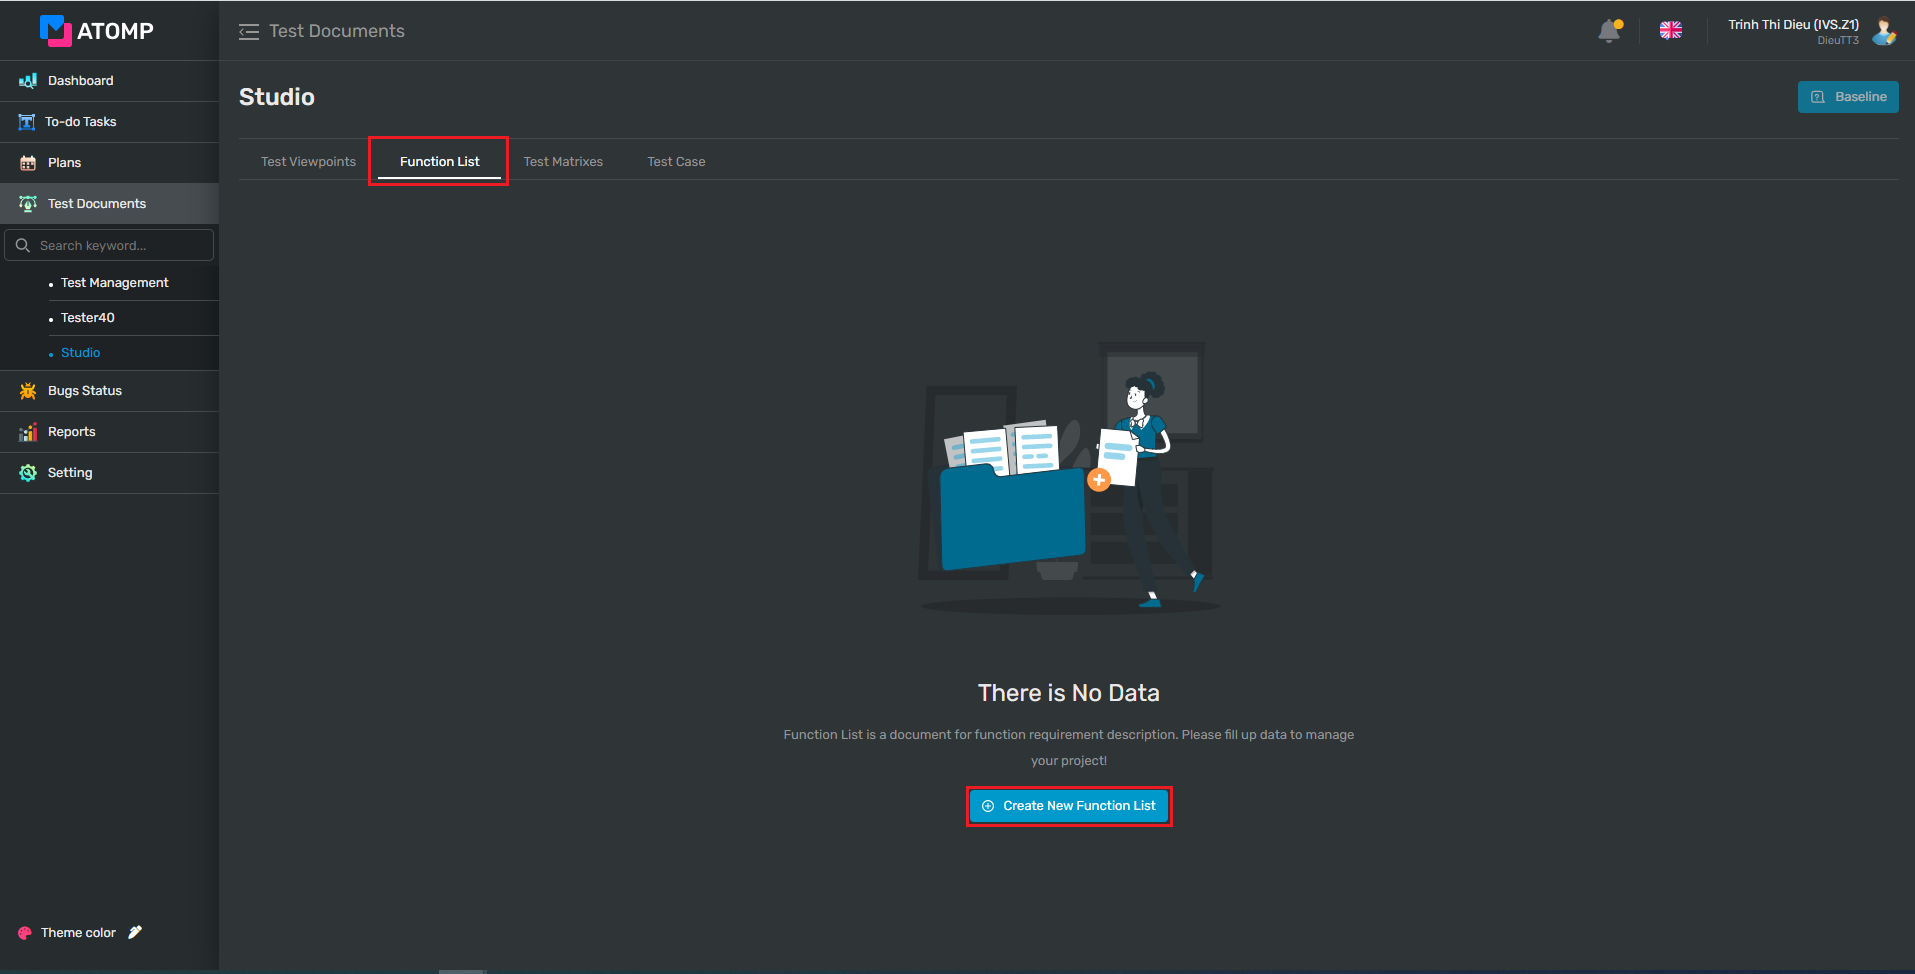
⇨ Create new function list screen will be displayed as below:
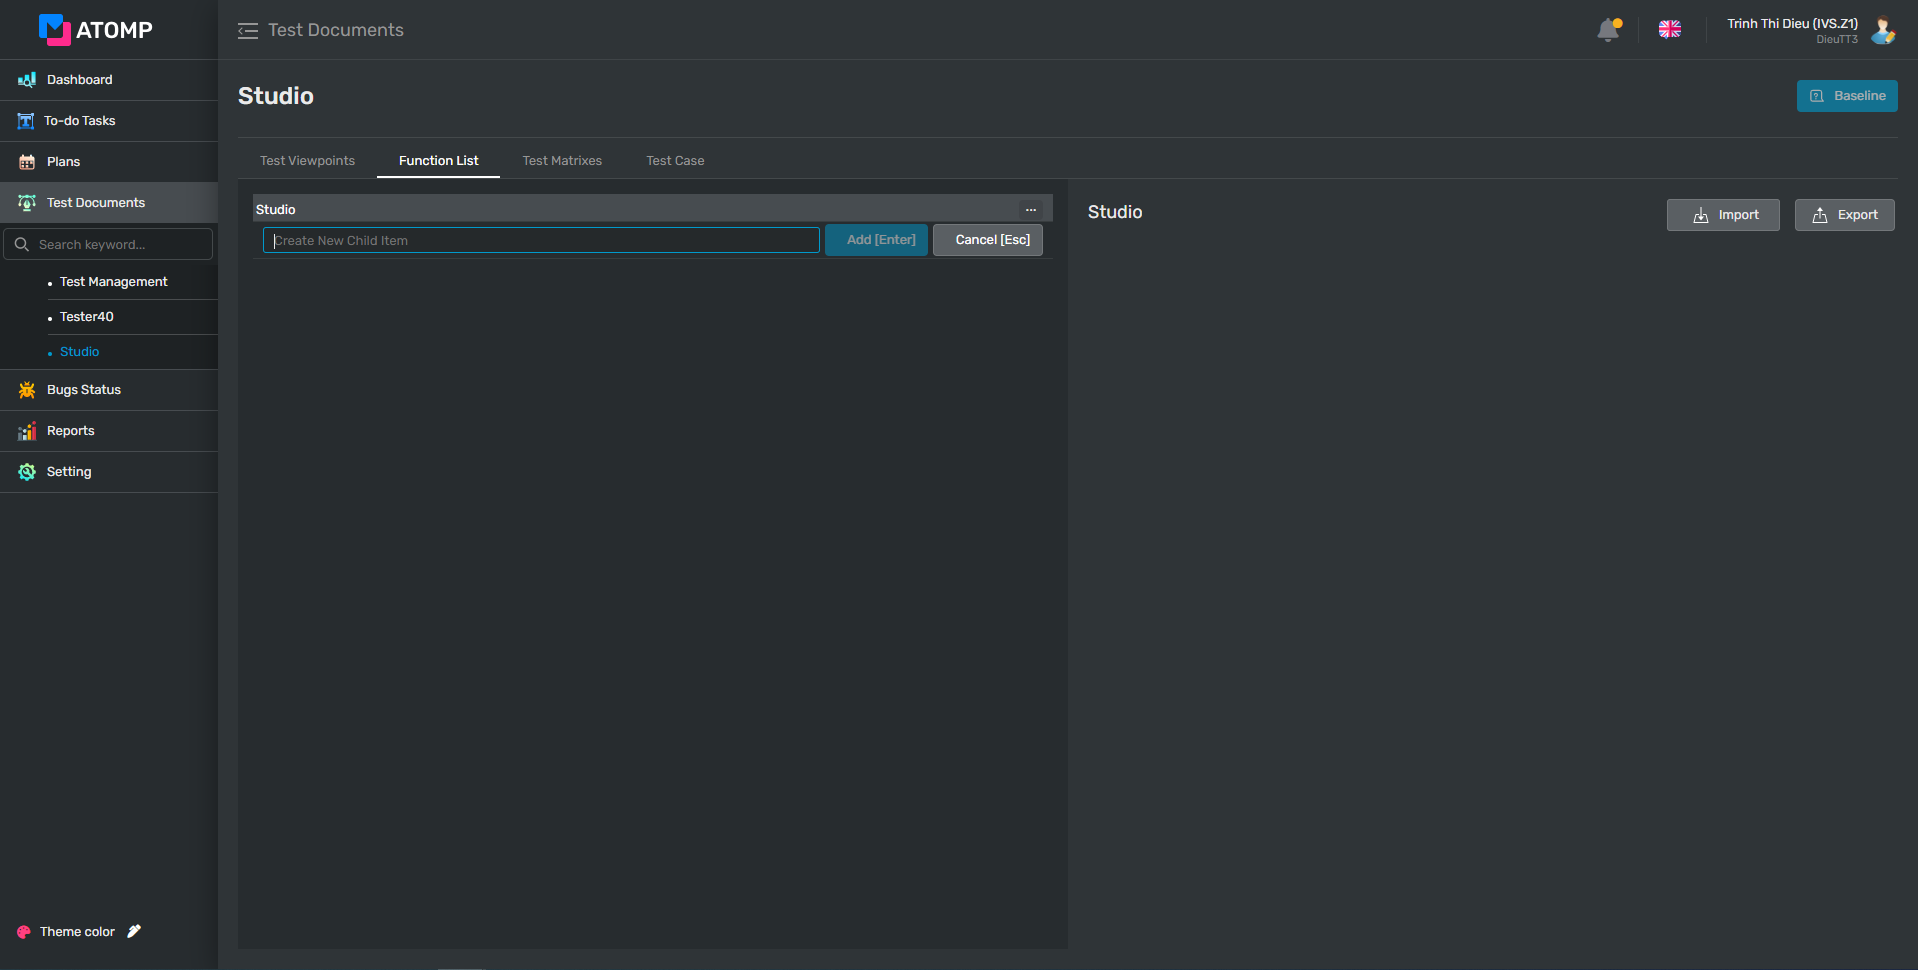
Step 2: Creating a child function list. There are 2 ways to create a child function List:
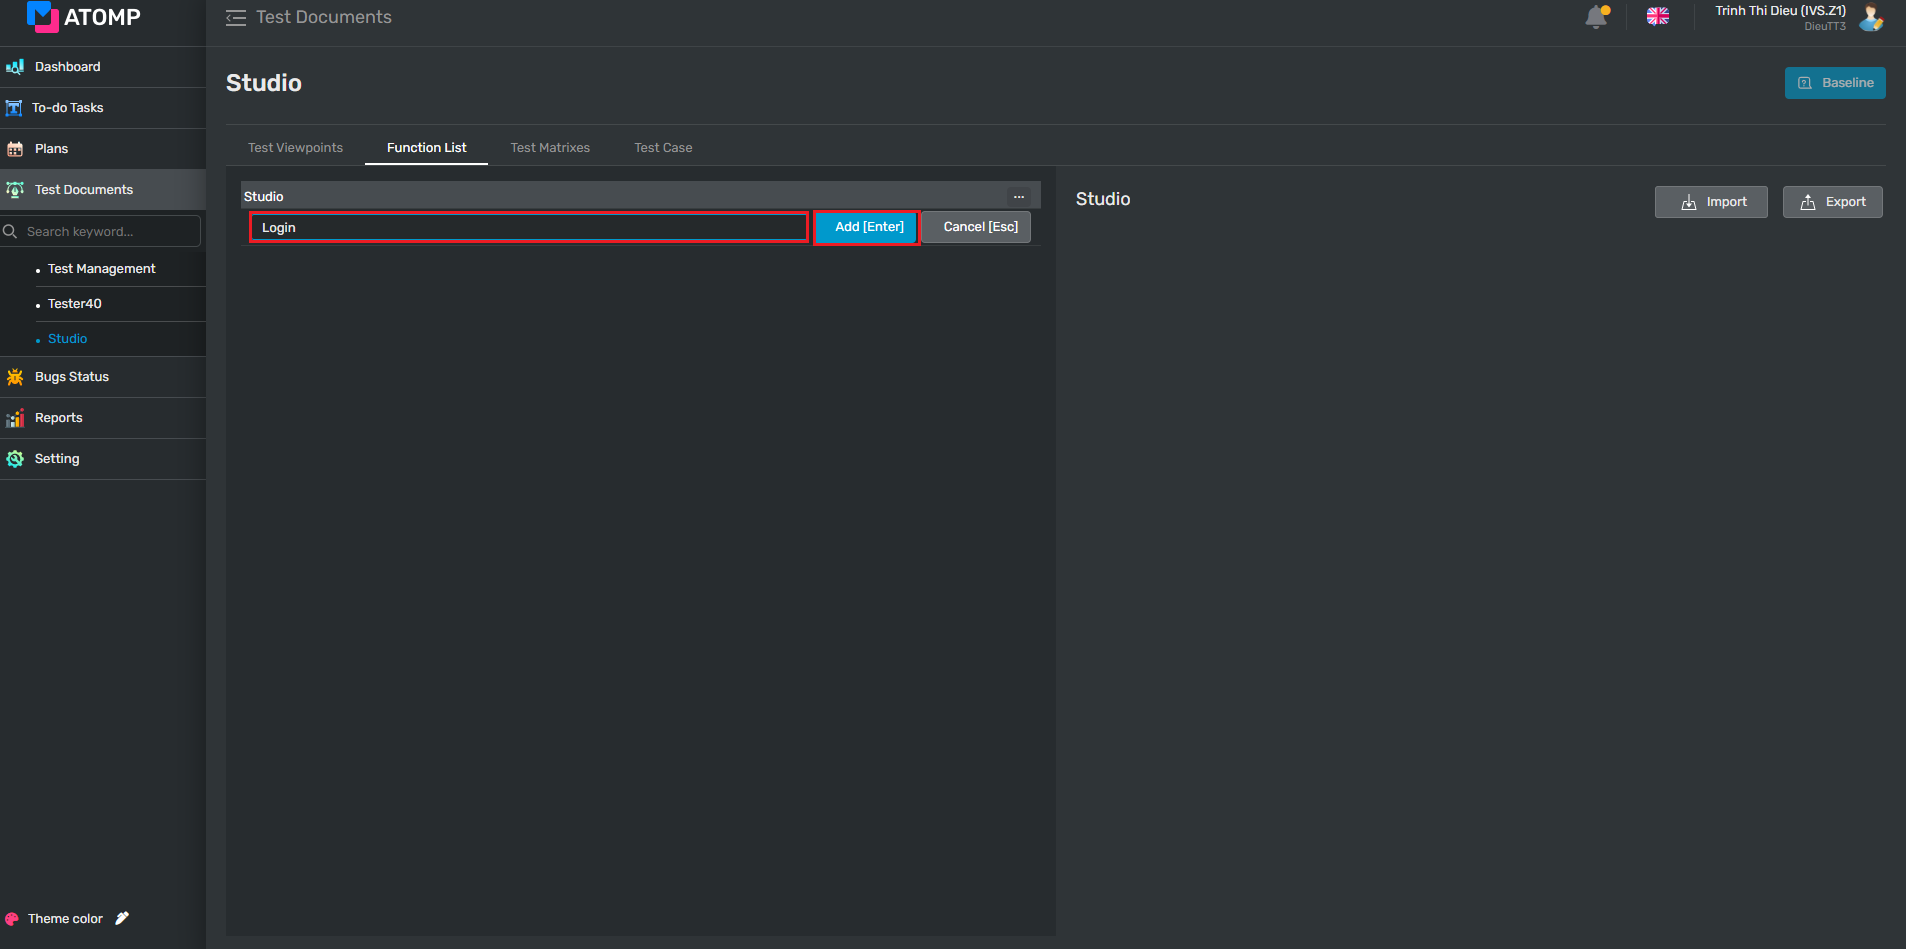
- The 1st way: input data into the text box Create new child
- Click on […] button at the same line of the subproject name.
- Select [Create Child] button.

3. Input valid data into textbox Create New Child
4. Click on Add [Enter] button => Child function will be added successfully.
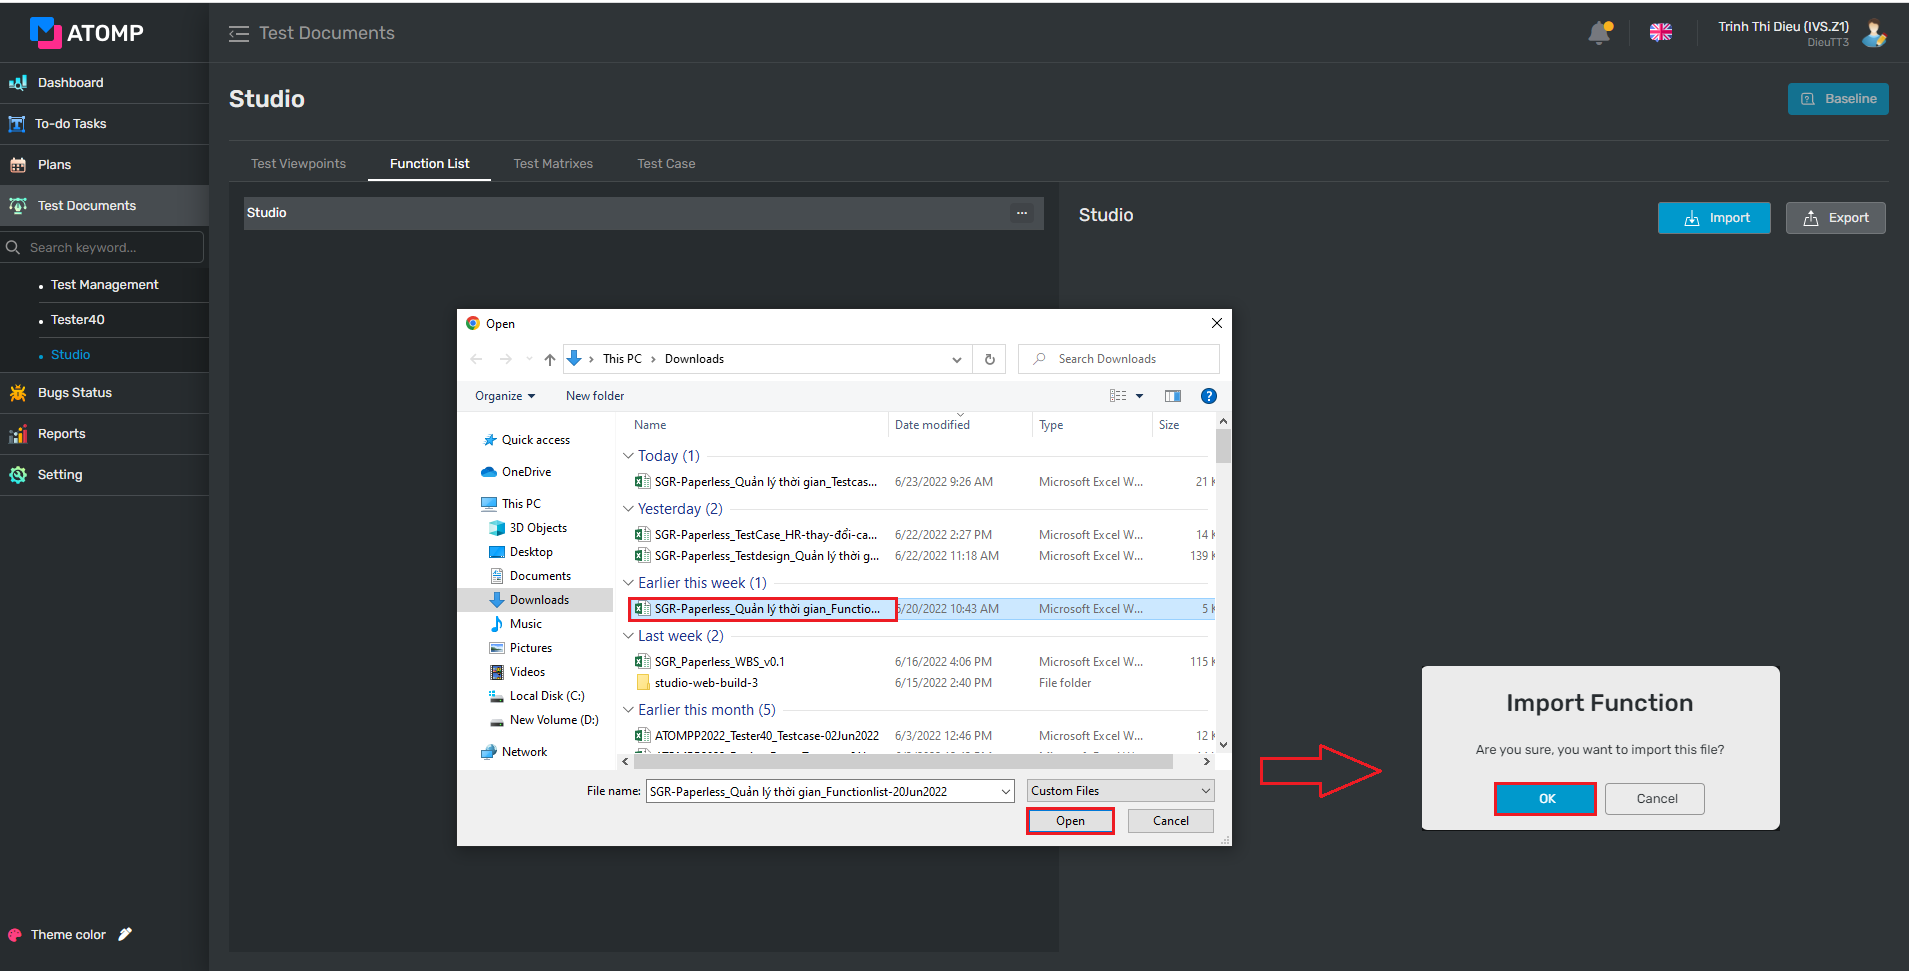
- The 2nd way: Importing file.
- Click on the Import button
- Upload a valid file (<3 MB), template from your computer or download the sample file by clicking on [Export] button.
- Click on OK button inside the Import Function popup.
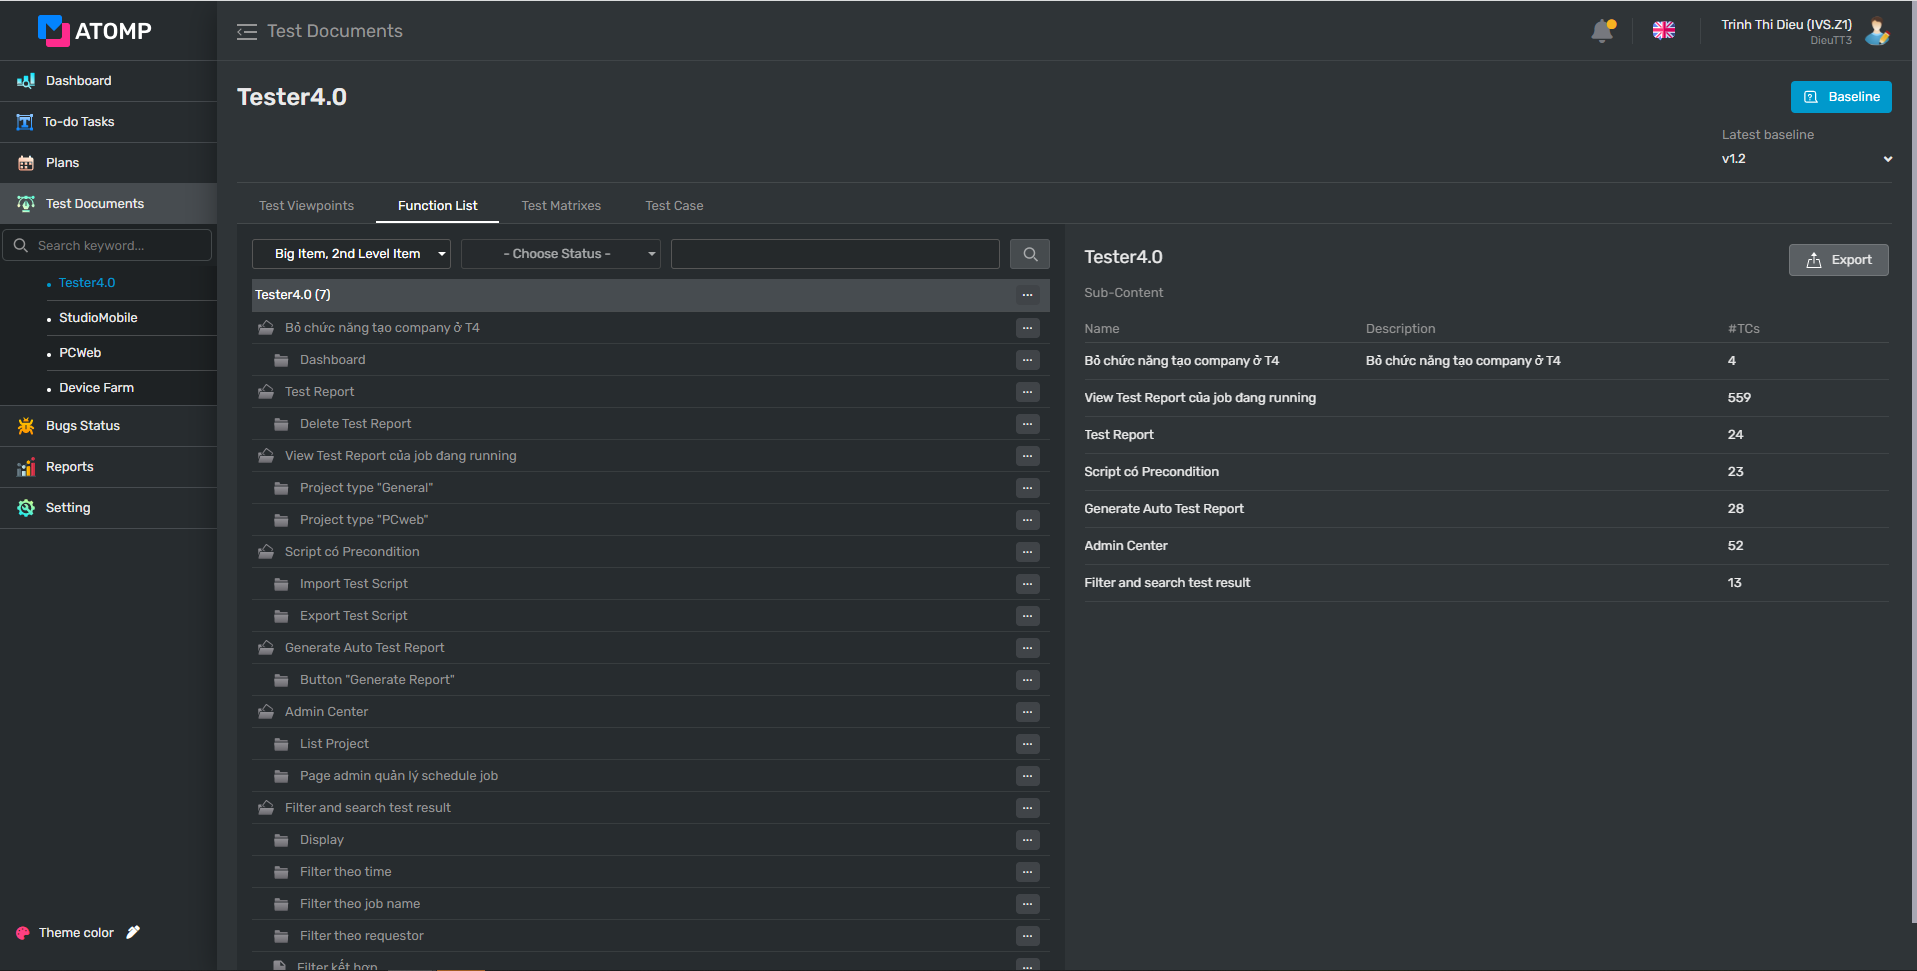
⇨ Function list tab will be displayed as below (data is inserted):
➢ To insert a same level function list, follow these 4 steps below:
Step 1: Click on […] button at the same line of the function/viewpoint
Step 2: Click on [Insert] button => a new line of text box input will be displayed as below.
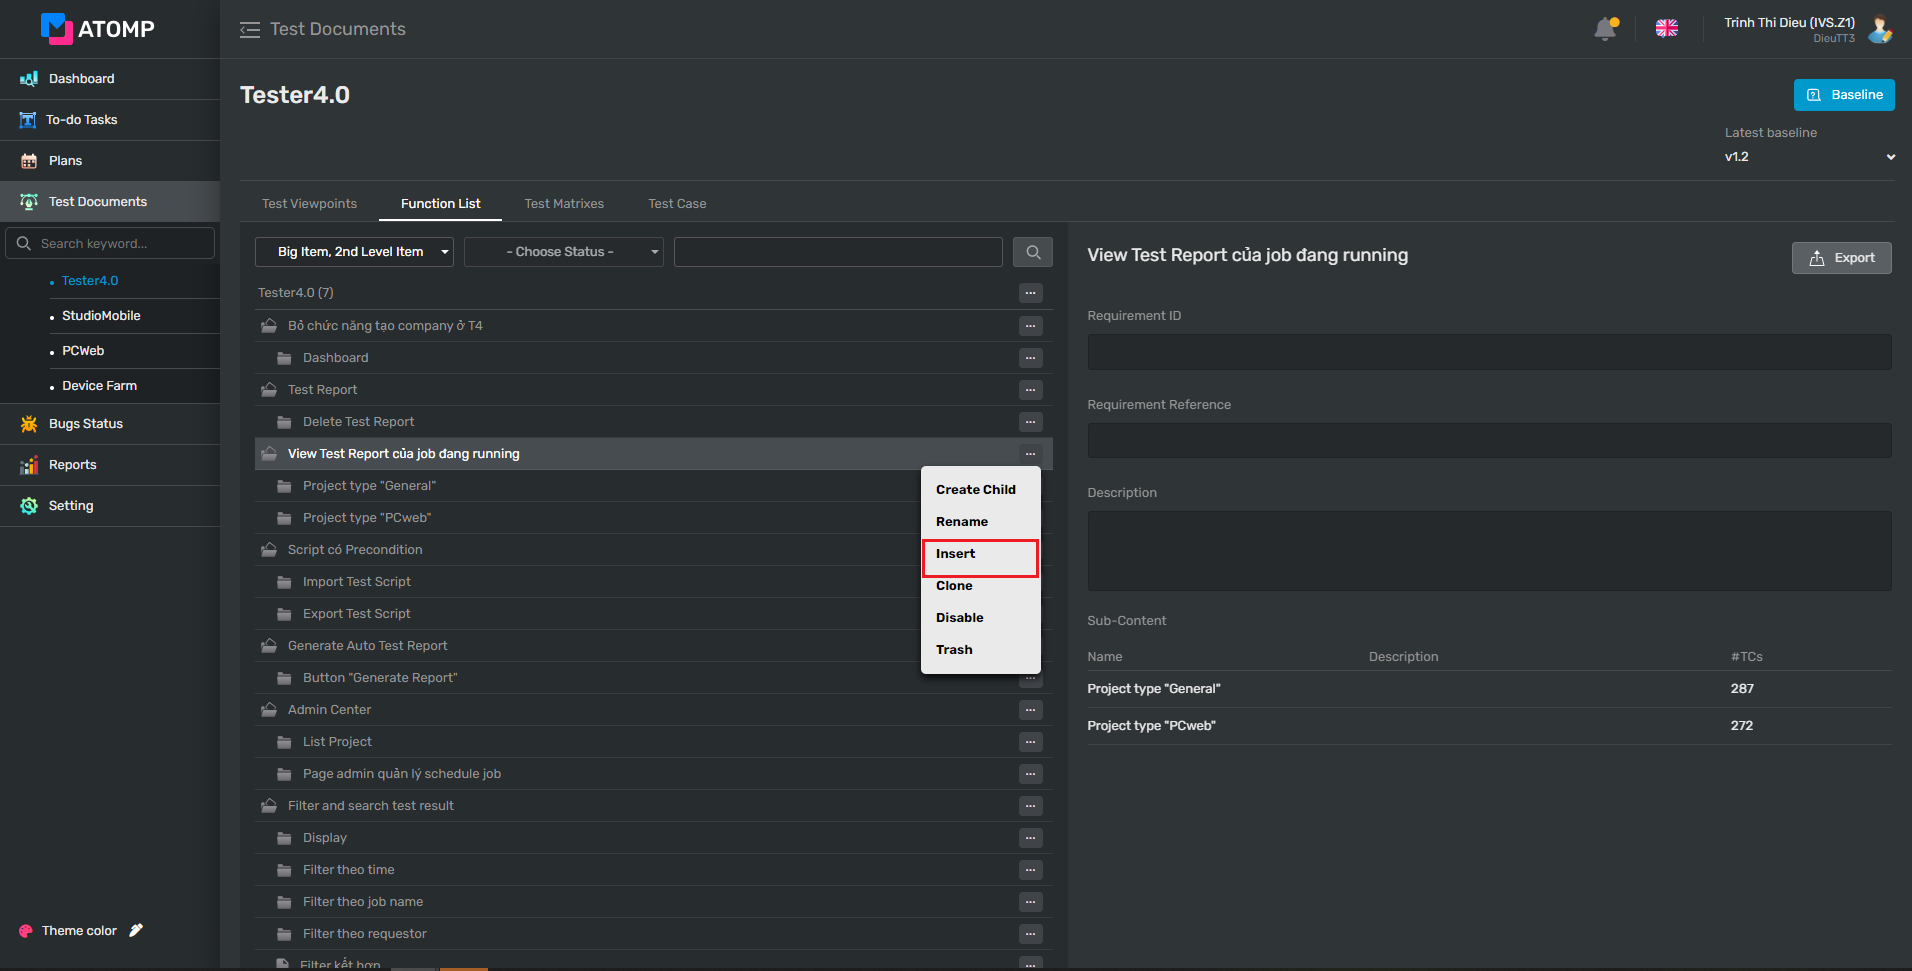
Step 3: Input a valid name into the text box
Step 4: Click [Add [Enter]] button to save the new data (or user can press “Enter” key from the keyboard).

➢ If you want to clone a function, do like the way you clone viewpoint (refer Clone Viewpoint)
➢ If you want to disable/enable a function, do like the way you disable/ enable viewpoint ( refer Disable/ Enable Viewpoint)
➢ If you want to delete a function, do like the way you delete viewpoint (refer Trash Viewpoint)
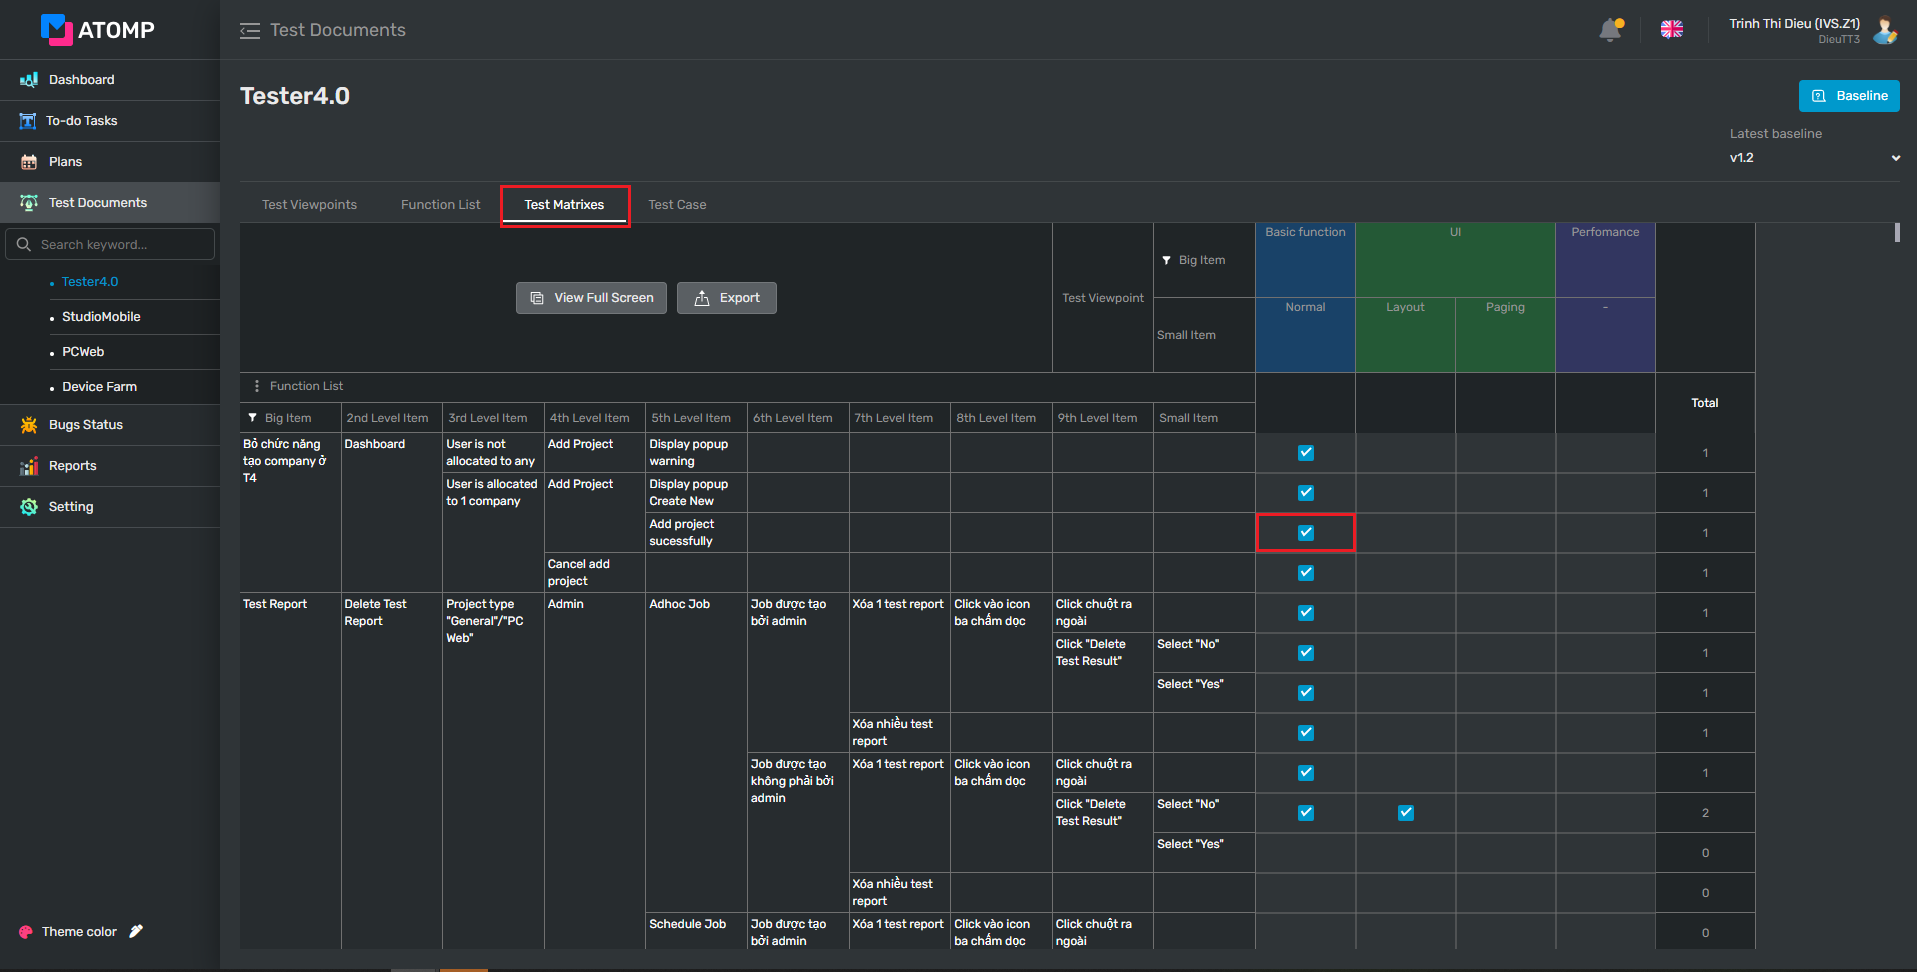
3. How to create a Test Matrix?

After these Test Viewpoint and Function List are created successfully (data inserted) => Test Matrix tab will also have data.
You can create a test matrix by these 2 steps:
Step 1: Select the Test Matrix tab
Step 2: Move the cursor to any checkbox that user wants to create the test case => The icon [v] will be displayed as a blue light => User can check on that check box => Test case will be created successfully.
4. How to create a Test Case?

There are 2 ways to create a complete test case:
➢ The 1st way – Createfrom Test Management: All checked test cases inside the Test Matrix tab will be displayed inside the Test Case tab.
- Step 1: Input data directly into text boxes inside the Test Case screen
(1) Click on Test Case tab => Test Case screen will be displayed
(2) Input valid data into the Precondition field
(3) Input valid data into the Steps field.
(4) Input valid data into the Expected Result field.

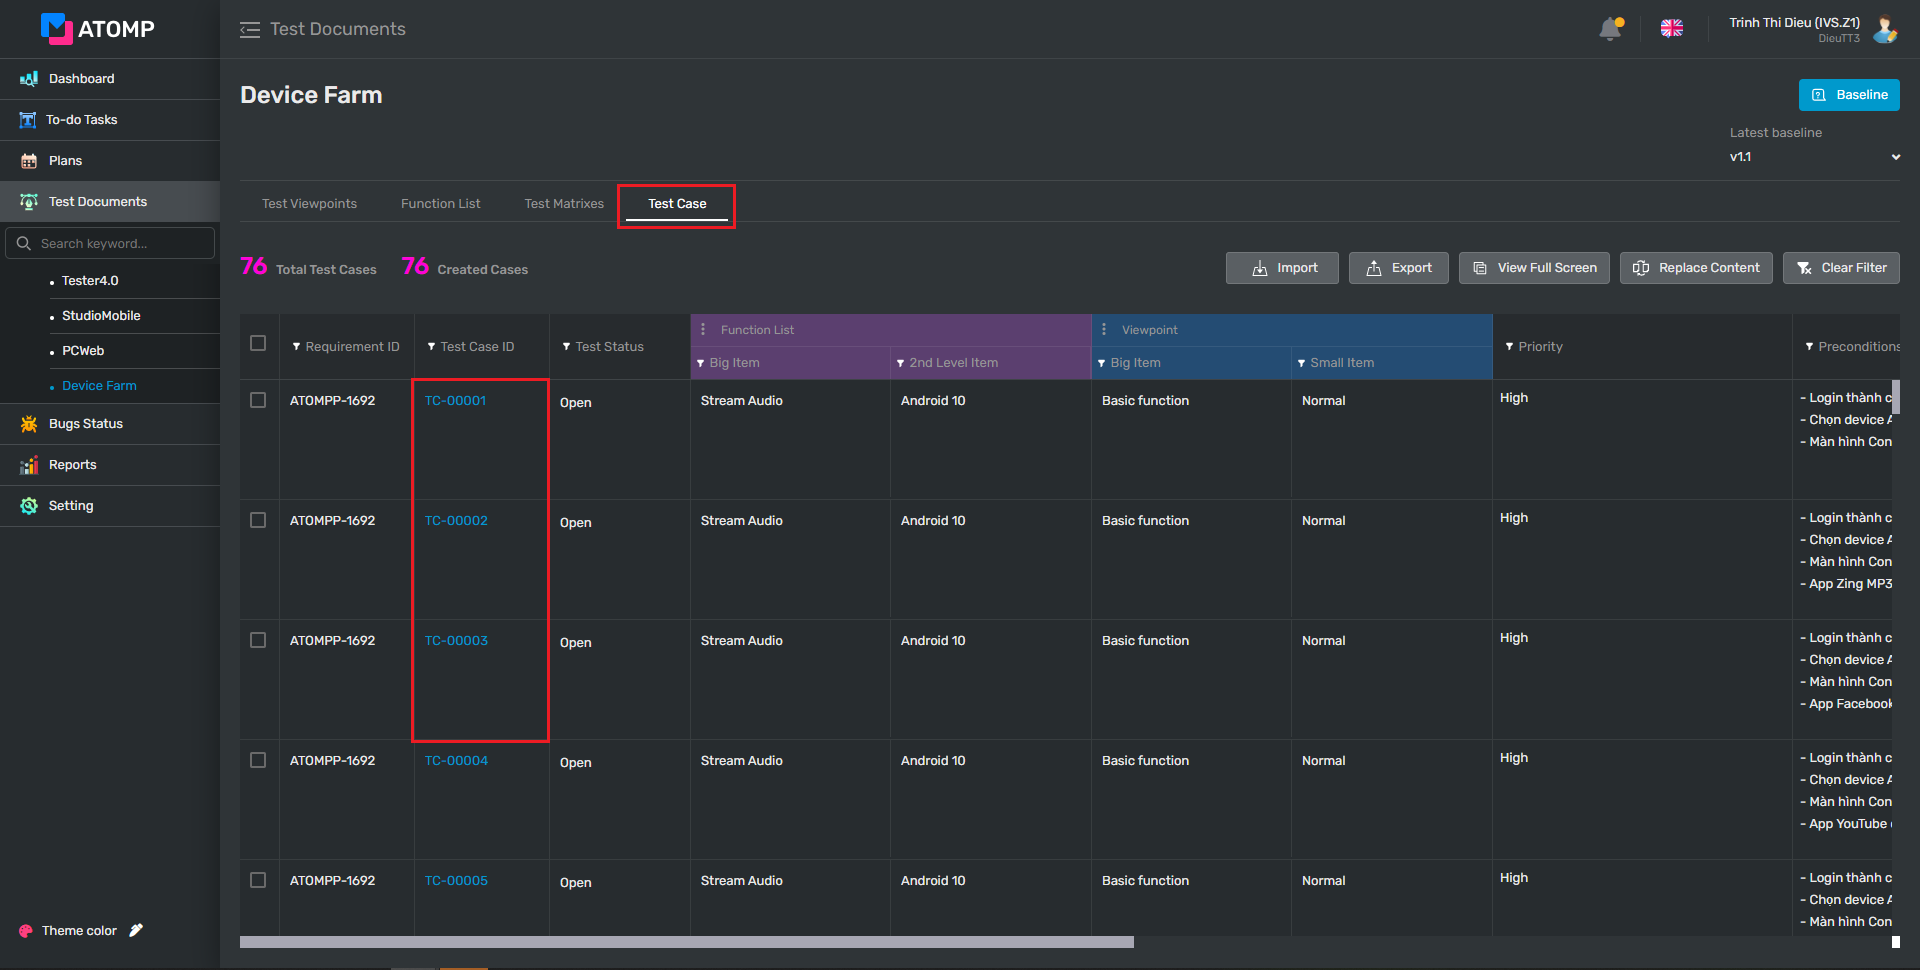
- Step 2: Input data inside the Test Case detail screen:
(1) Click on the Test Case tab => Test Case list screen will be displayed.
(2) On the test case list screen, click on the test case ID which you want to create the test case for.
(3) On the Test Case-Create detail screen, select Priority.
(4) Input data into the Precondition field.
(5) Input data into the Steps field.
(6) Input data into the Expected result field.
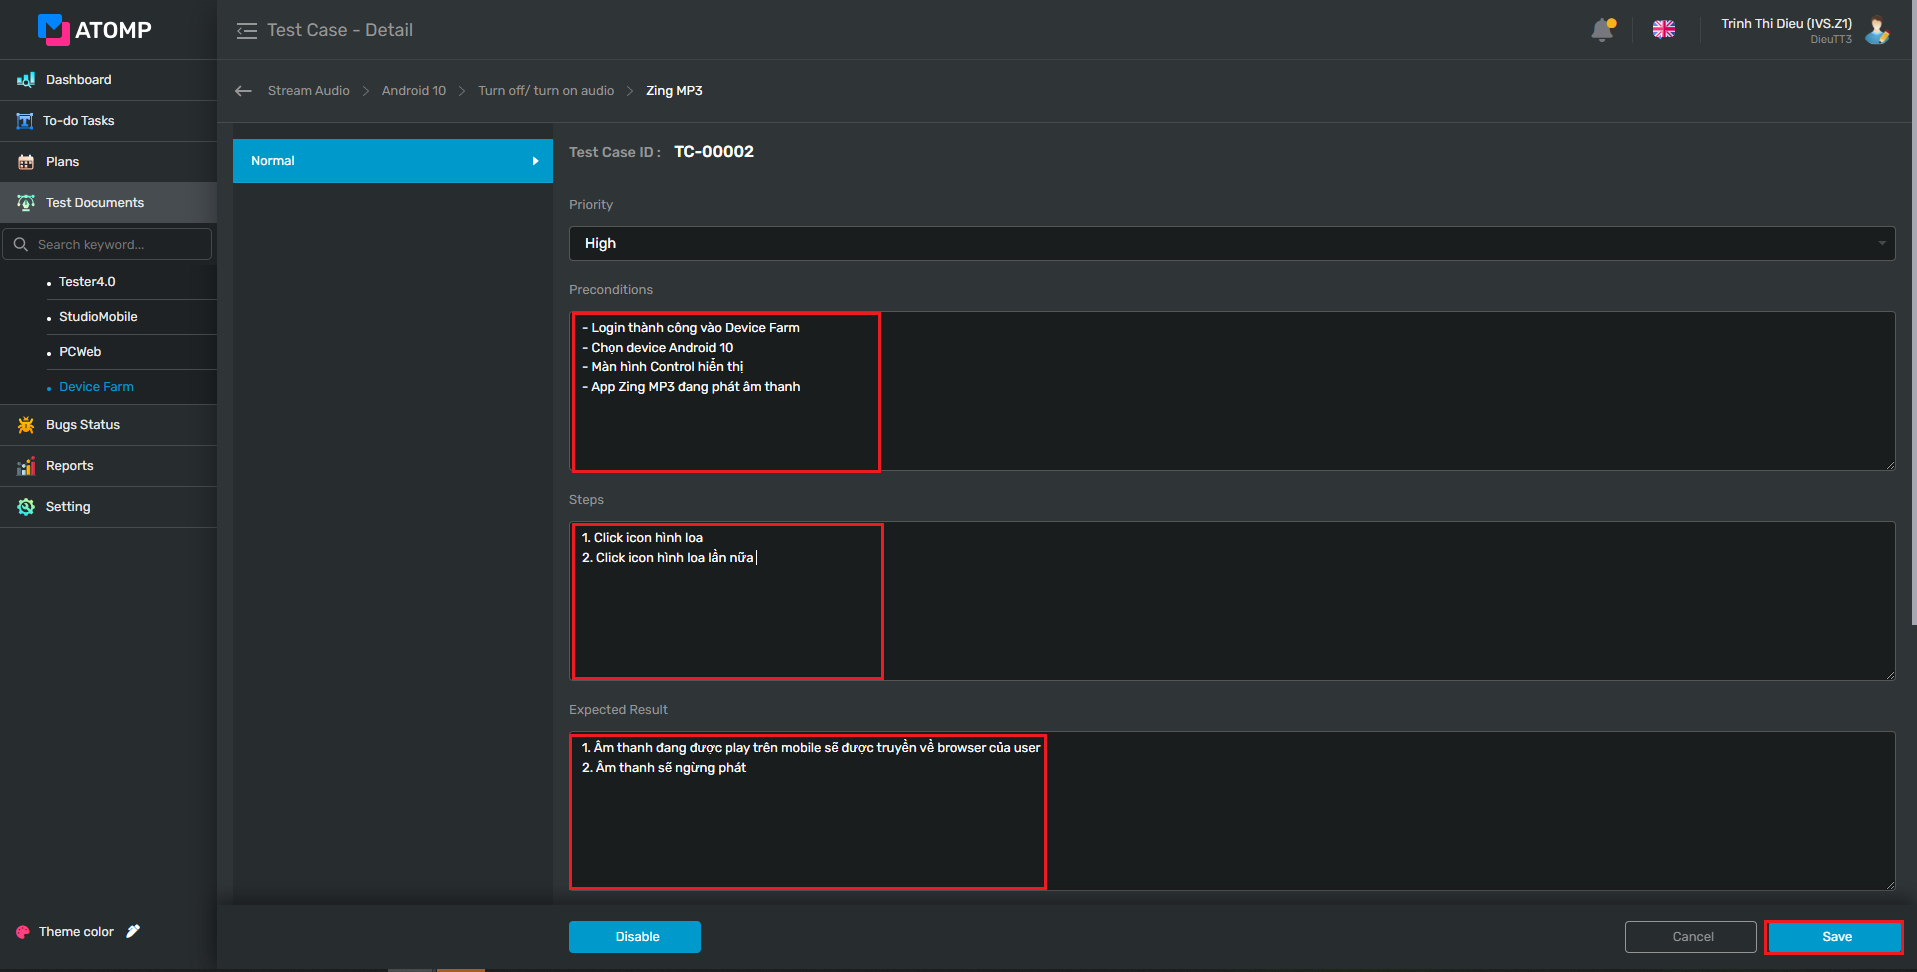
Test case will be created when it has data at Steps & Expected result fields.
(7) Input data into the note field if you have some notes for the test case.
(8) Upload images: User can upload images for a test case by dragging & dropping images or clicking Browse image from PC.
- User can insert a maximum of 10 images per field
- Each image’s size is 10mb
- User can upload one or more images at the same time.
(9) Click on [Save] button.

Note:
- If you want to add a custom field for this test case, there is a detailed guide written at the Setting (Customizations) section, please review How to Add Custom Field here Test Case Field
- User can disable/enable Test Case: by toggling the [Disable/Enable] button inside the test case-create detail screen.
- User can delete one or more Test Cases: by unchecking on one or more checkboxes at any test case inside the Test Matrix tab.
➢ The 2nd Way: Create by Importing test case
Step 1: Prepare a test case file with the following template
Note: If your project has custom field Test Case Field, please add column in file excel for custom field before import
Step 2: Click on [Import] button, then upload the test case file from step 1