Part 3: Create Test Document With Test Design
I. How to create Test Document for a project?
This is the process for creating a Test Document for a project by Atomp Test Management:

1. How to create a Test viewpoint?

Step 1: From the toolbar on the left side of the screen, move the cursor to the icon Test Document => then select subproject name => Test Viewpoint tab will be displayed normally.
Step 2: Users click on Create New Test Viewpoint button.
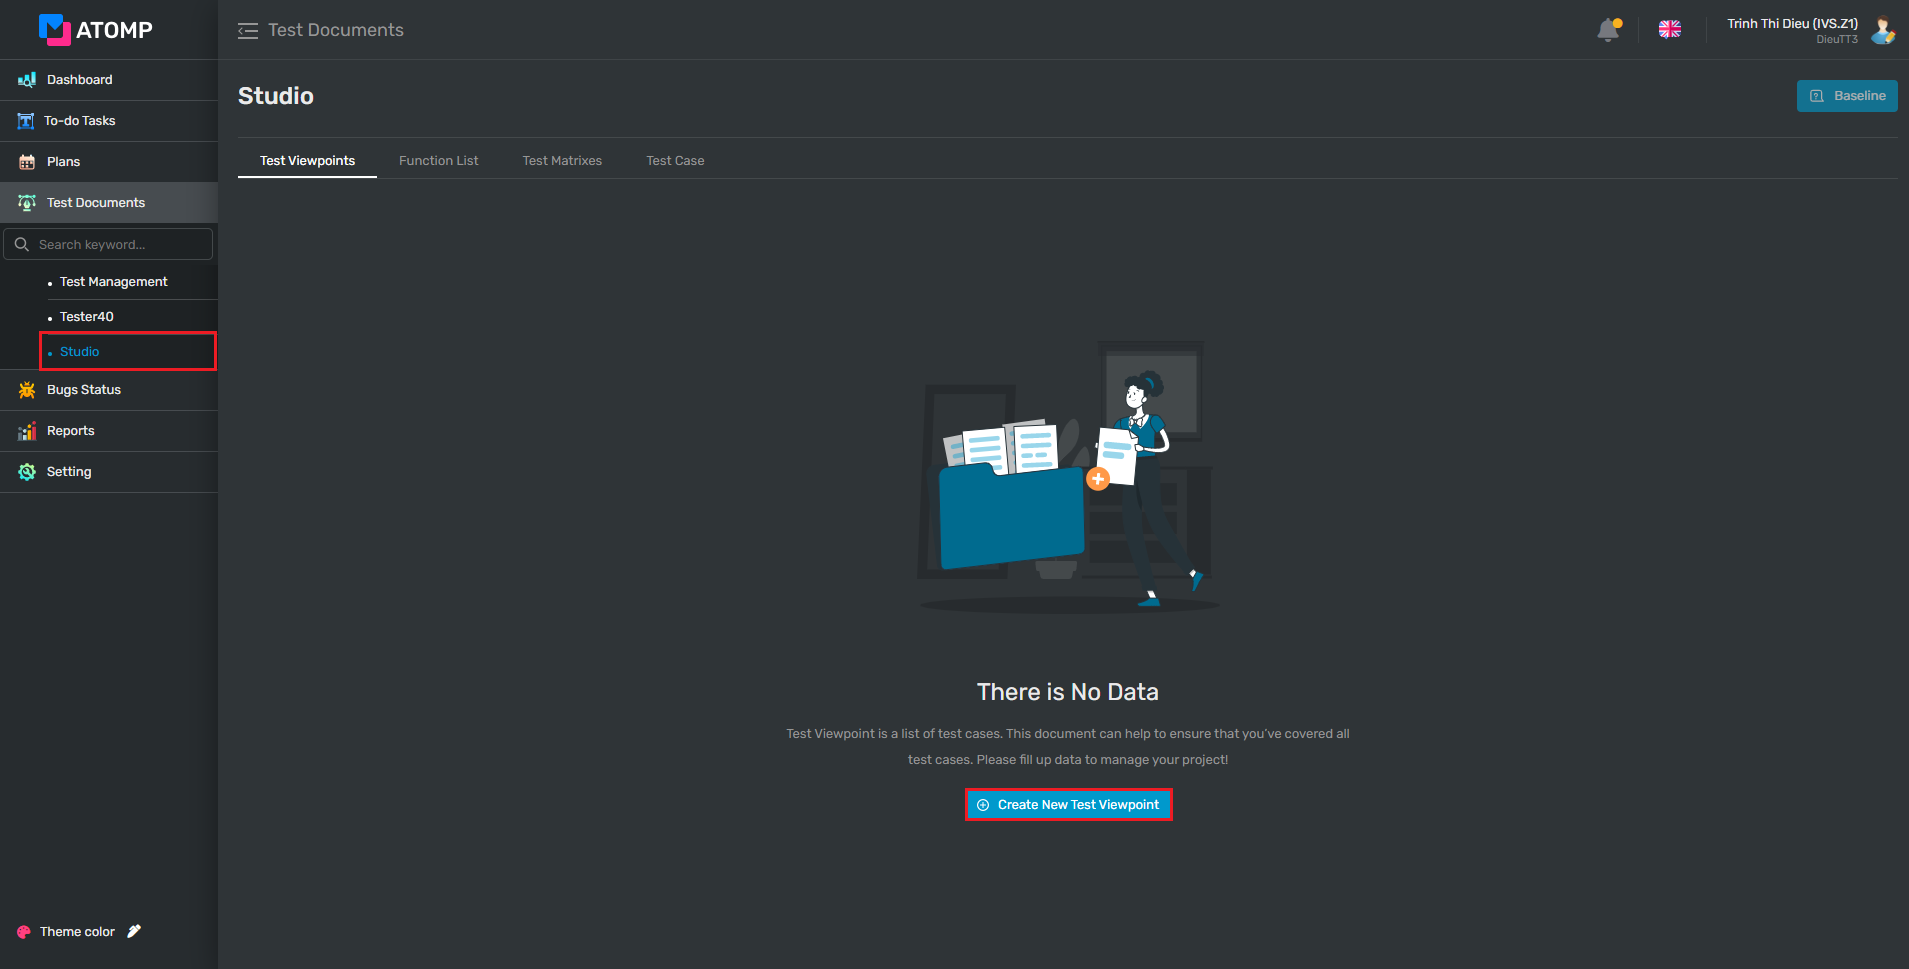
⇨ Create new test viewpoint screen will be displayed as below:
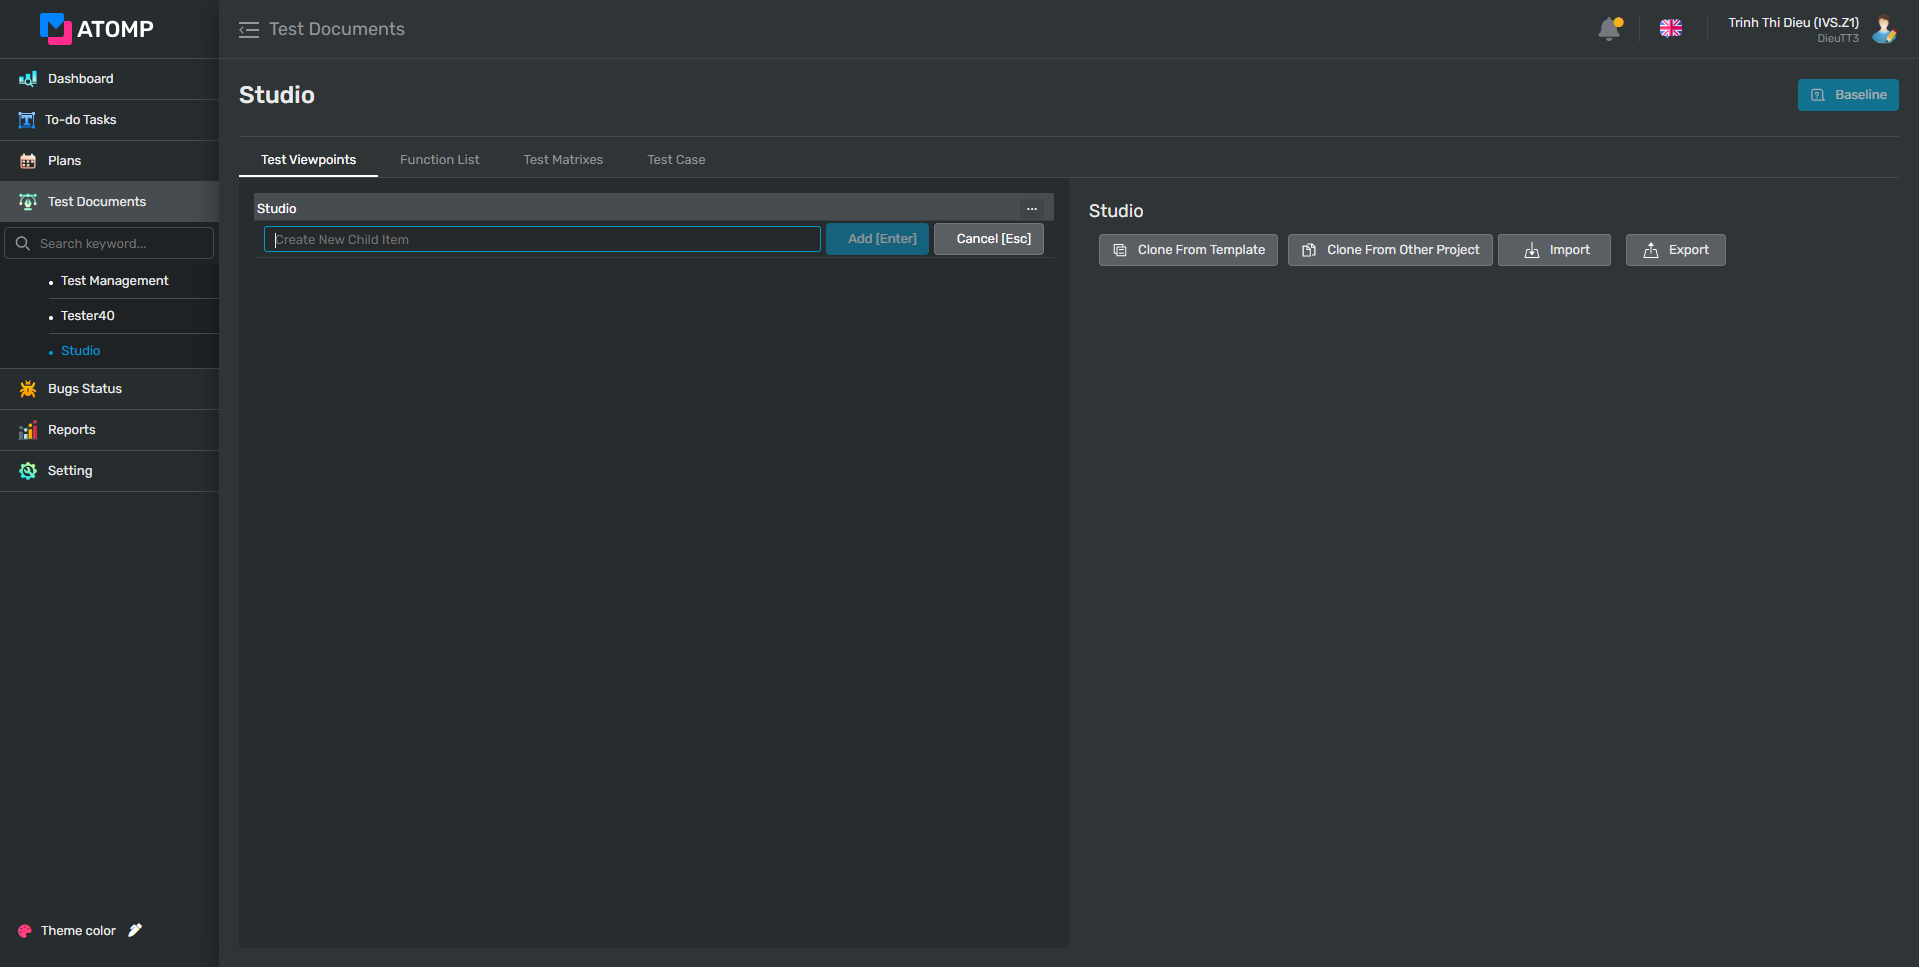
Step 3: On the Create New Test Viewpoint screen, there are 4 ways to create a Test Viewpoint:
- 1st way: input data into the text box create new child.
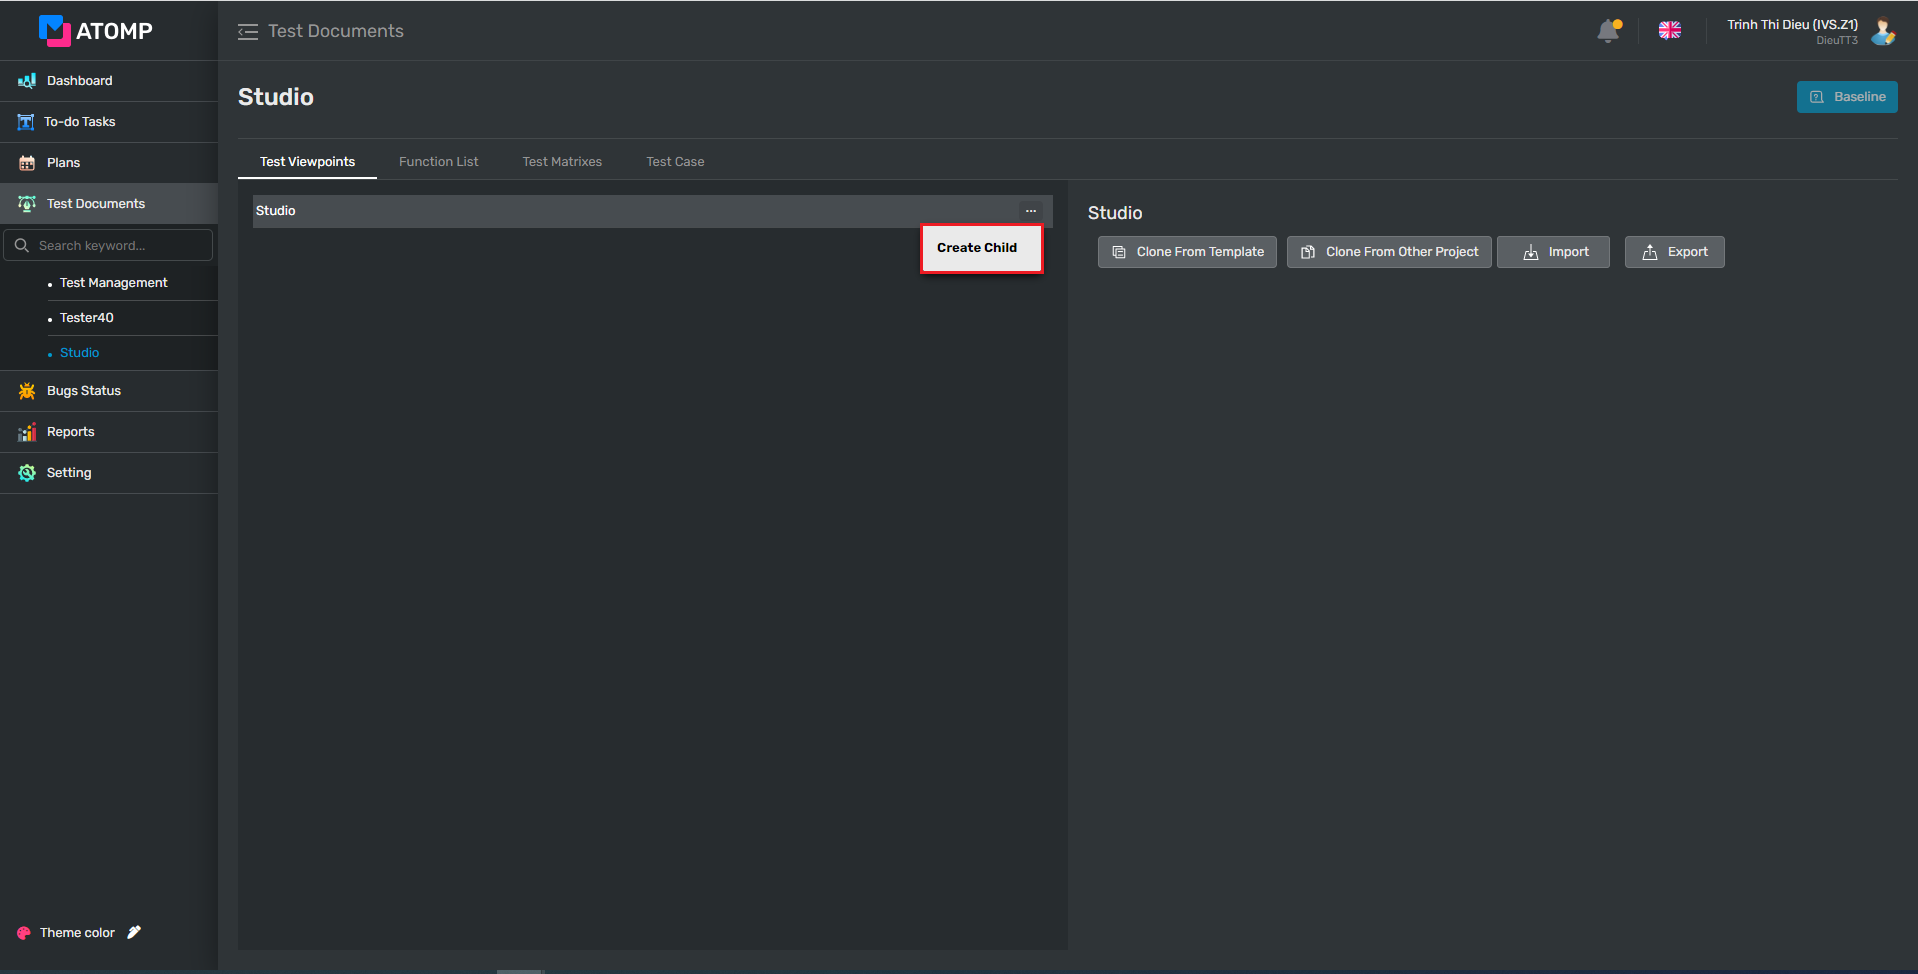
- Click on […] button
- Click on [Create Child] button => Text box input Create New Child will be displayed.
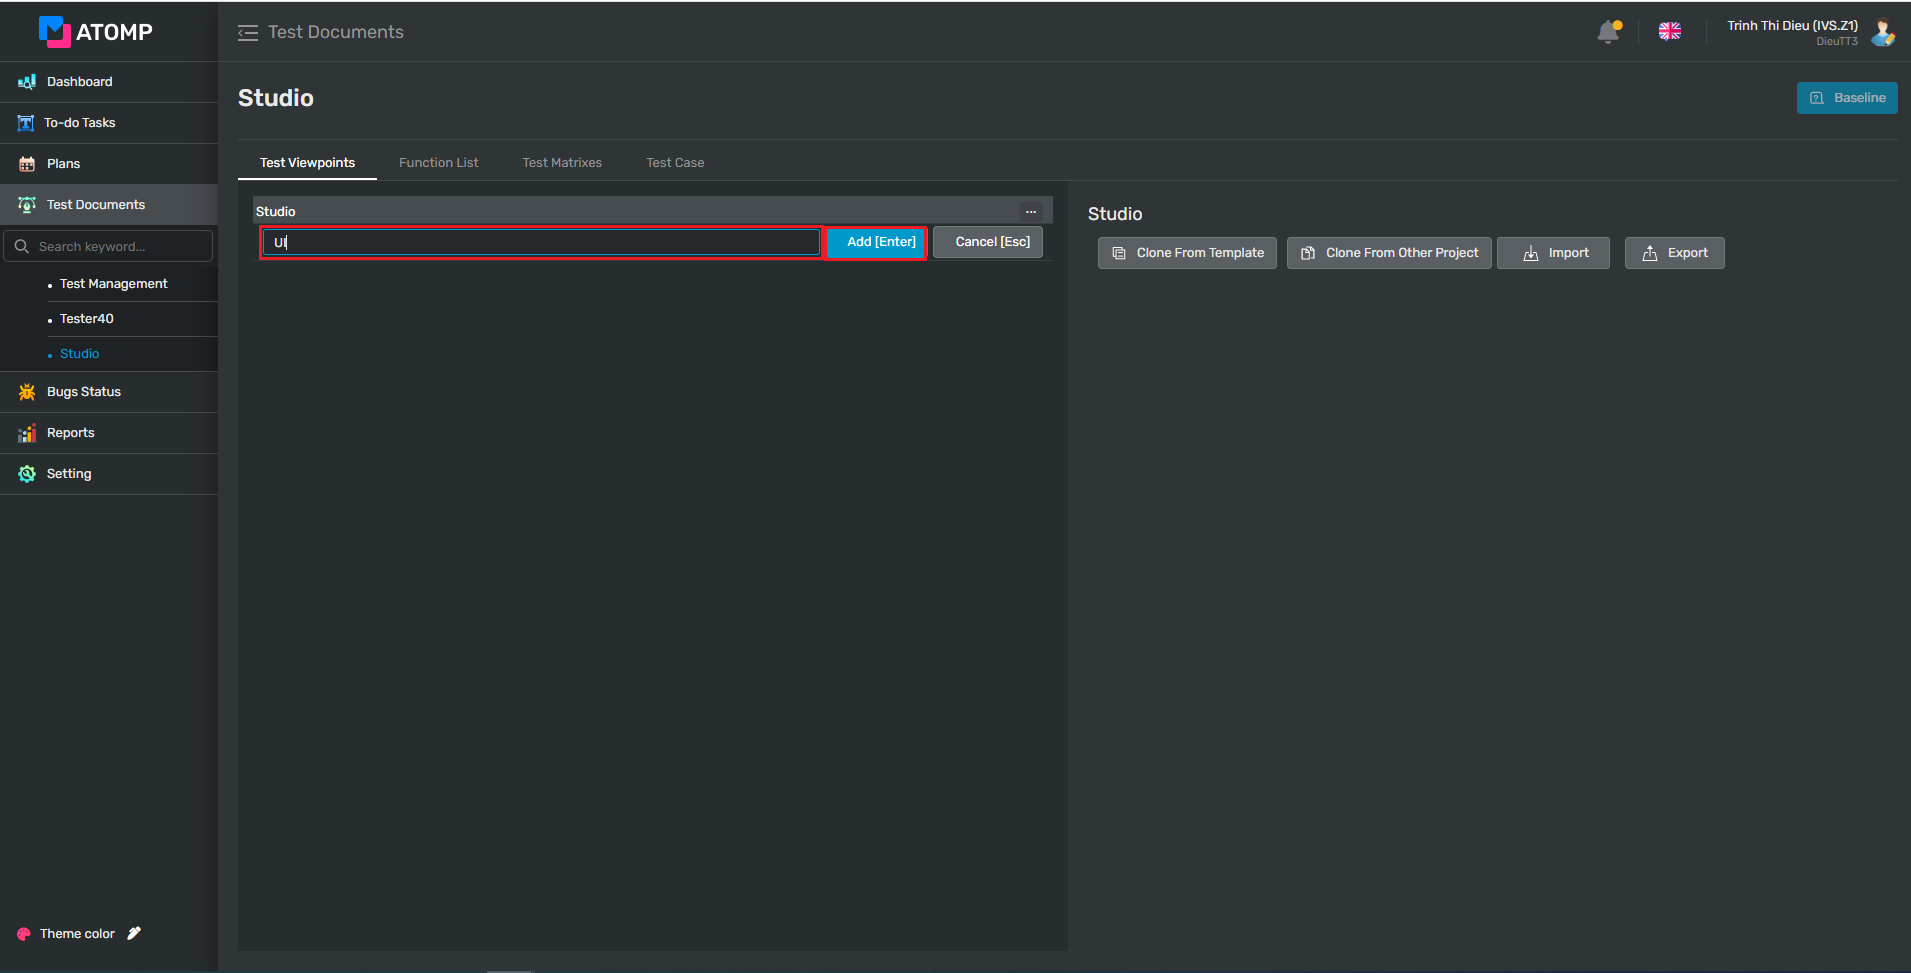
- Input valid data into the text box Create New Child
- Click on Add [Enter] button.
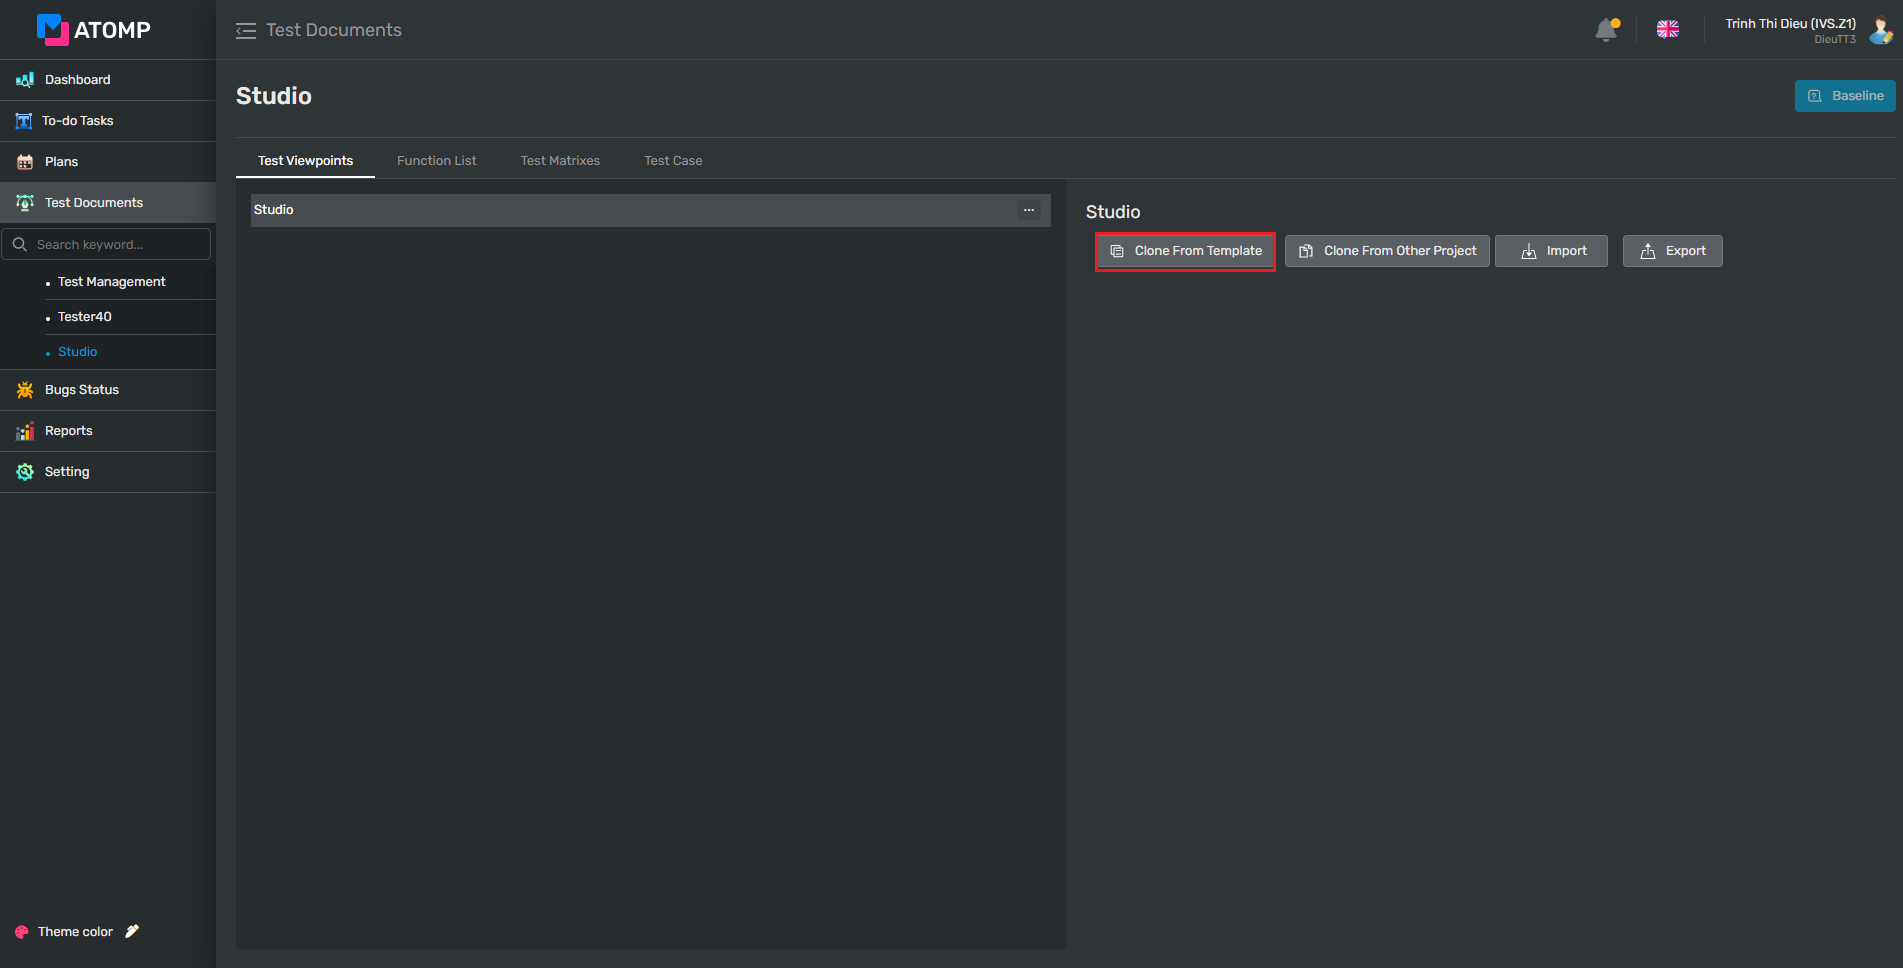
- 2nd way: Clone from template
- Click on [Clone From Template] button.
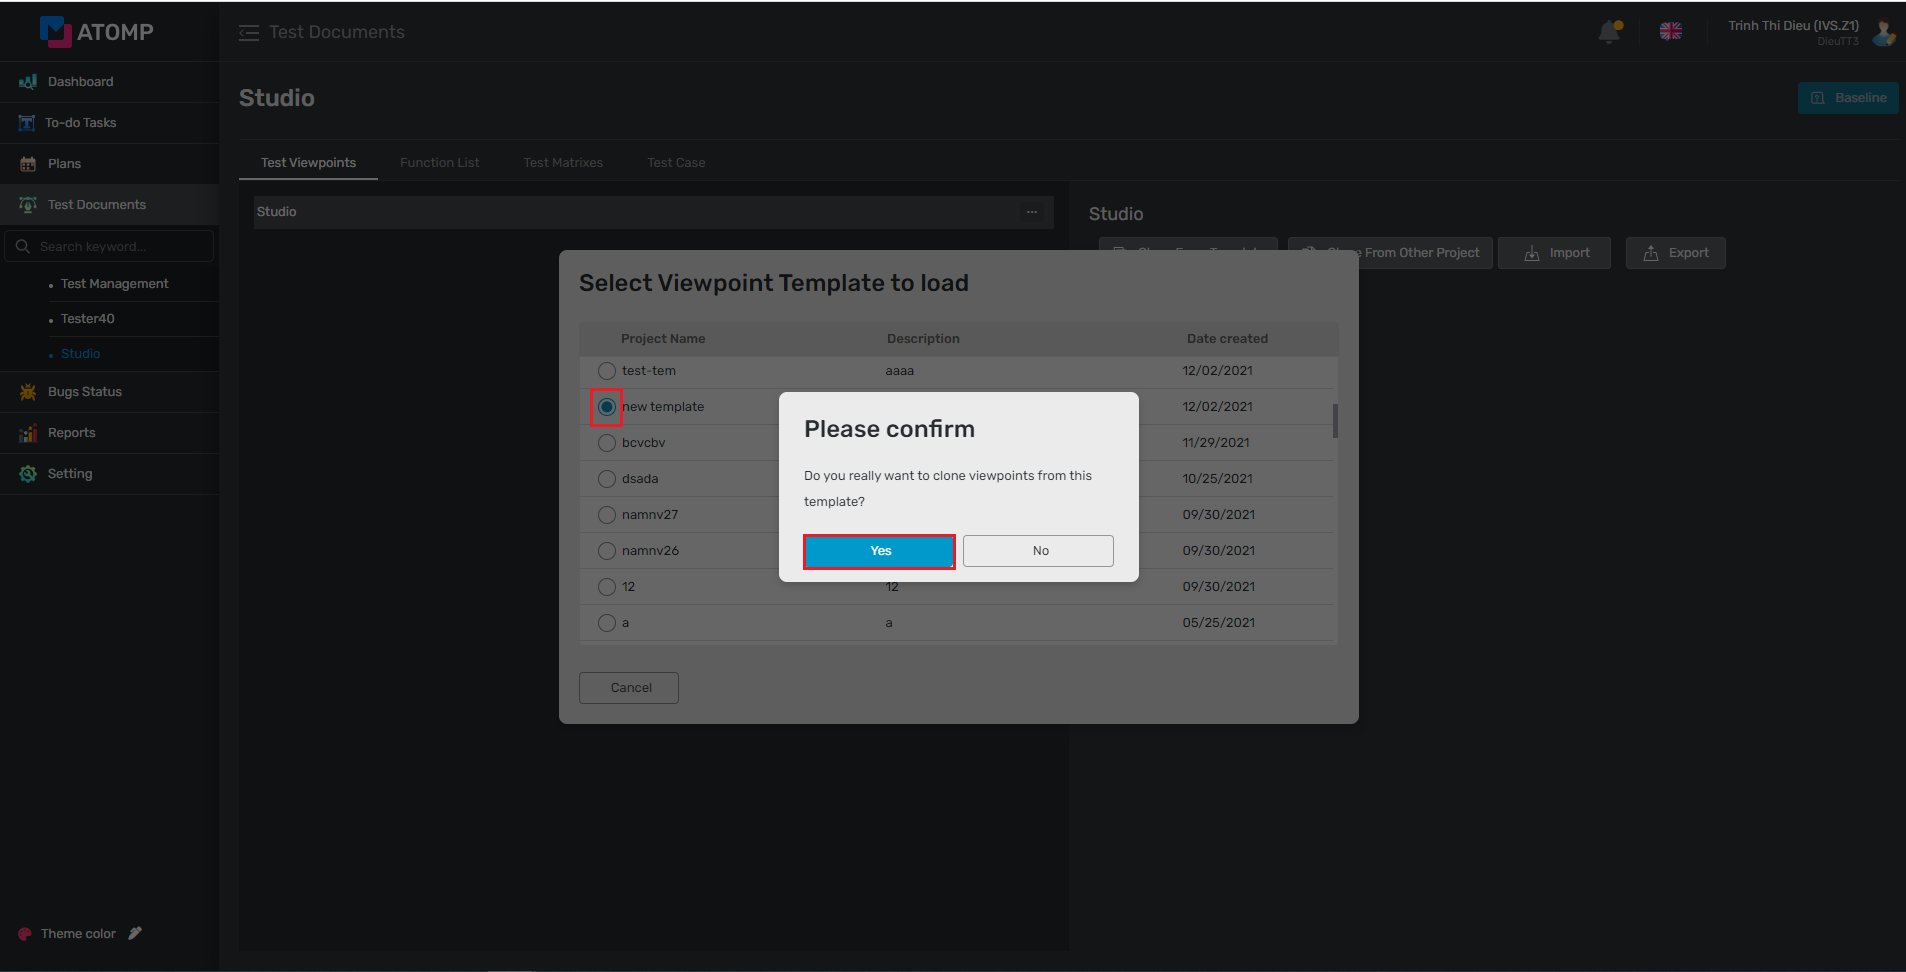
2. Select any template that you want to clone inside the popup Select Viewpoint Template to load.
3. Click on [Yes] button inside the Please Confirm popup.
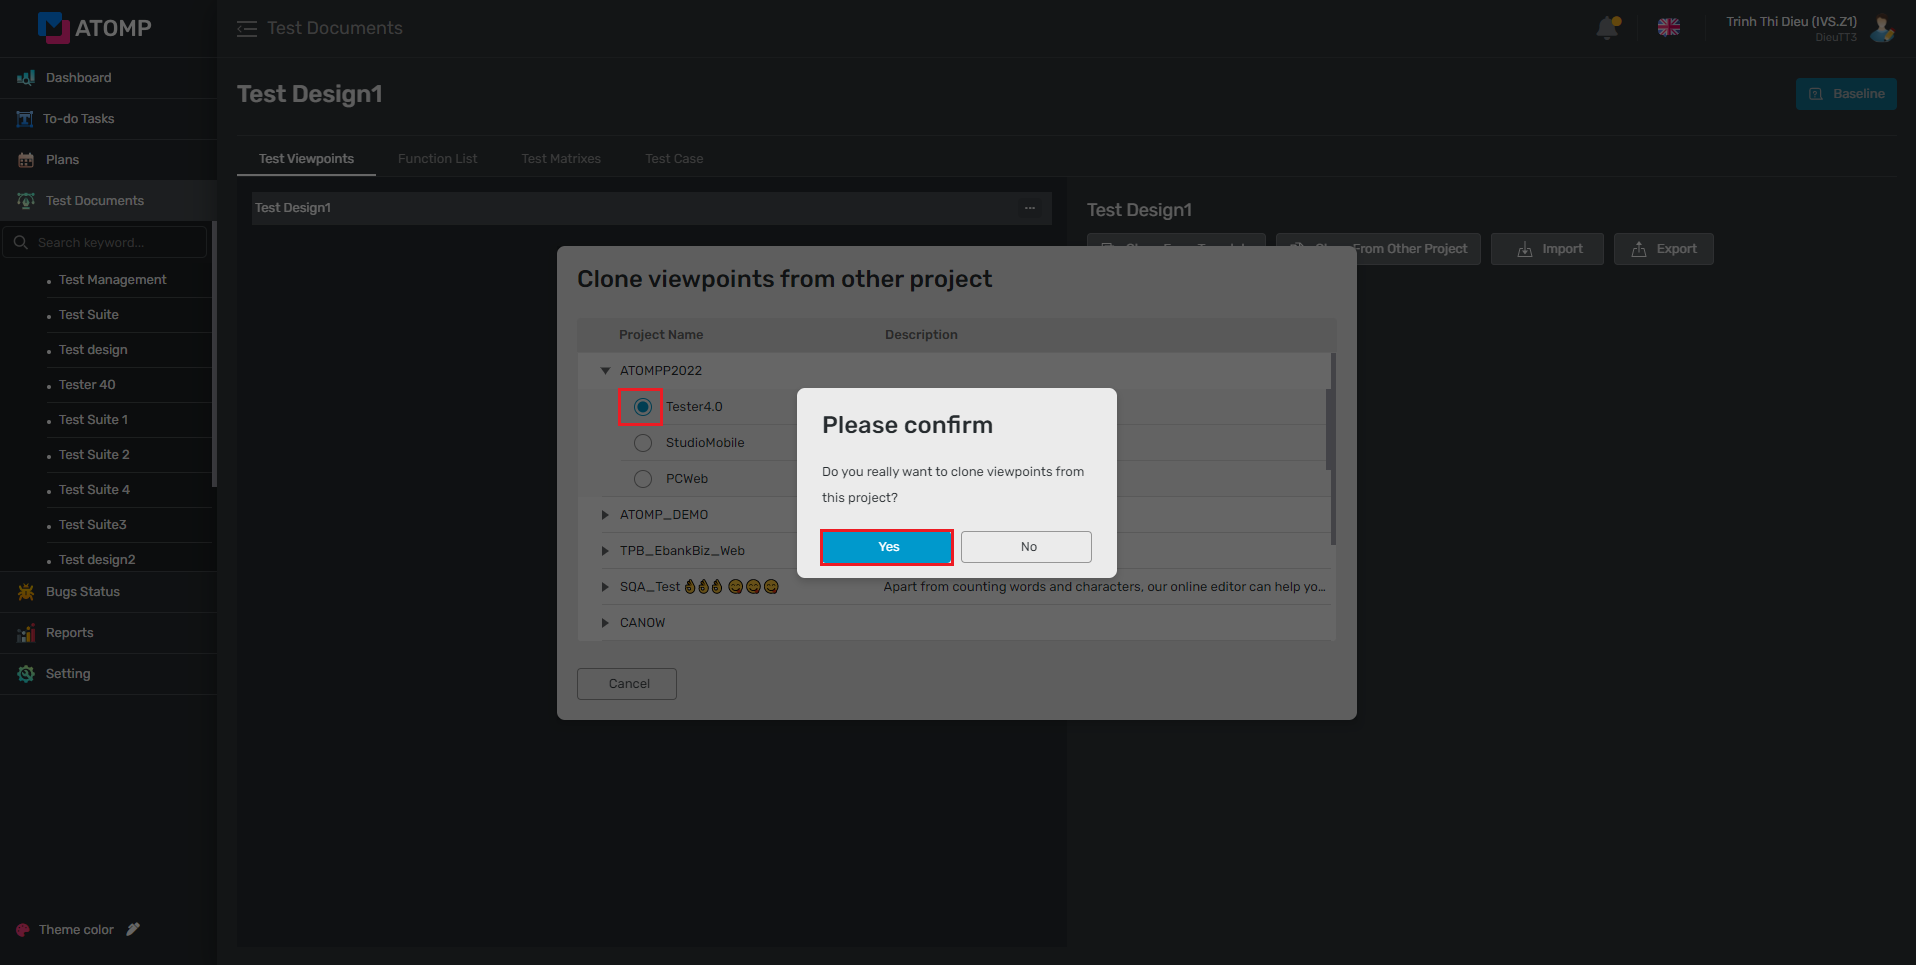
- 3rd way: Clone from other project.
1.Click on [Clone From Other Project] button.

2. Move cursor to the project you want to clone and click on show more icon.
3. Select a subproject name.
4. Click on [Yes] button inside the Please Confirm popup.
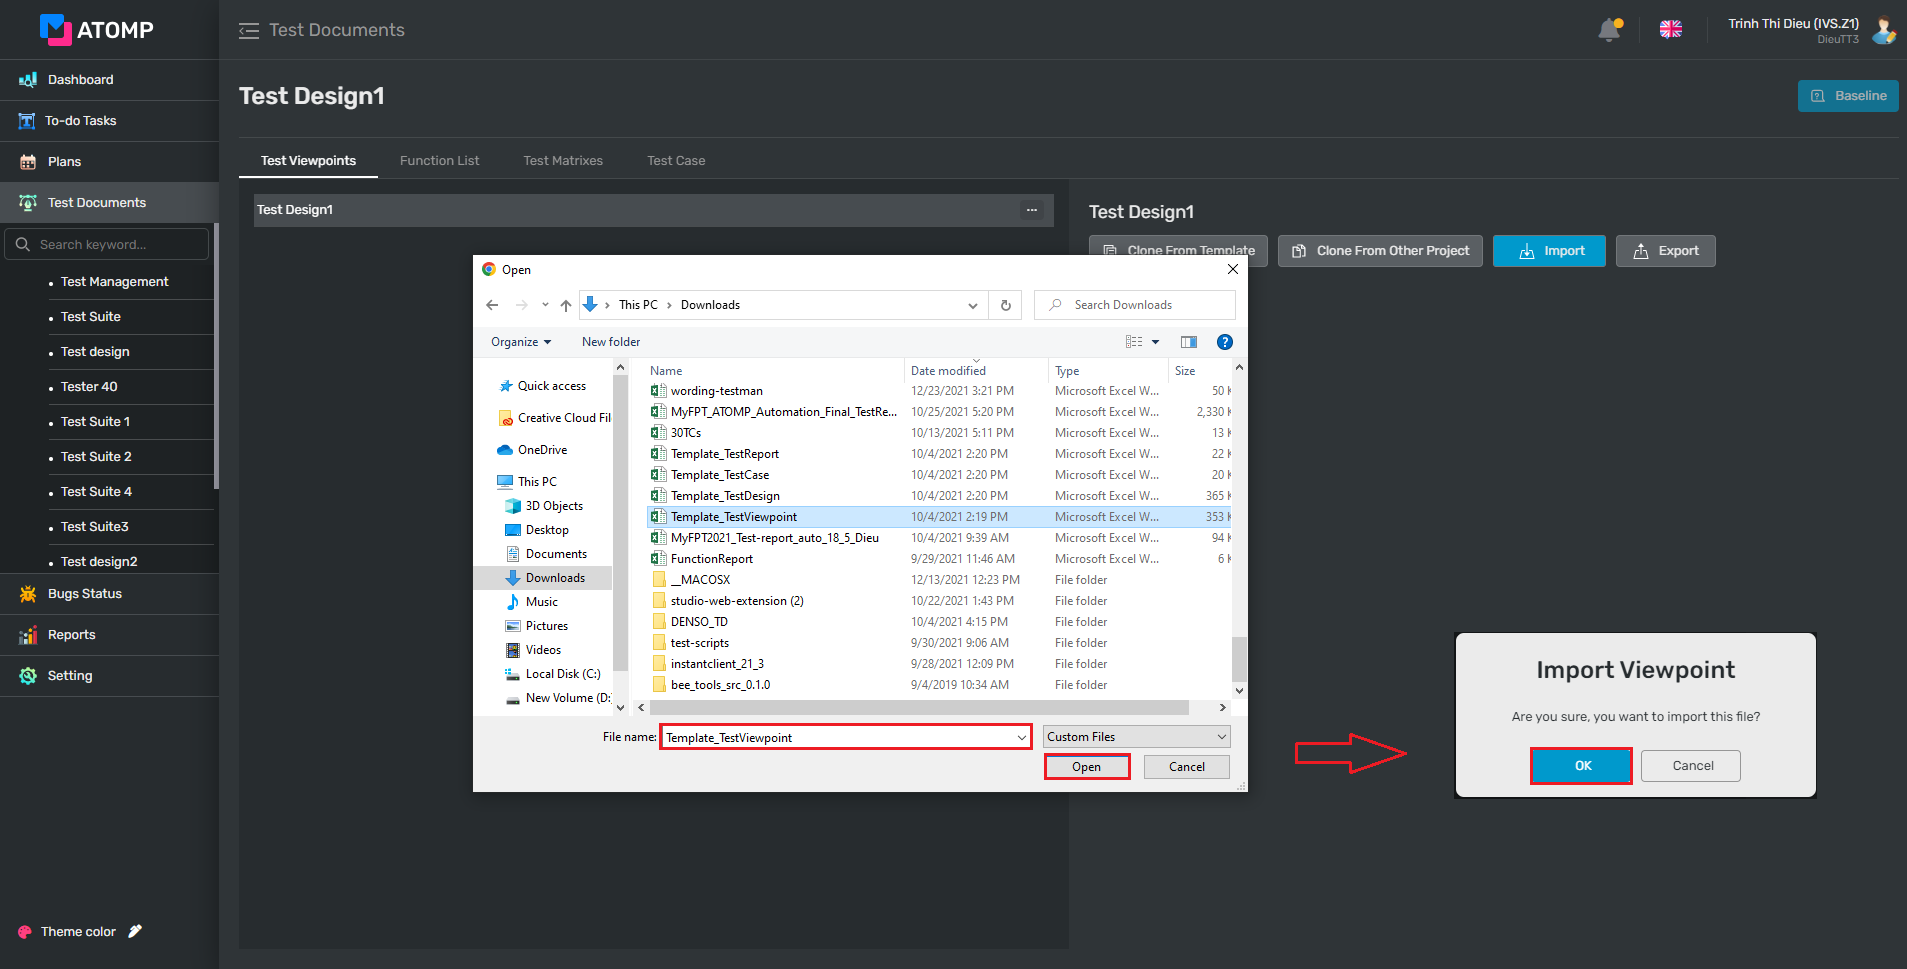
- 4th way: Import file.
1.Click on [Import] button.
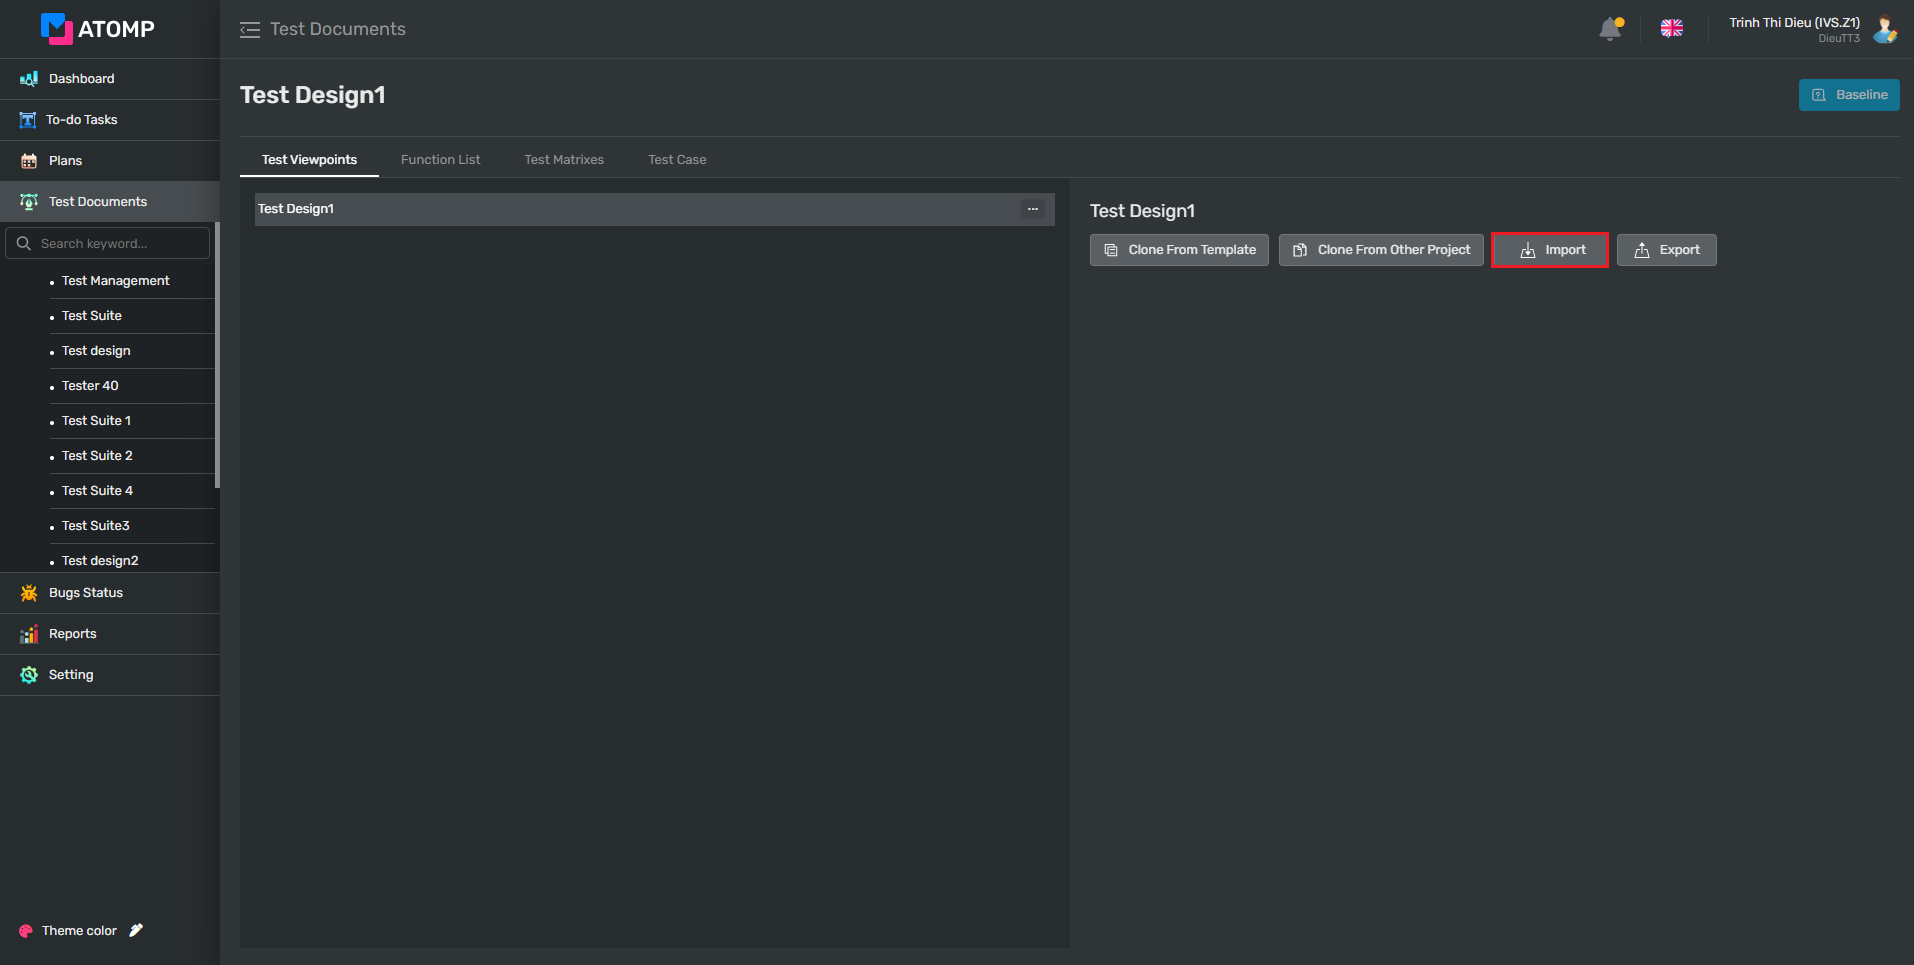
2. Select a valid file (< 3MB) from your computer or download a sample file by clicking [Export] button.
3. Click on [OK] button inside the Import Viewpoint popup.
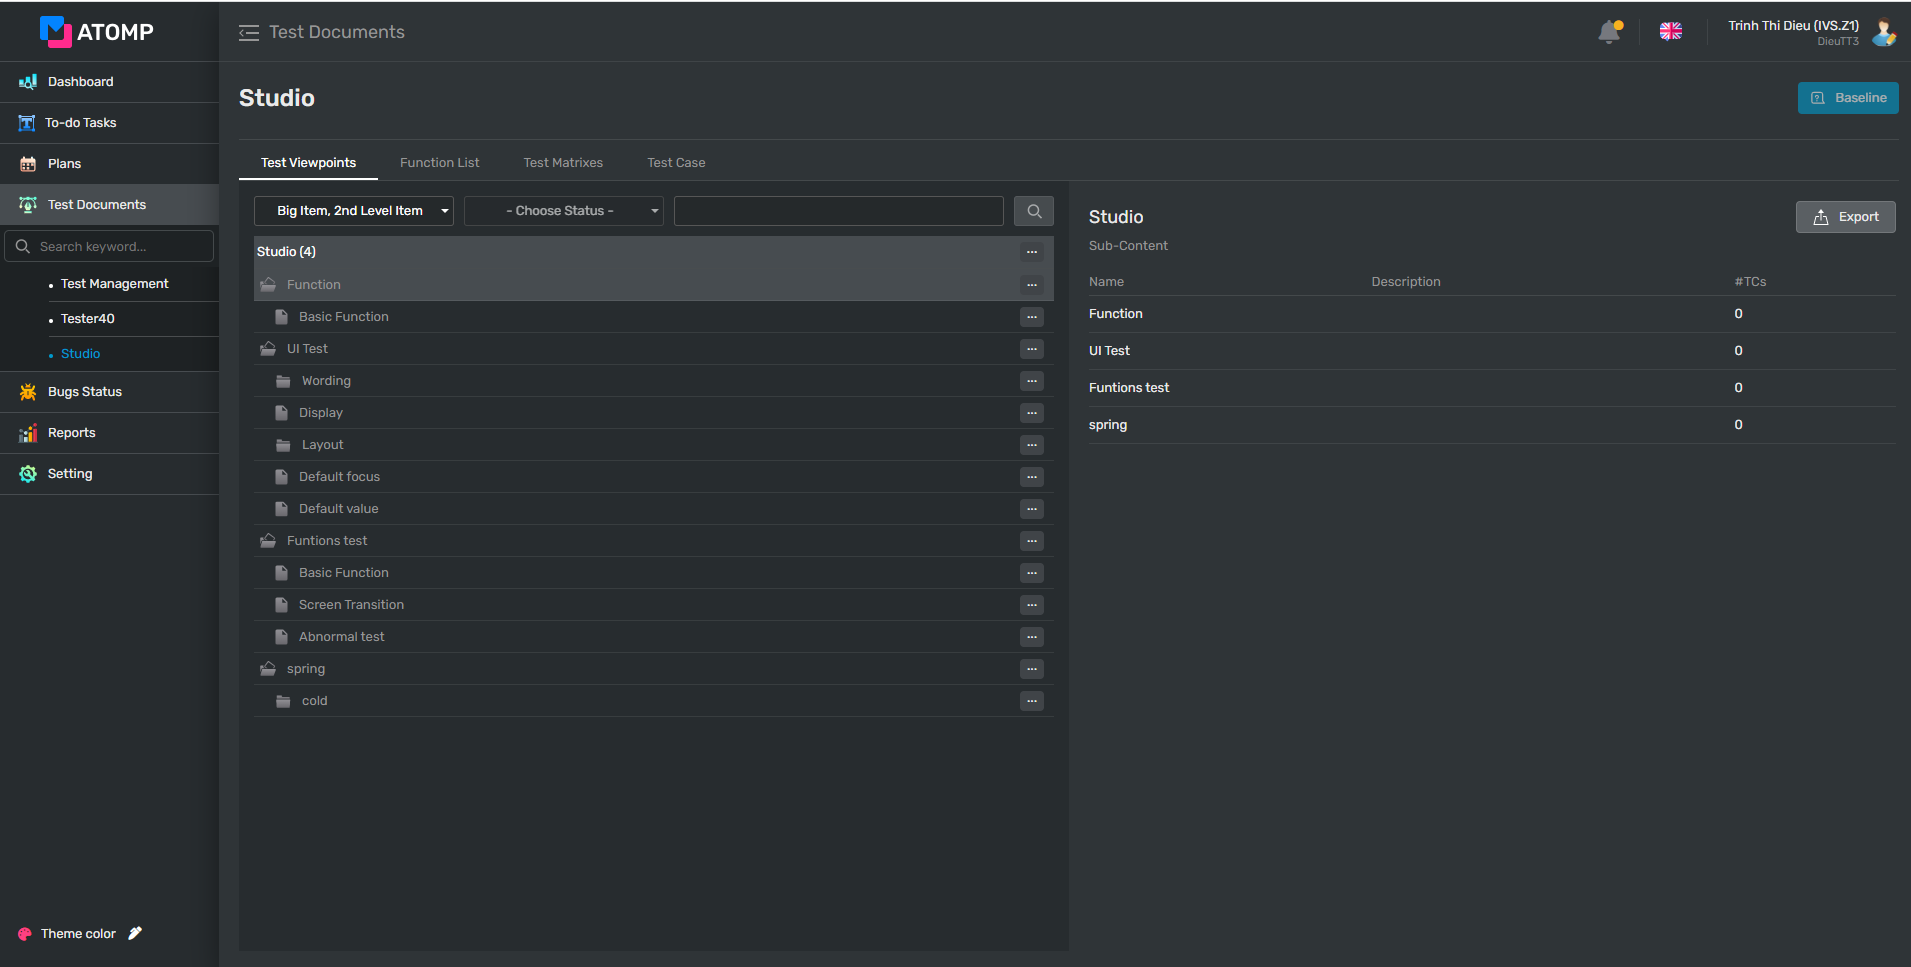
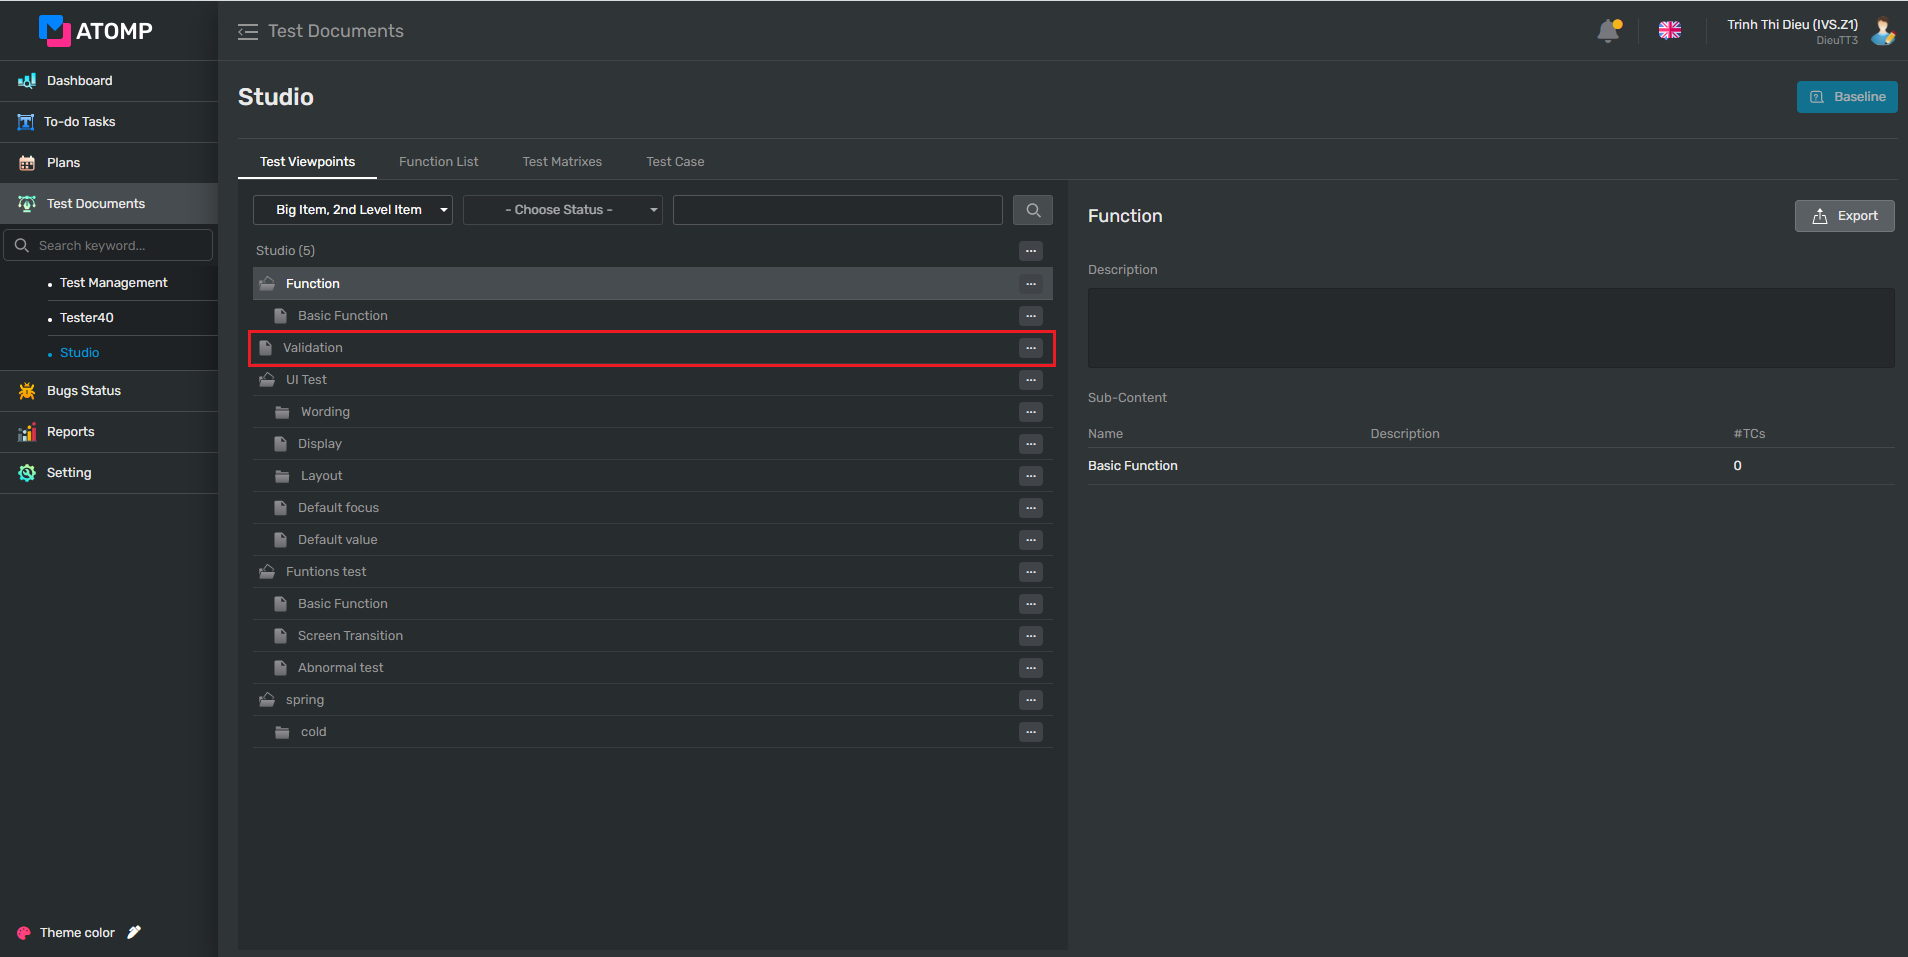
⇨ After creating Test Viewpoint successfully, data will be displayed as below:
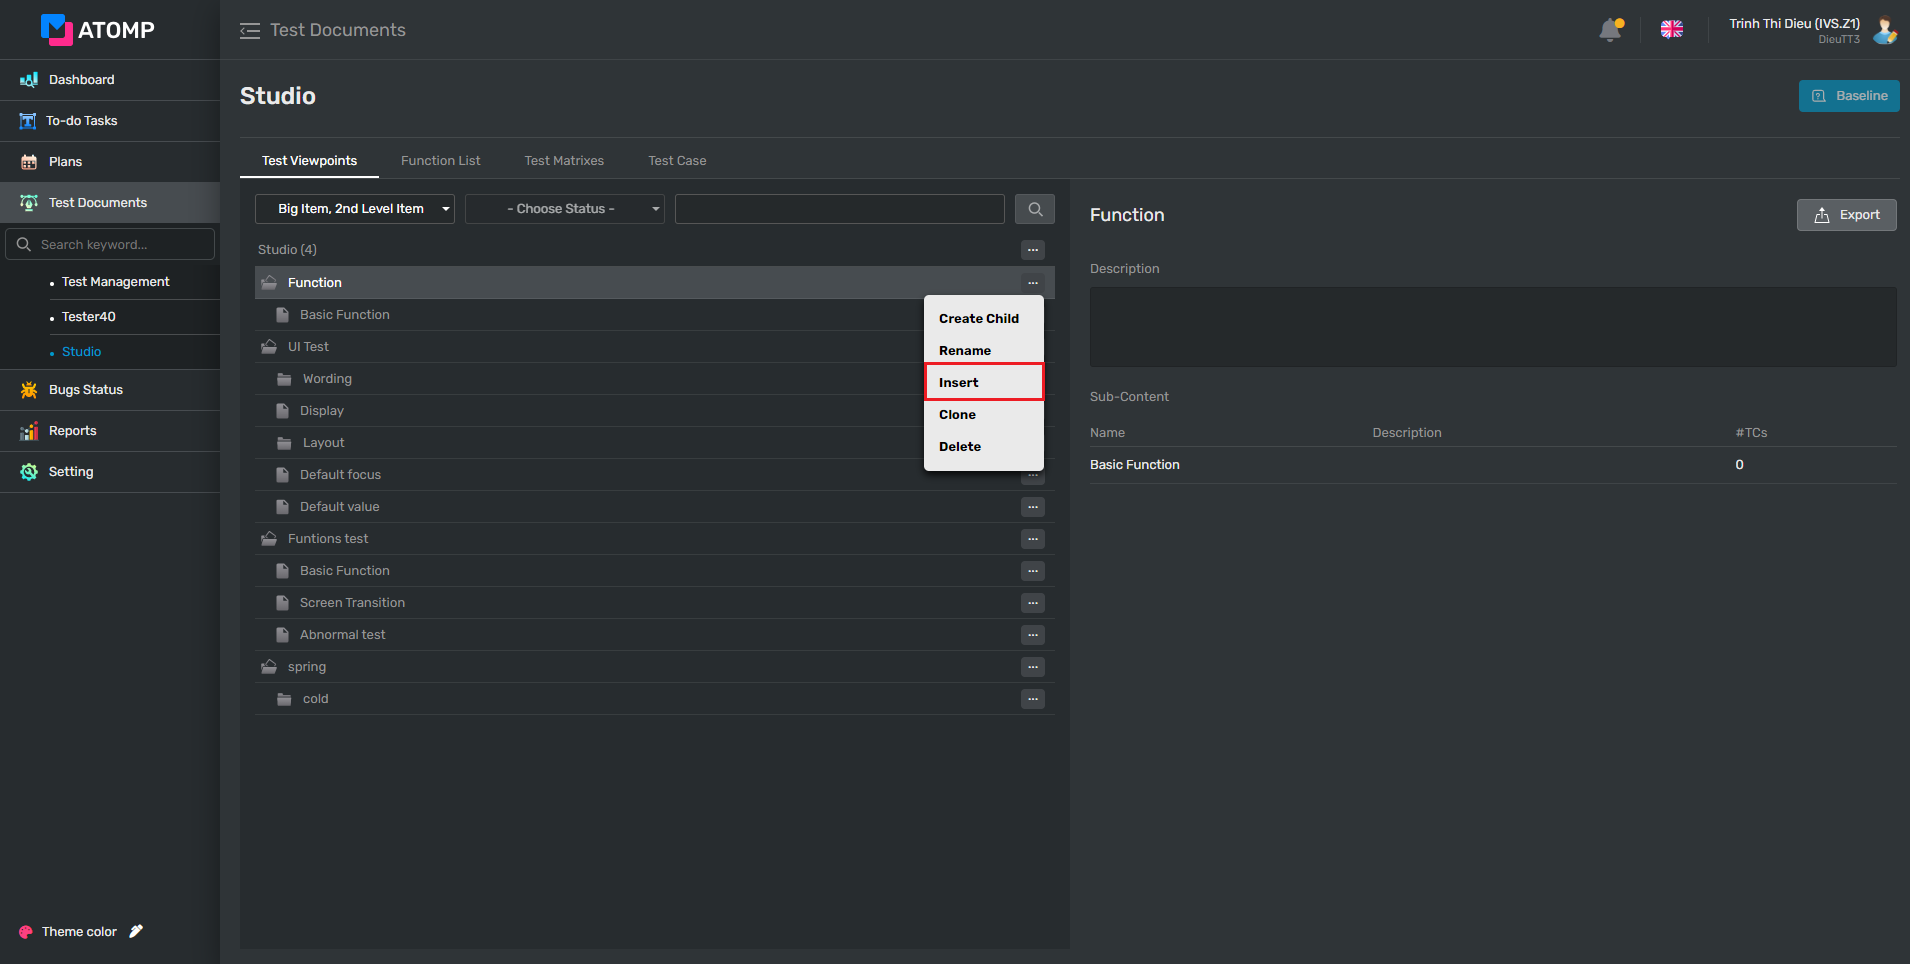
➢ You can create child viewpoint of the viewpoint you created before by 4 steps below:
(1): Click on […] button at any line of the viewpoint.
(2): Click on [Insert] button => a new line of the textbox input will be displayed as below.
(3): Input a valid name into the textbox Create New Child
(4): Click [Add [Enter]] button to save the new data (or user can press the “Enter” key from keyboard).
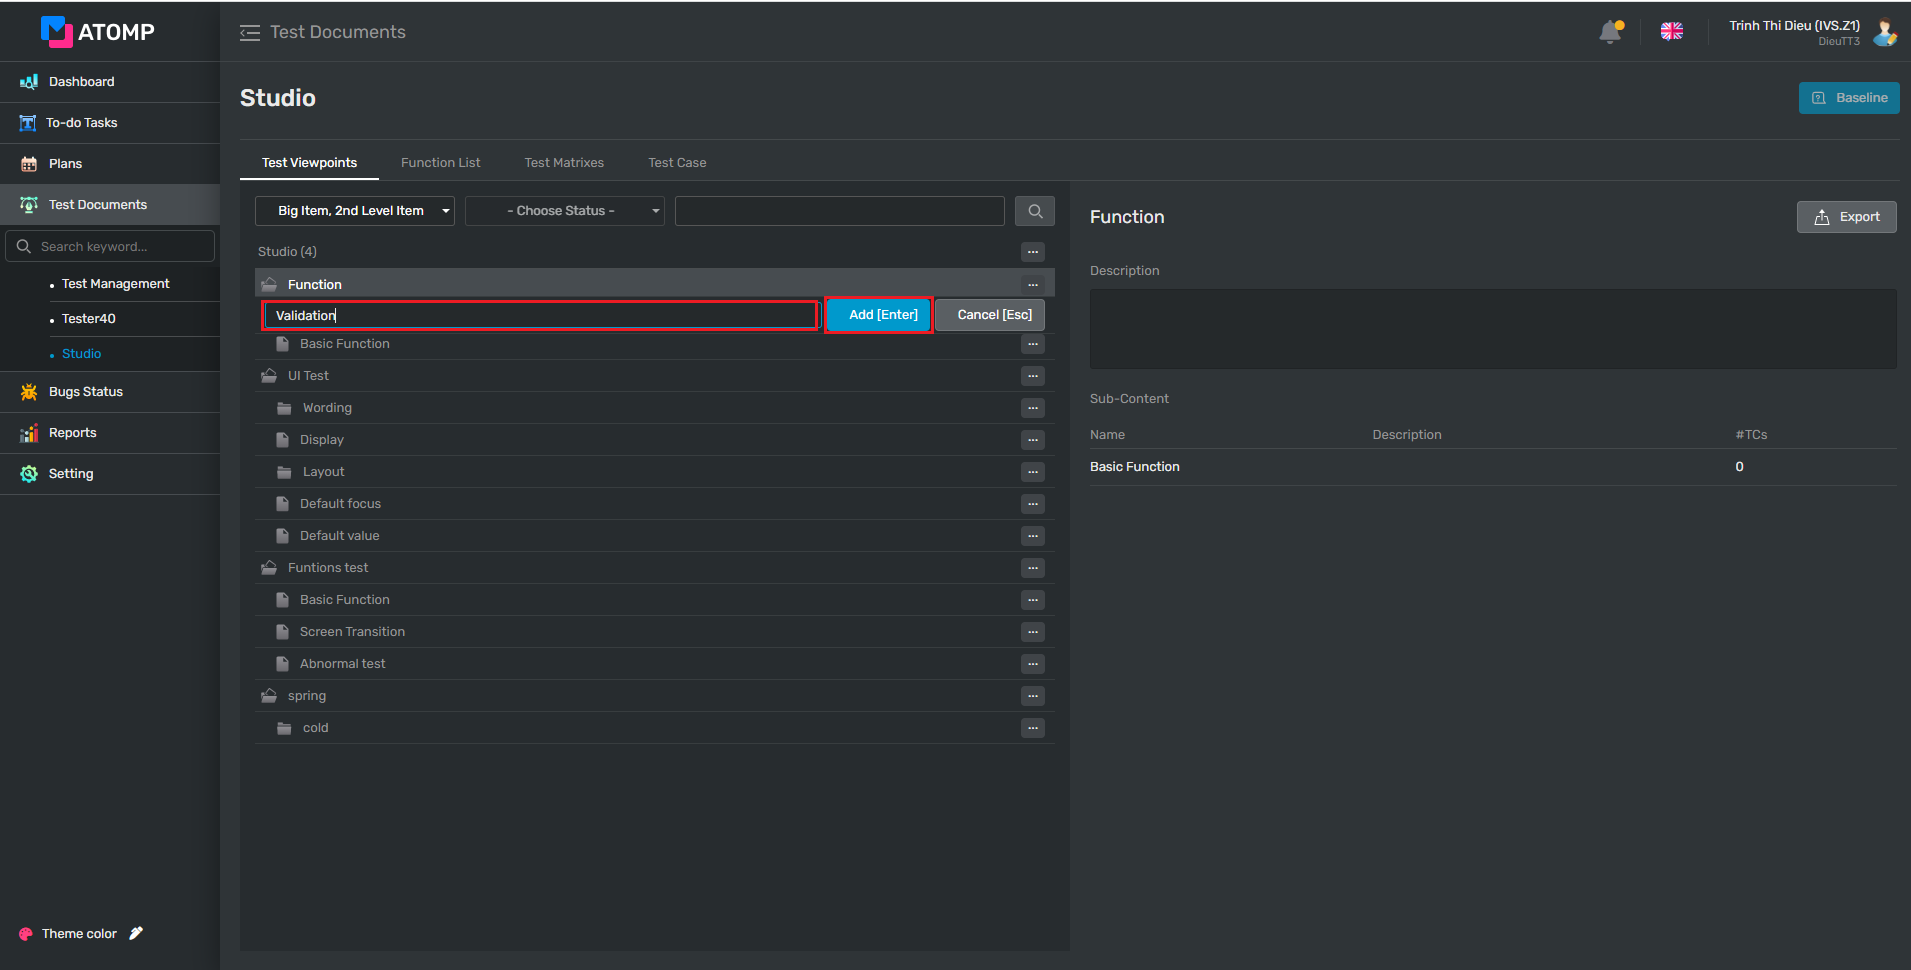
⇨ After user inserts viewpoint successfully, new viewpoint will be displayed:
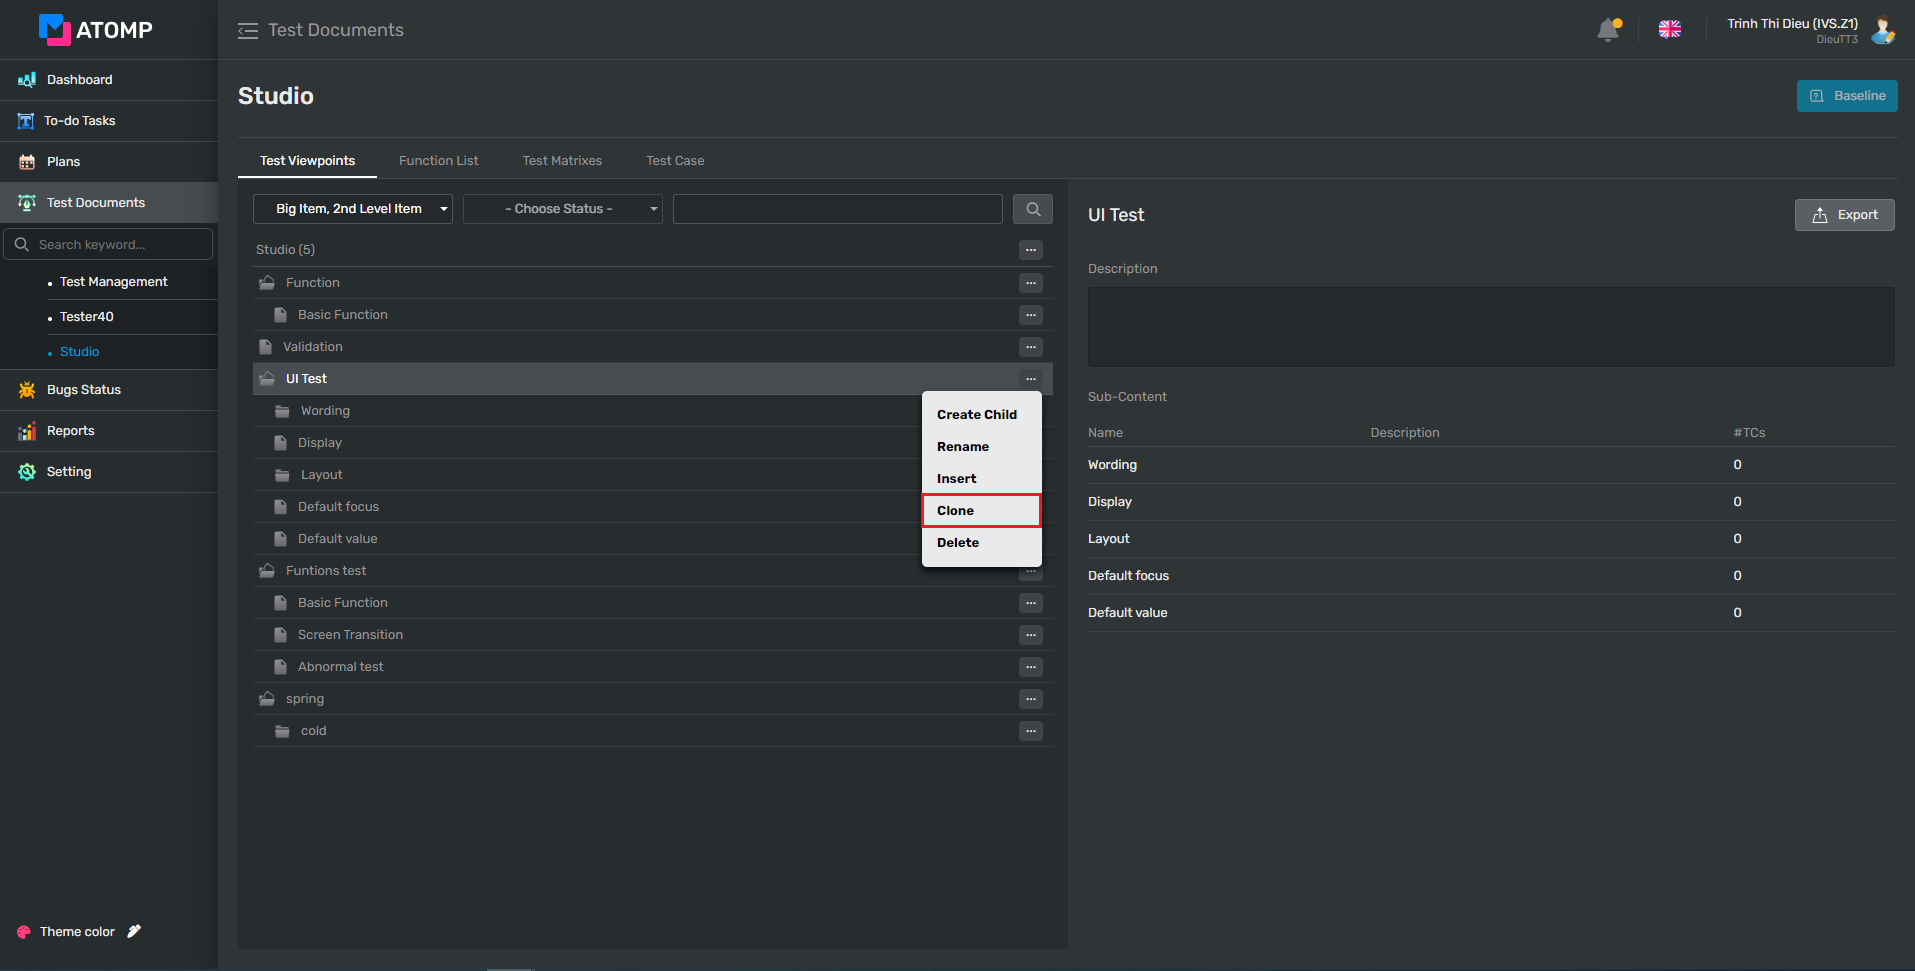
➢ To be more convenient in creating Viewpoints, you can clone them by:
Step 1: Click on […] button at the same line of the viewpoint you want to clone
Step 2: Click on [Clone] item inside the Option popup.
If you want to disable/enable a viewpoint, please follow these steps below:
Step 1: Click on […] button at the same line of the viewpoint you want to disable/enable
Step 2: Click on [Enable]/ [Disable] item inside the Option popup => Popup confirm will be displayed.

Step 3: Input the reason you want to disable/enable, then click on [OK] button. At this time, the test cases related to the viewpoint that you selected in step 1 are displayed with disable/enable status.
Note: If you disable/enable Parent Viewpoint, Child Viewpoint will also be disable/enable.
➢ If you want to delete a viewpoint, please follow these steps below:
Step 1: Click on […] button at the same line of the viewpoint you want to delete.
Step 2: Click on [Trash] item inside the Option popup => Popup confirm will be displayed.

Step 3: Click on [OK] button. At this time, the test cases related to the viewpoint that you selected in step 1 are displayed with disable status.
(After performing the above 3 steps, the selected “test viewpoint” has only been temporarily deleted, you can restore it by clicking on […] button corresponding to the “test viewpoint” you selected in step 1, then select “Enable” item on the option popup.)
Step 4: Perform Baseline version for Test Document (refer How to baseline version for a Test Document?). Now the “test viewpoint” you selected in step 1 has been permanently deleted.
Note: If you move Parent Viewpoint to the trash, Child Viewpoint will also be moved to the trash.