Part 4: Create Test Document Without Test Design
To create a subproject that does not include a test design, follow the General Info section in Part2: Setting. But when creating a subproject, user will uncheck the item Include Test Design.

I. How to create Test Document for a project?

1. How to create Test Suites?
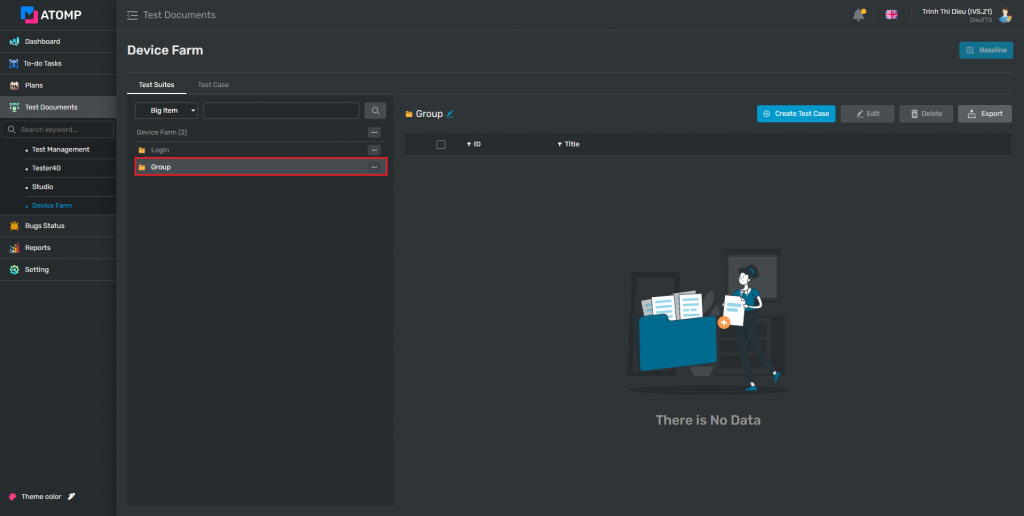
Step 1: From the toolbar on the left side of the screen, move the cursor to the icon Test Document => then select subproject name => Test Suites tab will be displayed normally.
Step 2: Users click on Create New Test Suites button.
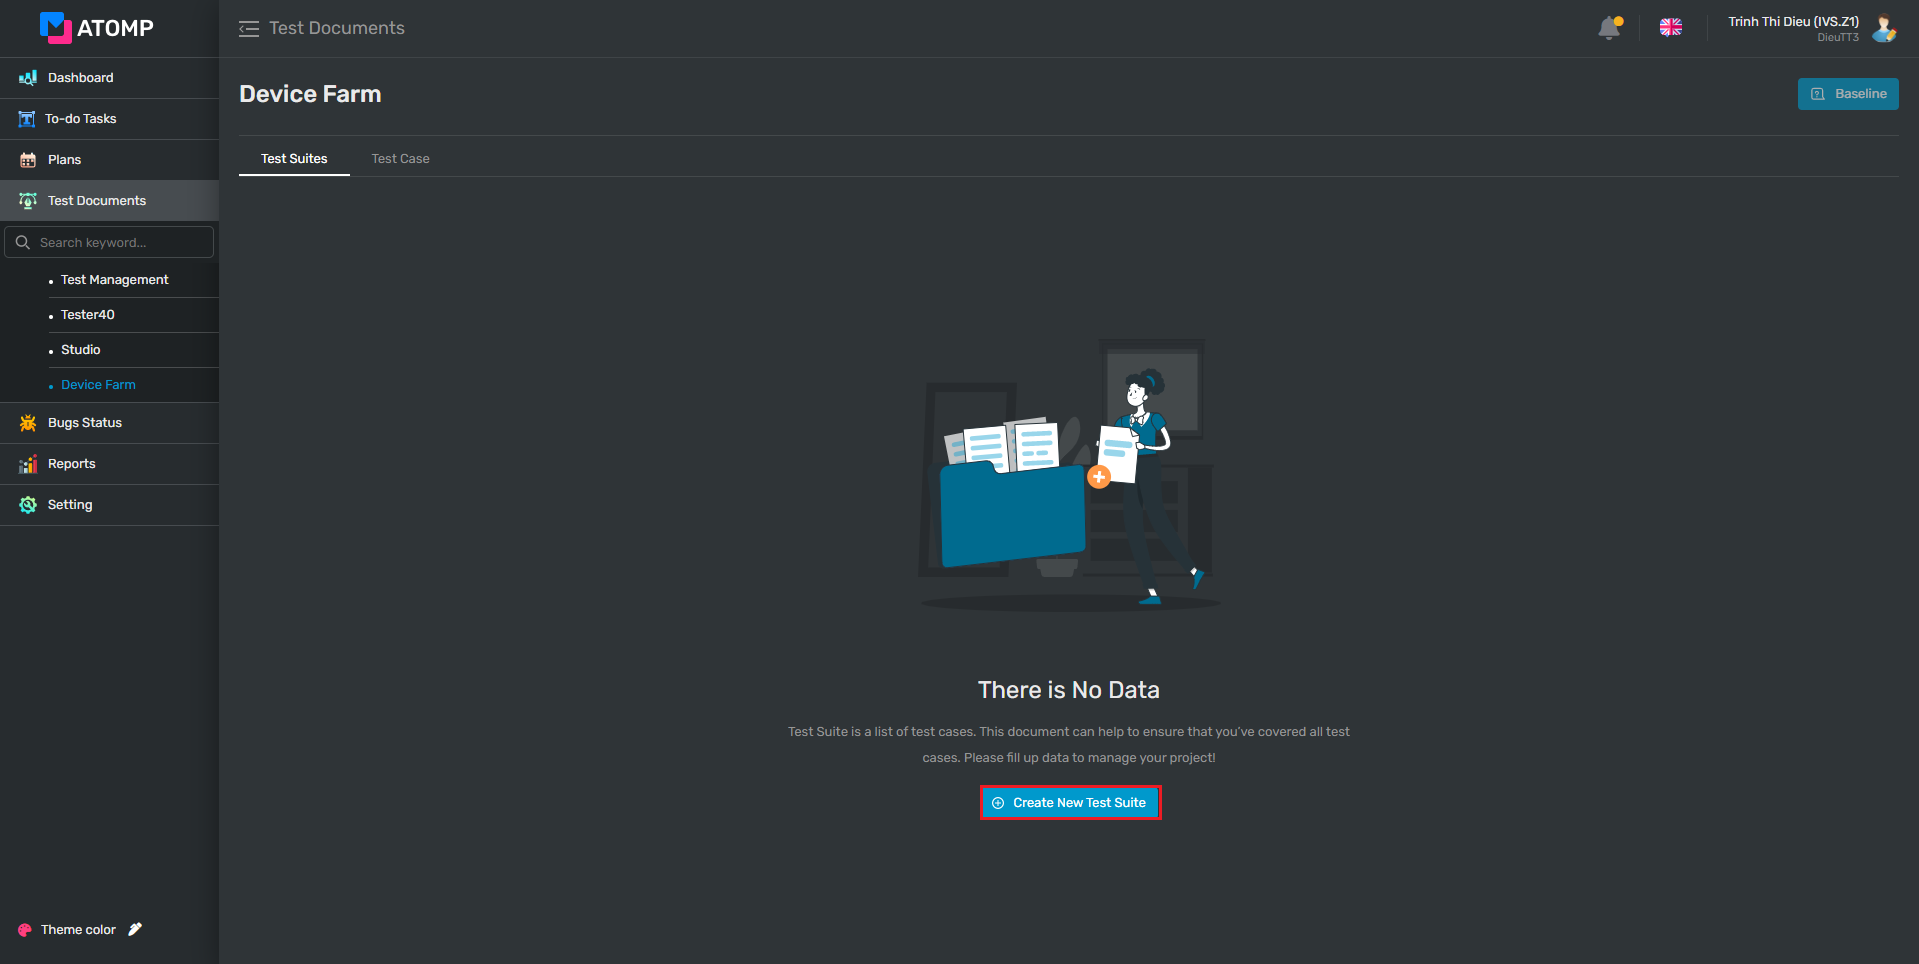
➩ Create new test suites screen will be displayed as below:

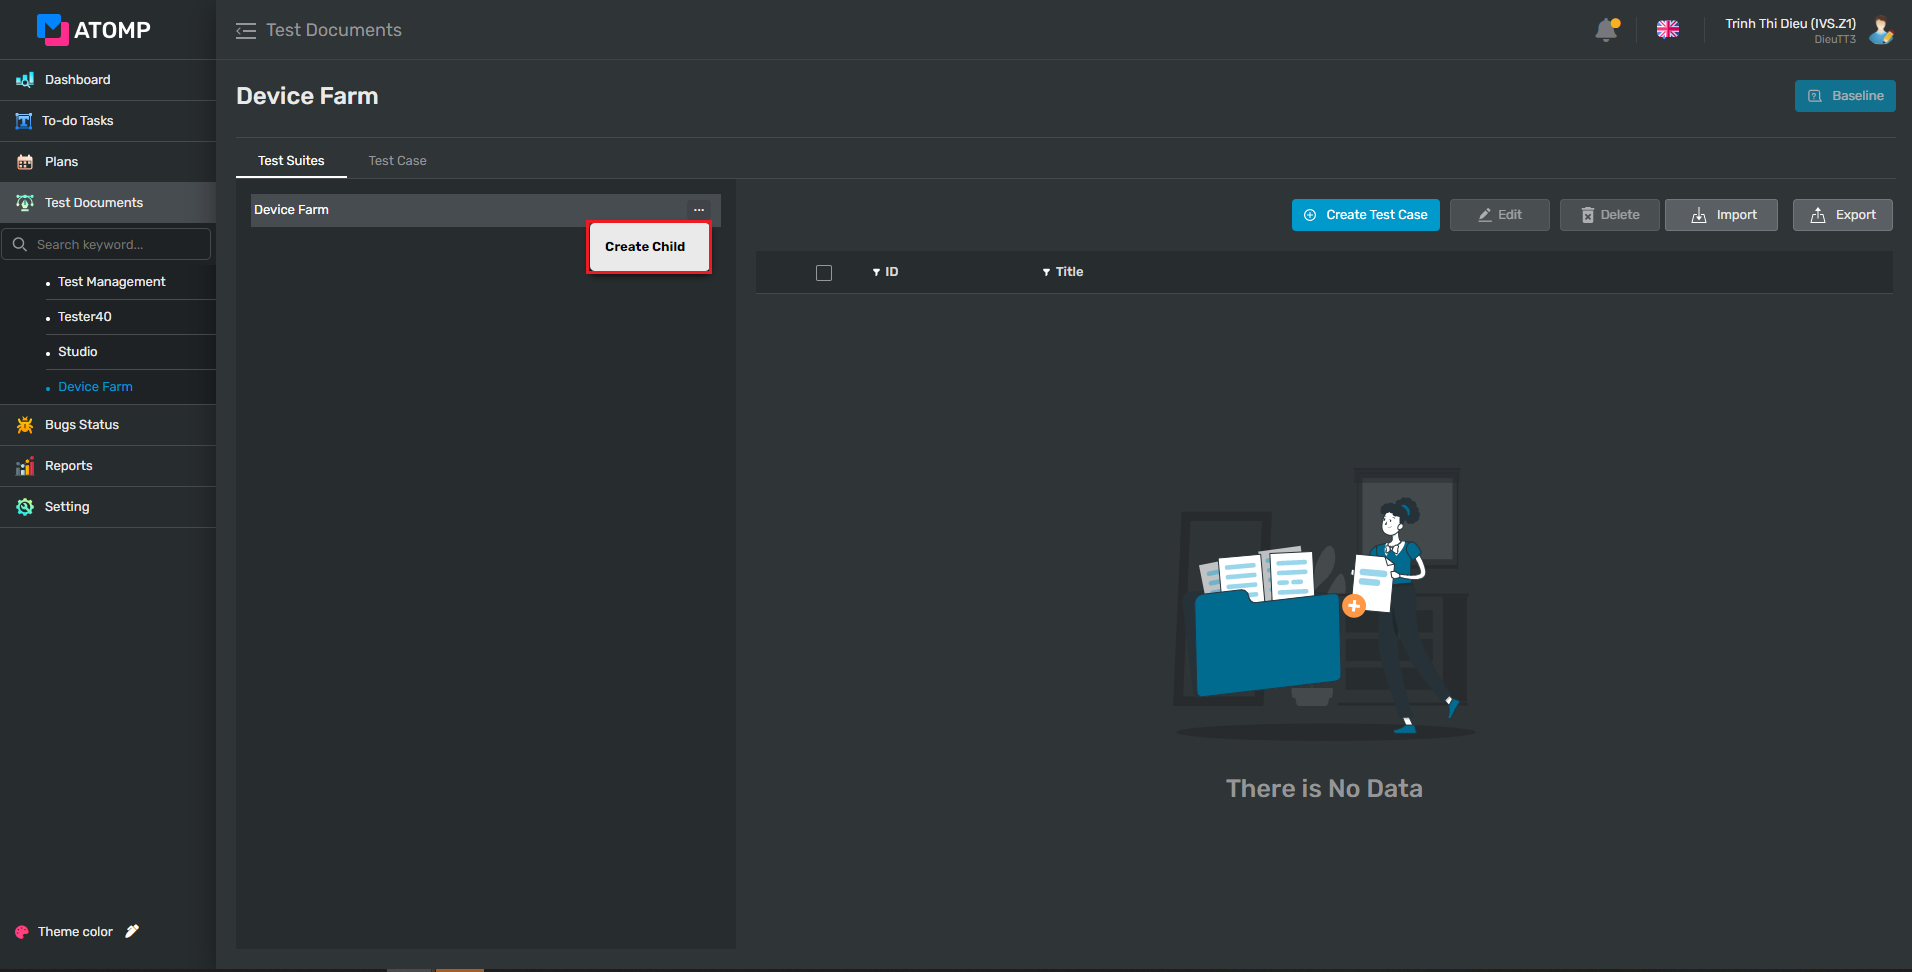
Step 3: On the Create New Test Suites screen, to create a Test Suites user input data into the text box create new child.
(1) Click on […] button
(2) Click on [Create Child] button => Text box input Create New Child will be displayed.
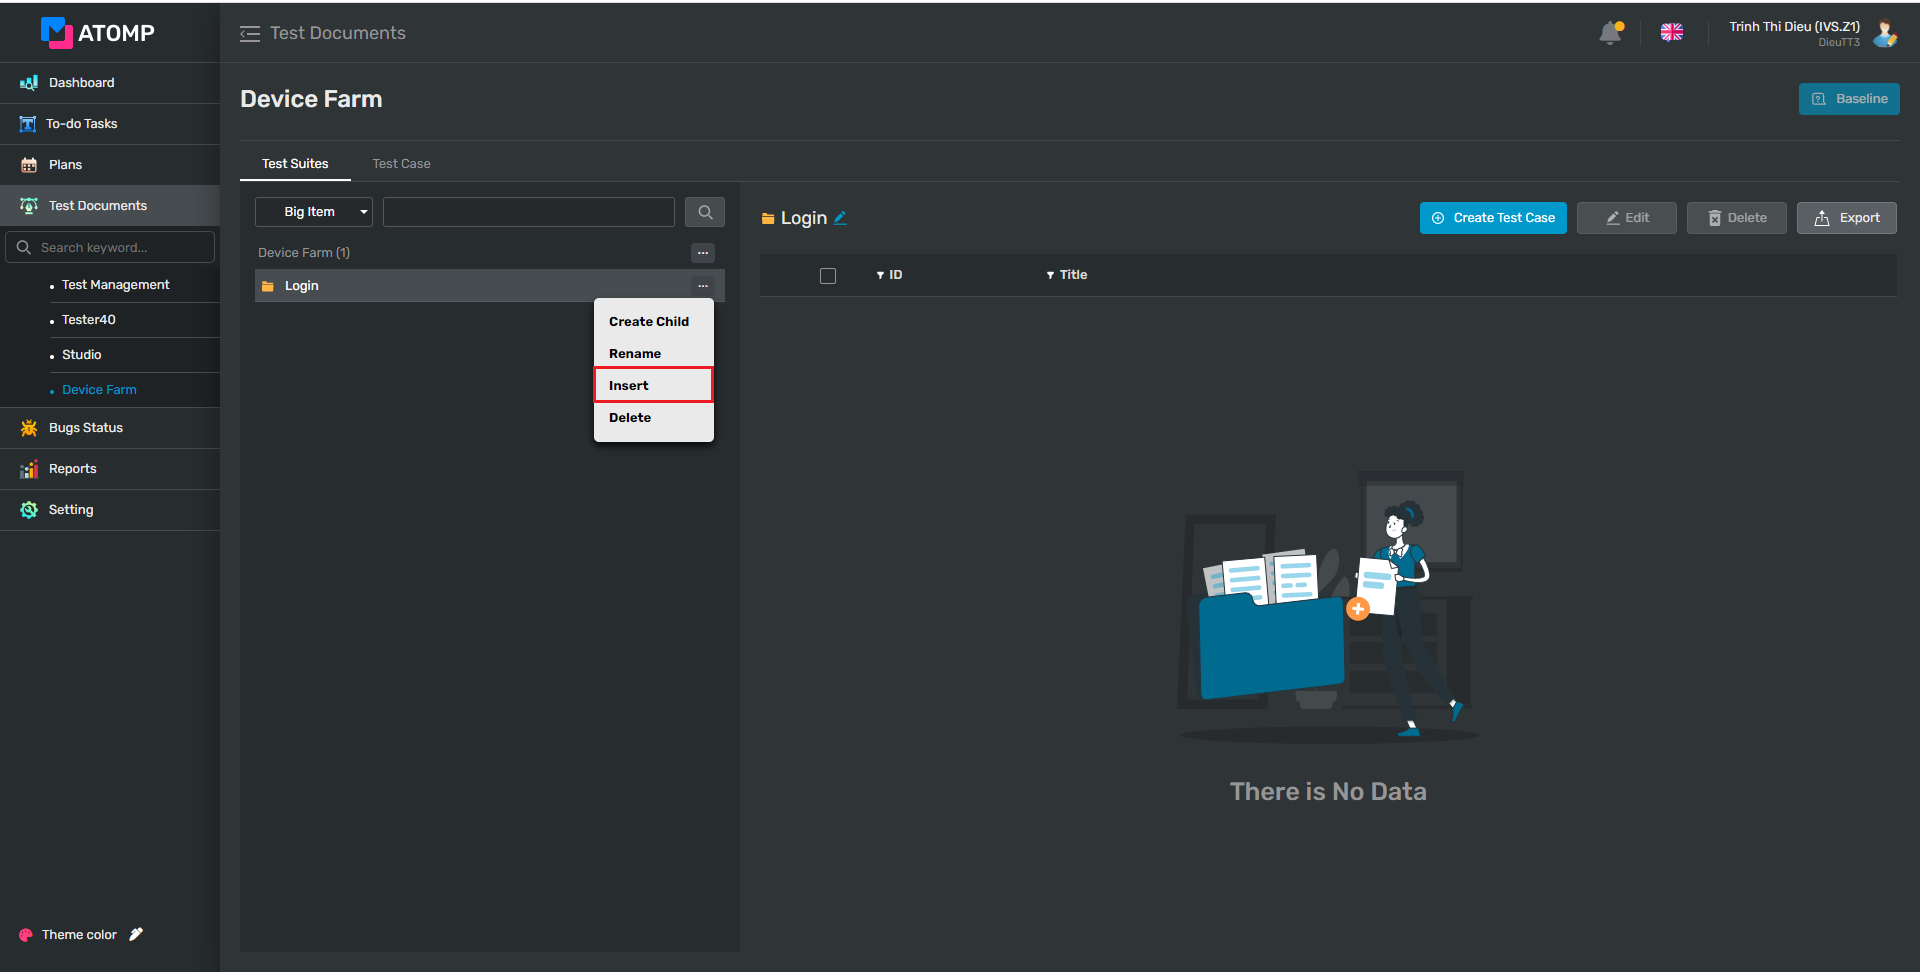
➢ You can create child test suites you created before by steps below:
(1): Click on […] button at any line of the test suites.
(2): Click on [Insert] button => a new line of the textbox input will be displayed as below.
(3): Input a valid name into the textbox Create New Child
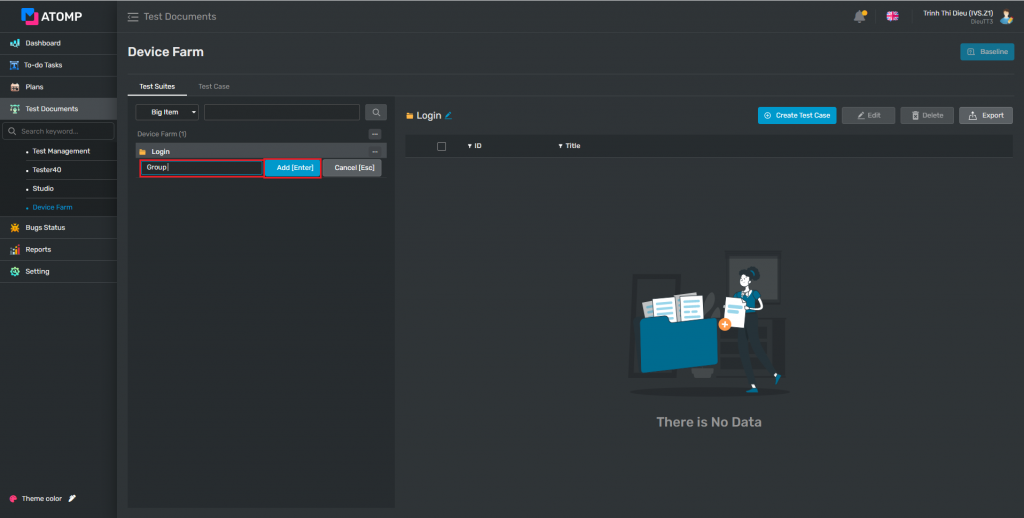
(4): Click [Add [Enter]] button to save the new data (or user can press the “Enter” key from keyboard).
➩ After user inserts viewpoint successfully, new viewpoint will be displayed:
➢ If you want to delete a viewpoint, please follow these steps below:
Step 1: Click on […] button at the same line of the viewpoint you want to delete.
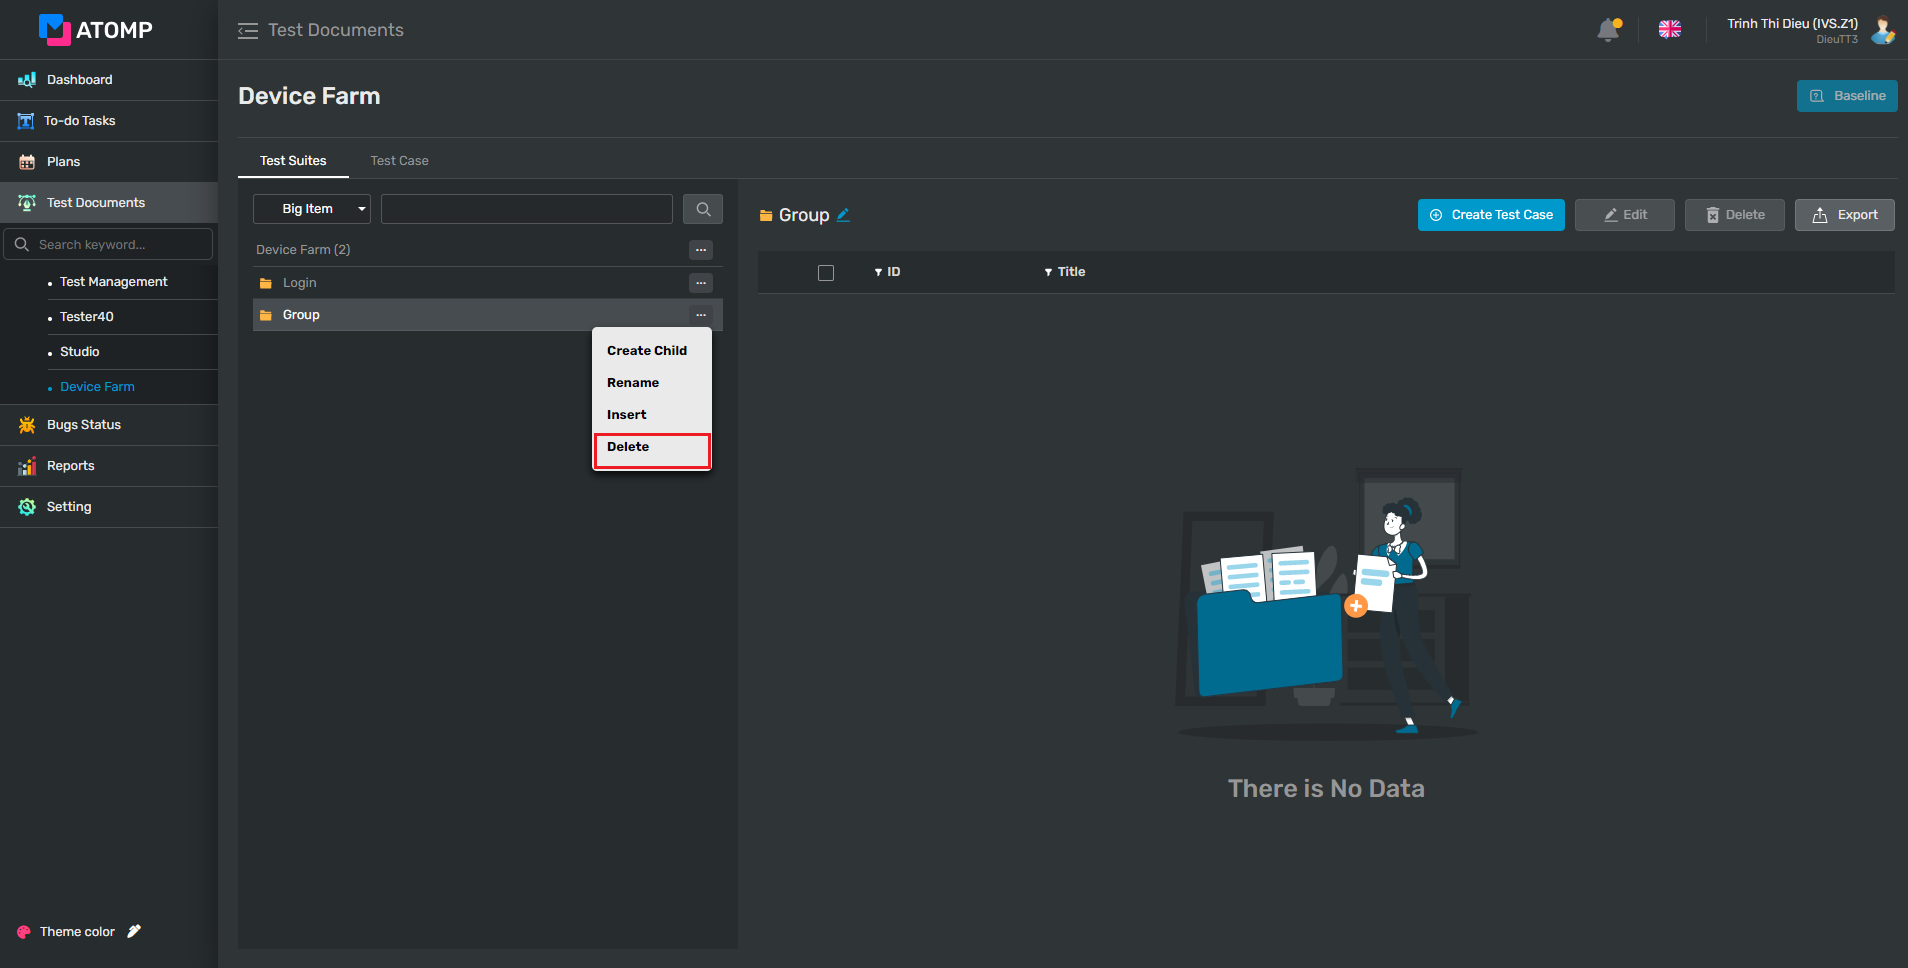
Step 2: Click on [Delete] item inside the Option popup => Popup confirm will be displayed.
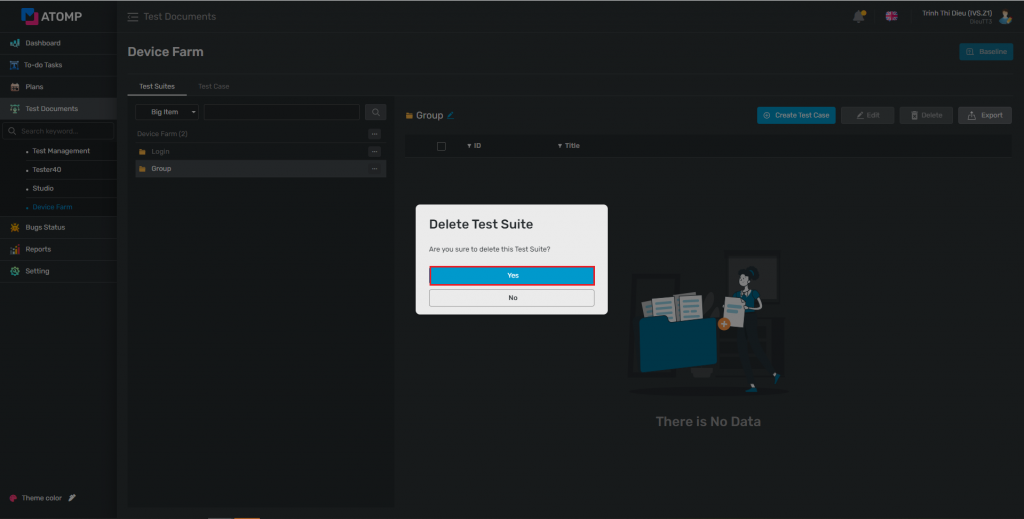
Step 3: Click on [Yes] button. At this time, the test cases related to the viewpoint that you selected in step 1 are deleted.