Part 4: Create Test Document without Test Design
To create a subproject that does not include a test design, follow the General Info section in Part2: Setting. But when creating a subproject, user will uncheck the item Include Test Design.

I. How to create Test Document for a project?

1. How to create Test Suites?
Step 1: From the toolbar on the left side of the screen, move the cursor to the icon Test Document => then select subproject name => Test Suites tab will be displayed normally.
Step 2: Users click on Create New Test Suites button.
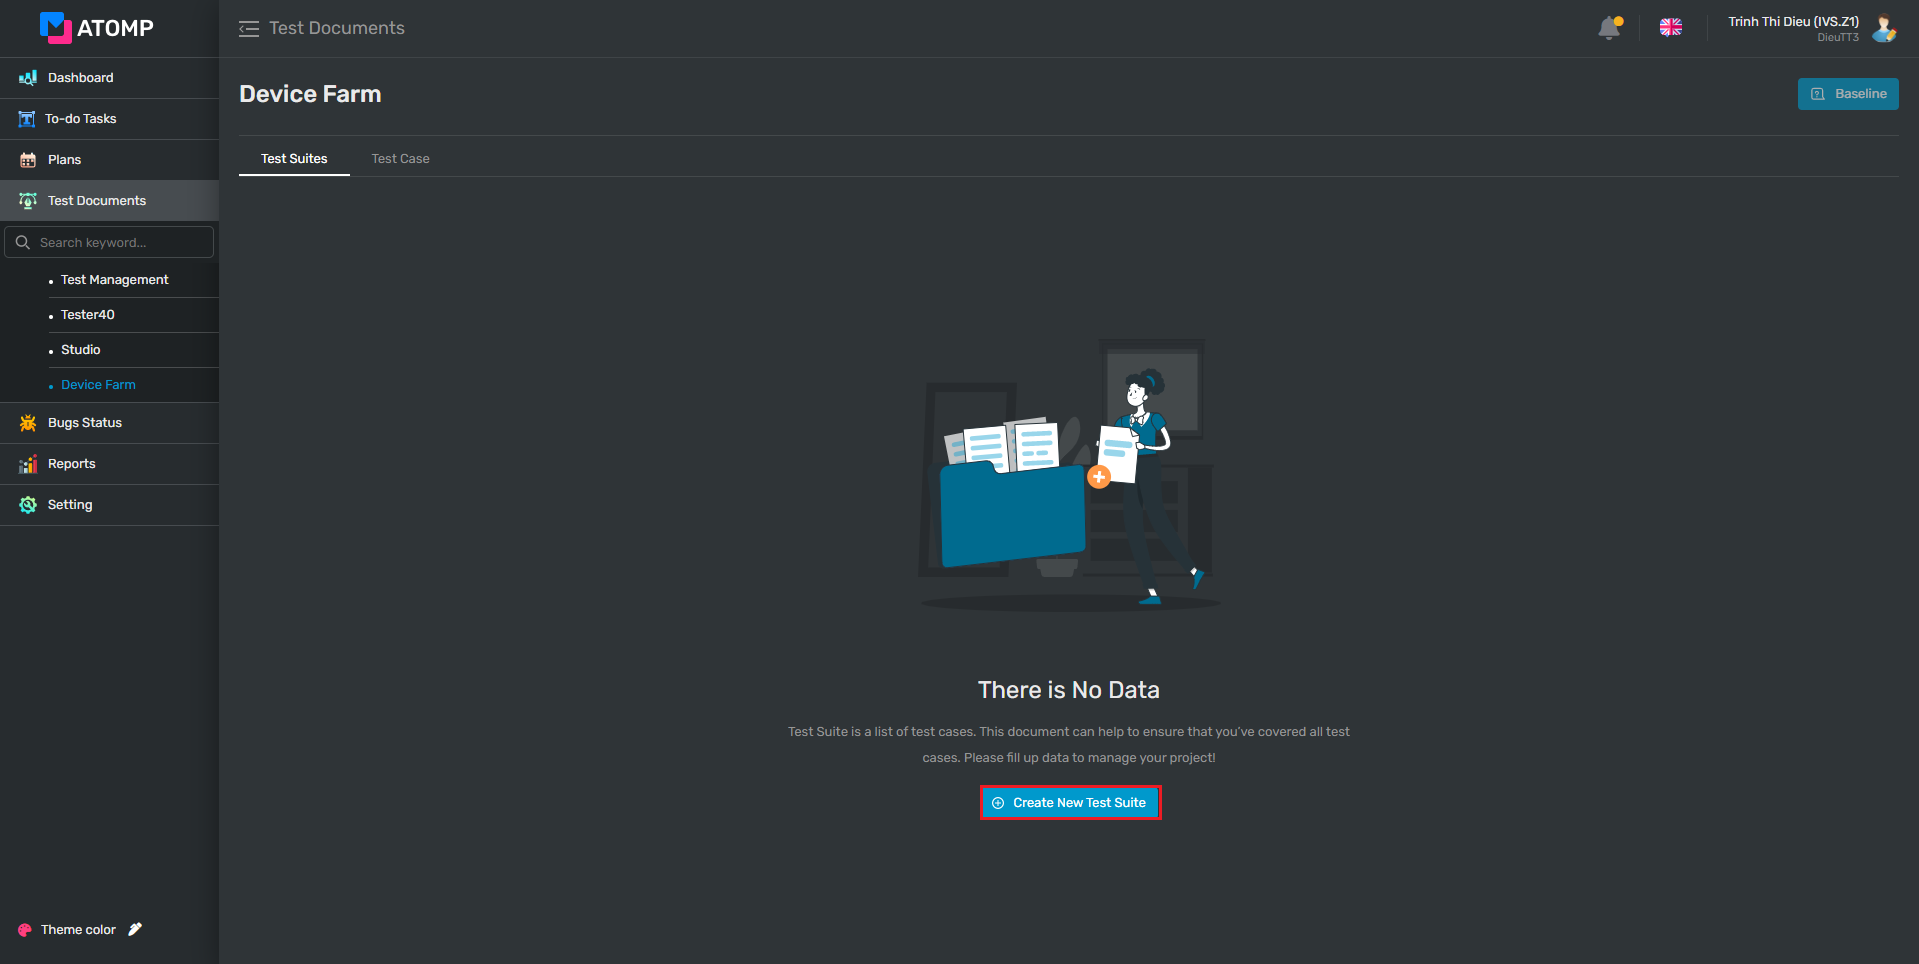
➩ Create new test suites screen will be displayed as below:

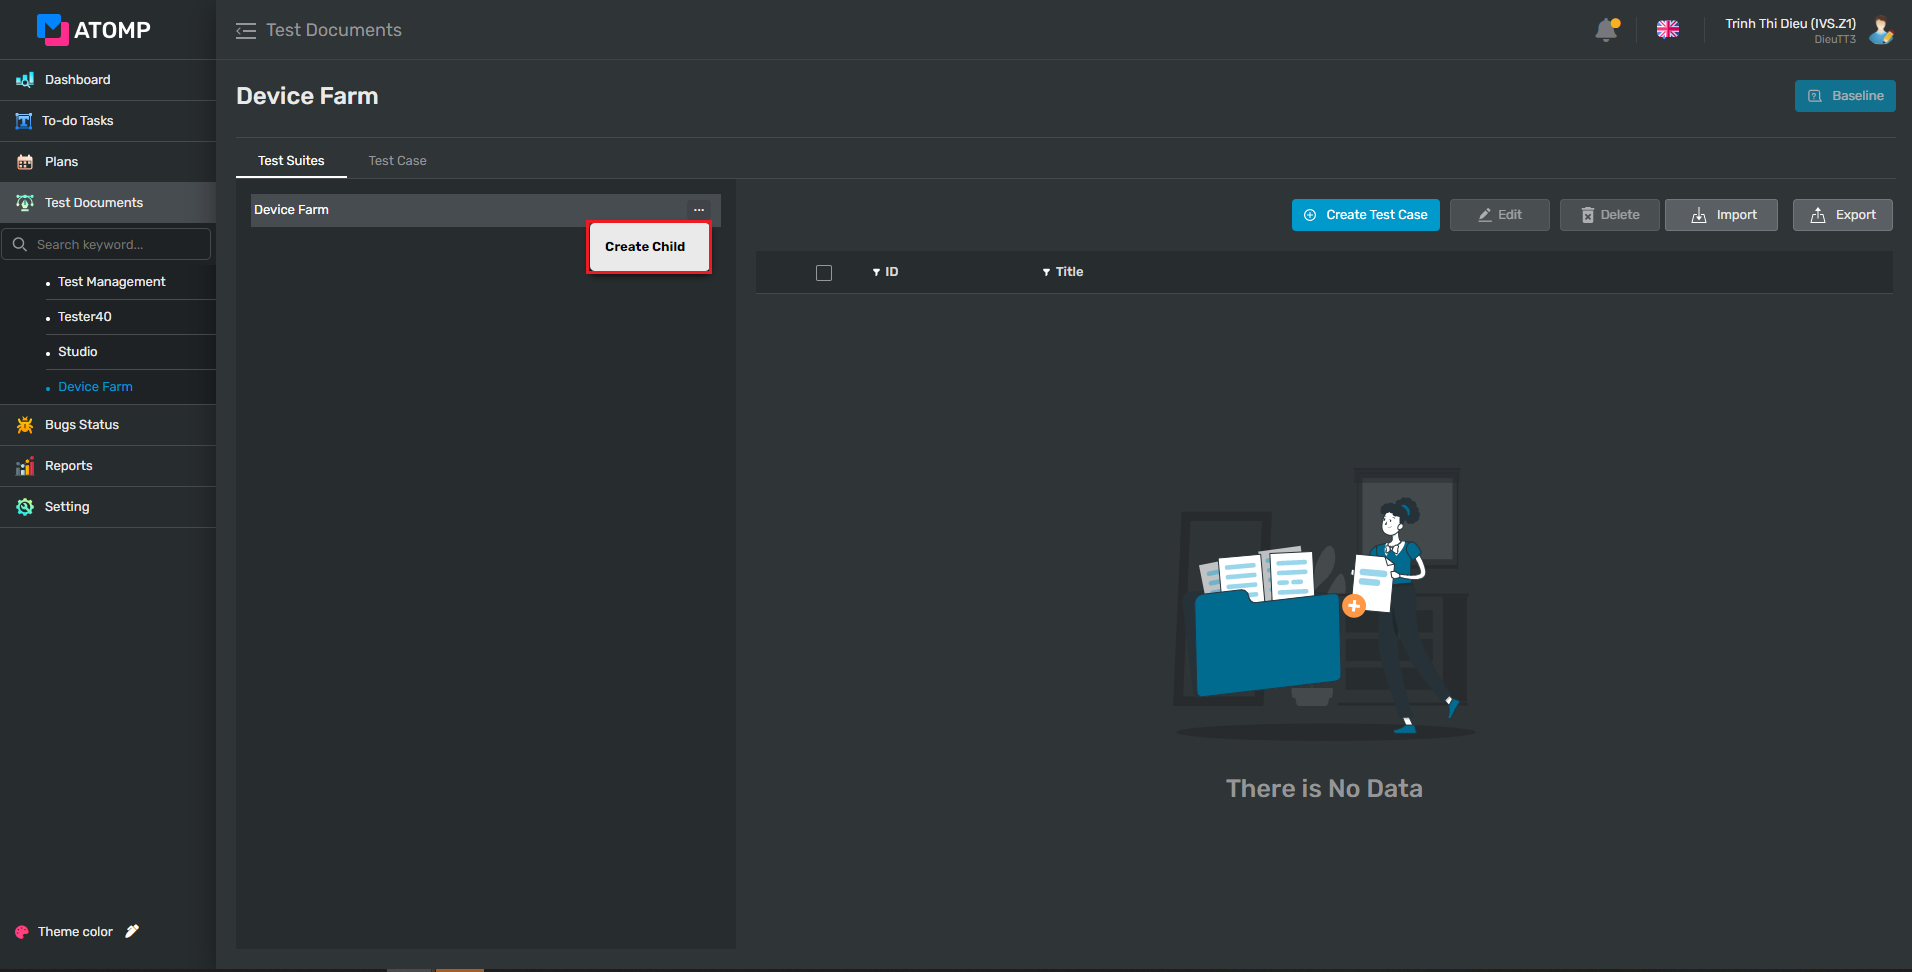
Step 3: On the Create New Test Suites screen, to create a Test Suites user input data into the text box create new child.
(1) Click on […] button
(2) Click on [Create Child] button => Text box input Create New Child will be displayed.
➢ You can create child test suites you created before by steps below:
(1): Click on […] button at any line of the test suites.
(2): Click on [Insert] button => a new line of the textbox input will be displayed as below.
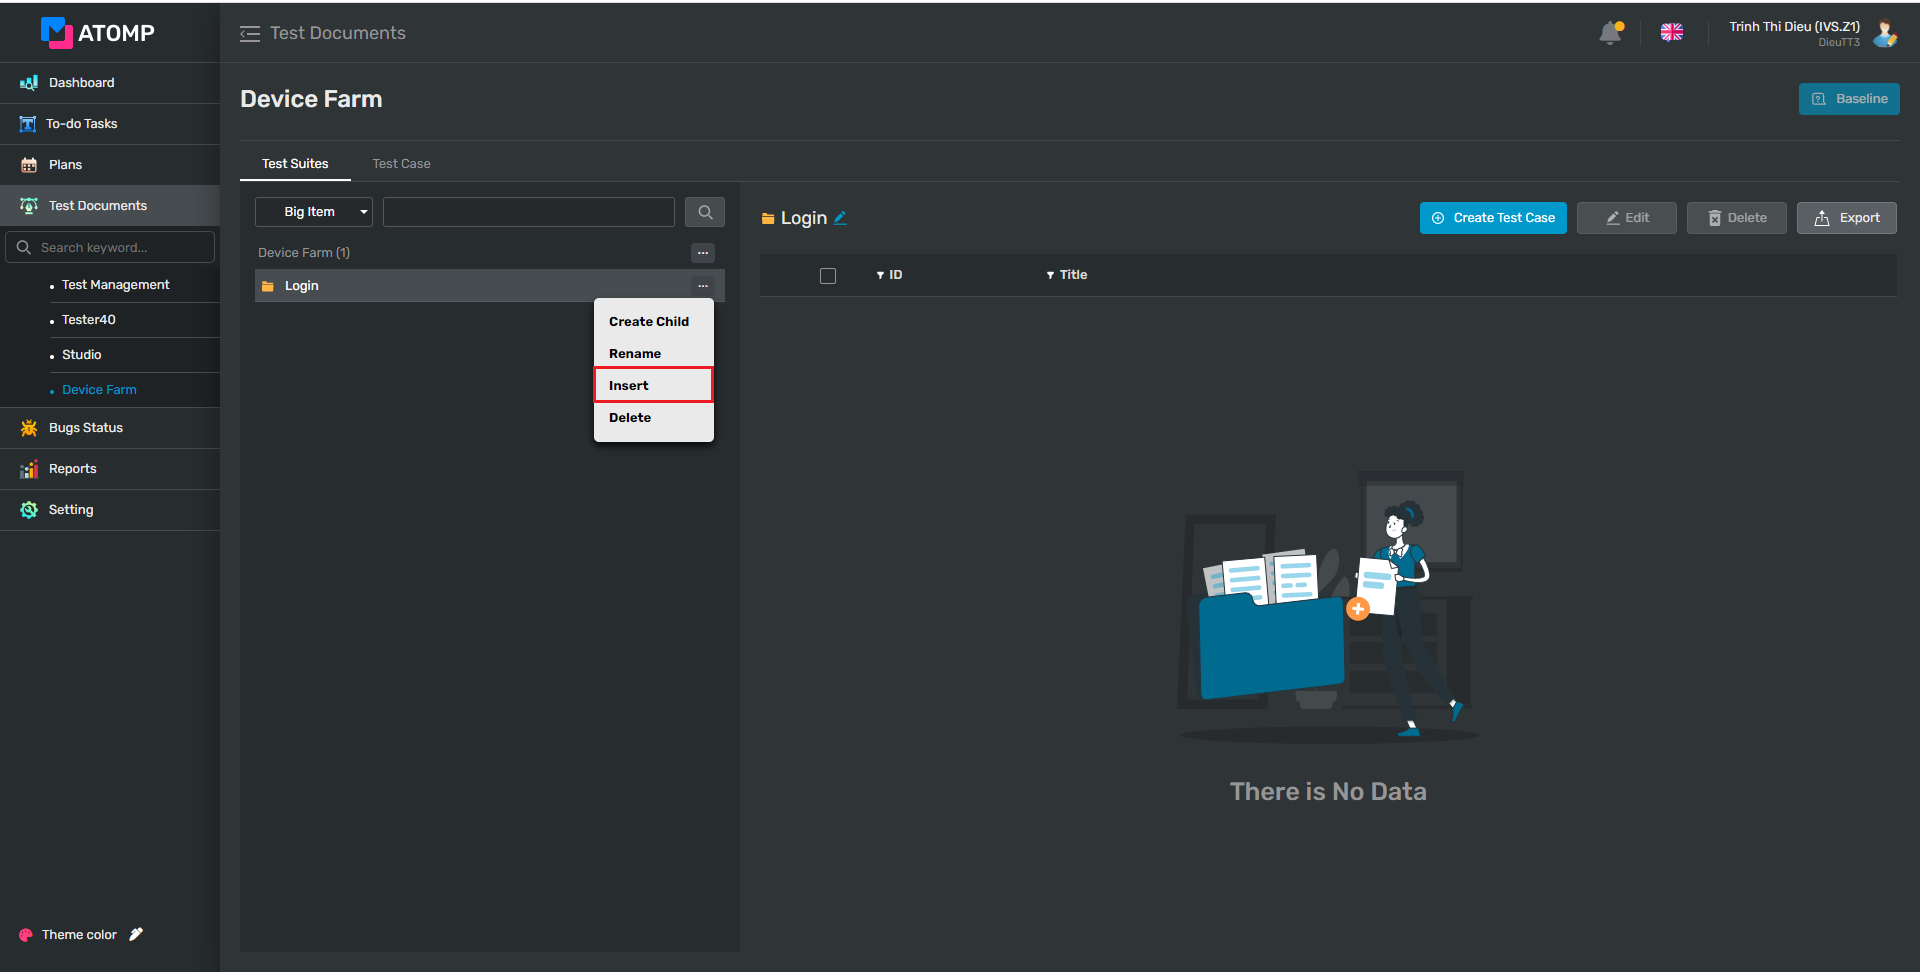
(3): Input a valid name into the textbox Create New Child
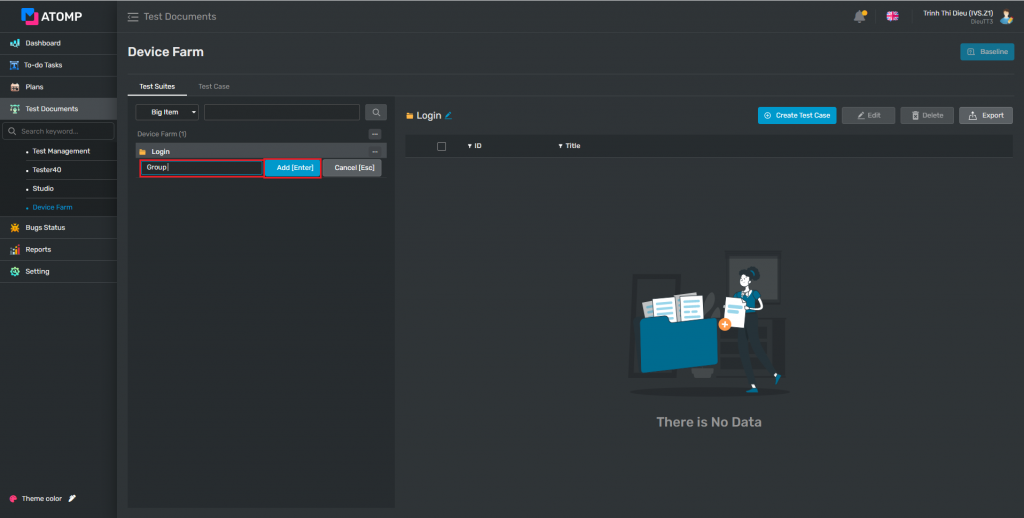
(4): Click [Add [Enter]] button to save the new data (or user can press the “Enter” key from keyboard).
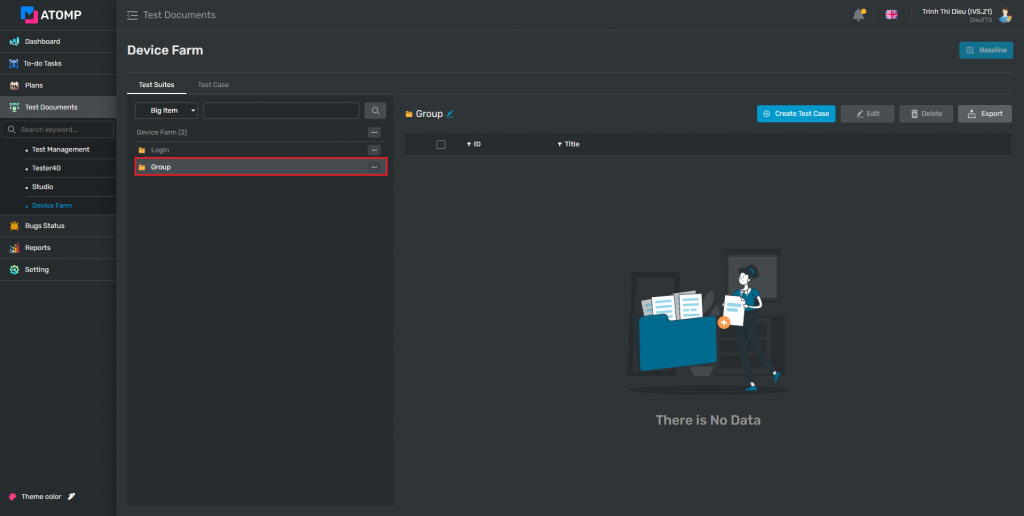
➩ After user inserts viewpoint successfully, new viewpoint will be displayed:
➢ If you want to delete a viewpoint, please follow these steps below:
Step 1: Click on […] button at the same line of the viewpoint you want to delete.
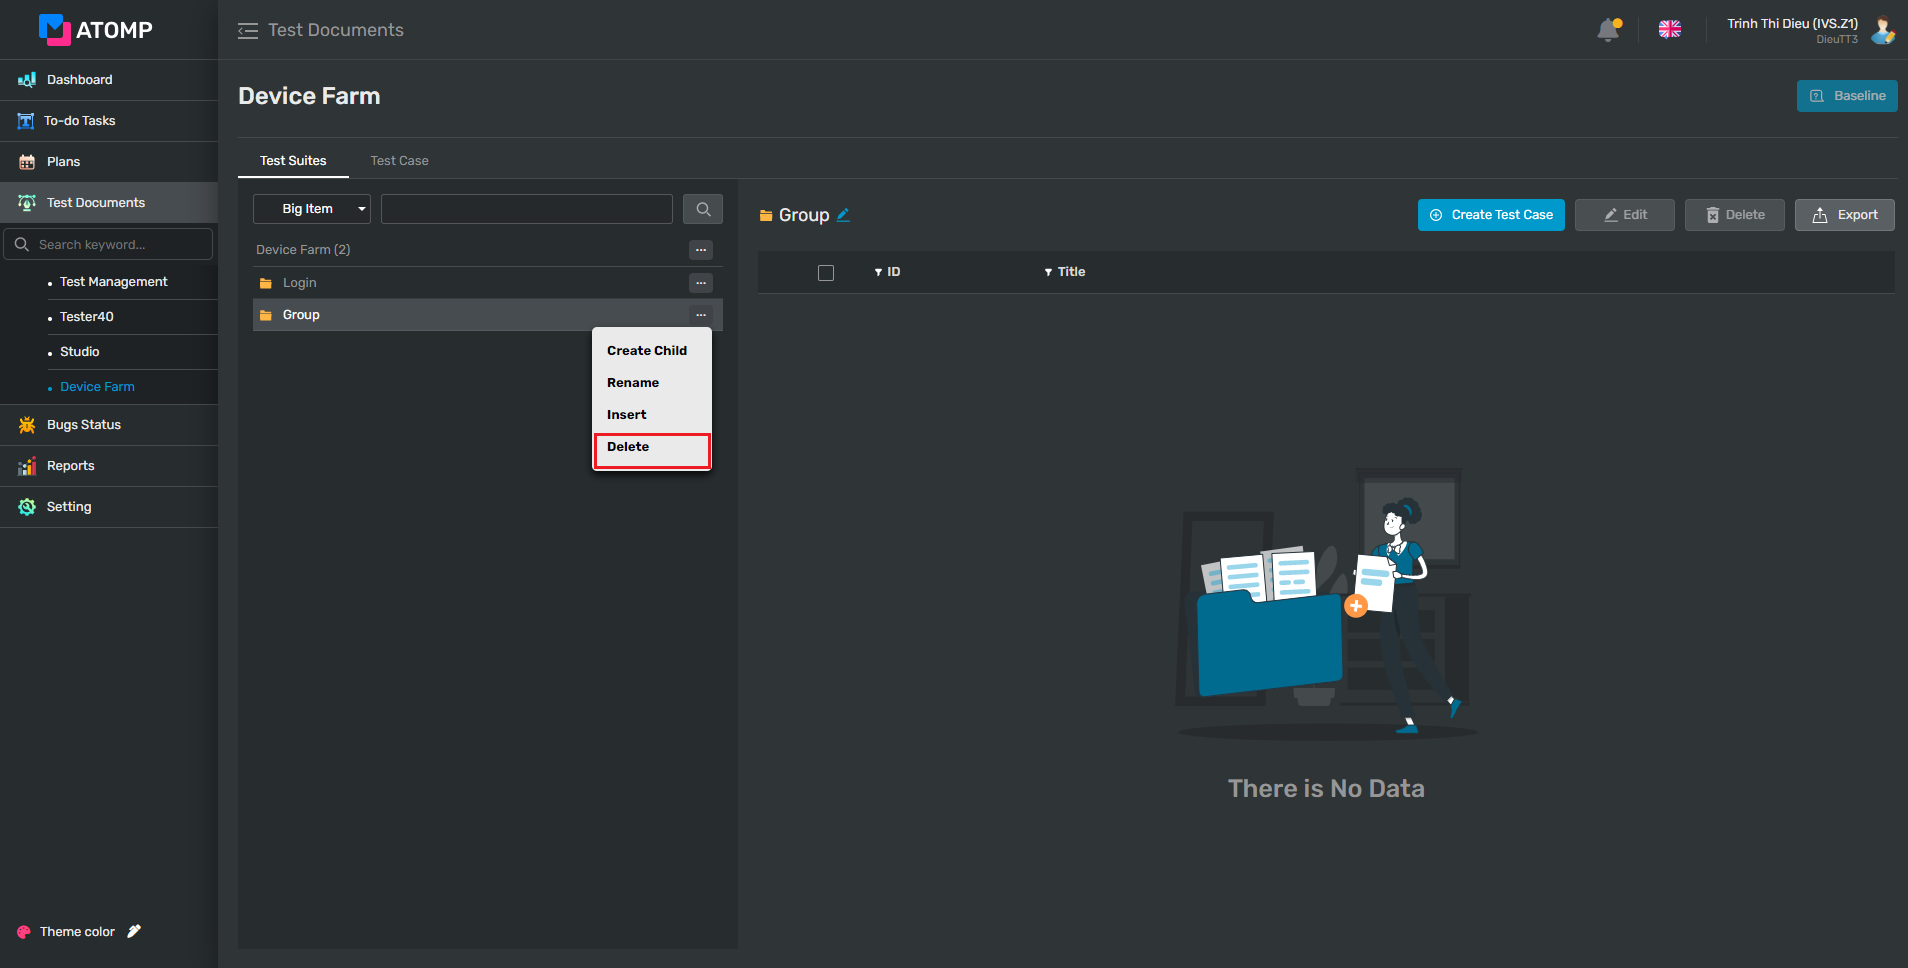
Step 2: Click on [Delete] item inside the Option popup => Popup confirm will be displayed.
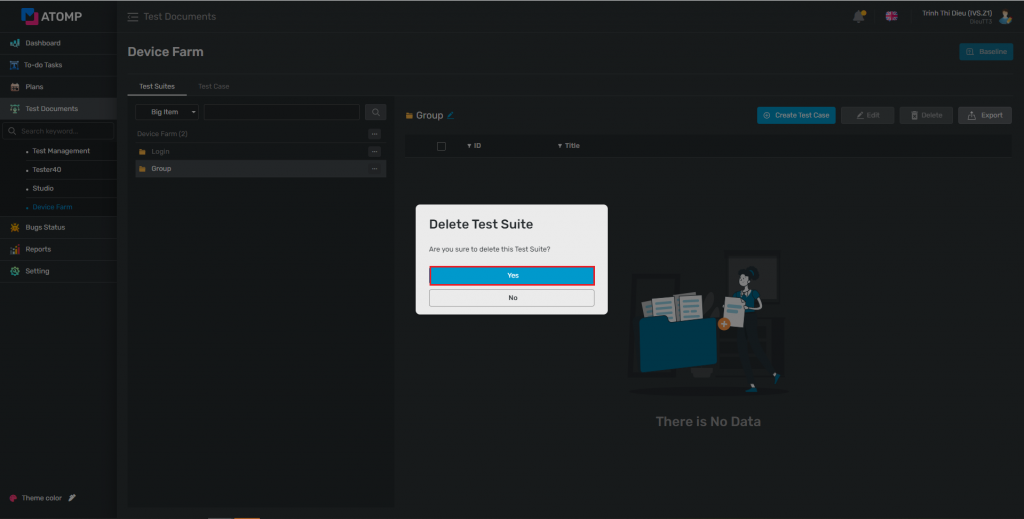
Step 3: Click on [Yes] button. At this time, the test cases related to the viewpoint that you selected in step 1 are delete.
2. How to create title test case?
Step 1: On the Test Suites, click on Create Test Case to create title test case Create new test suites screen will be displayed as below.
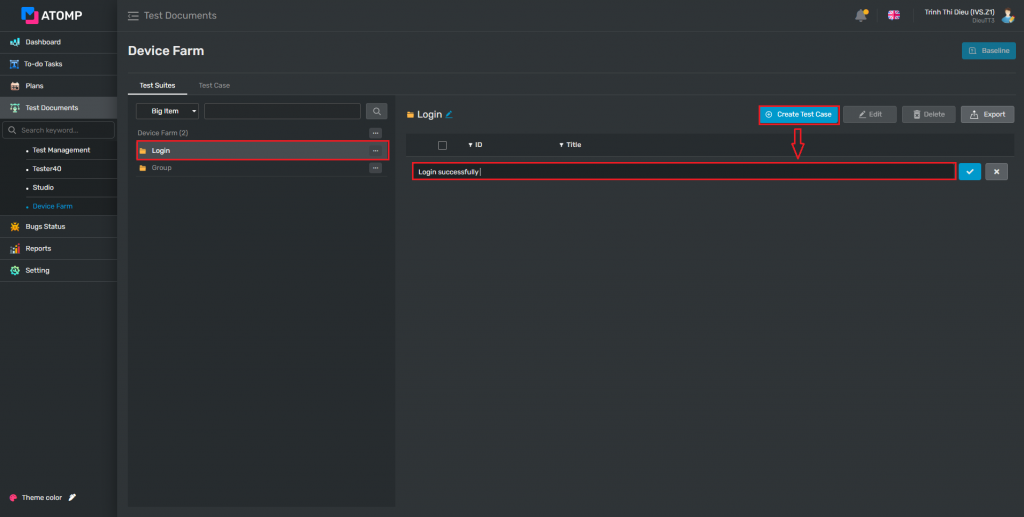
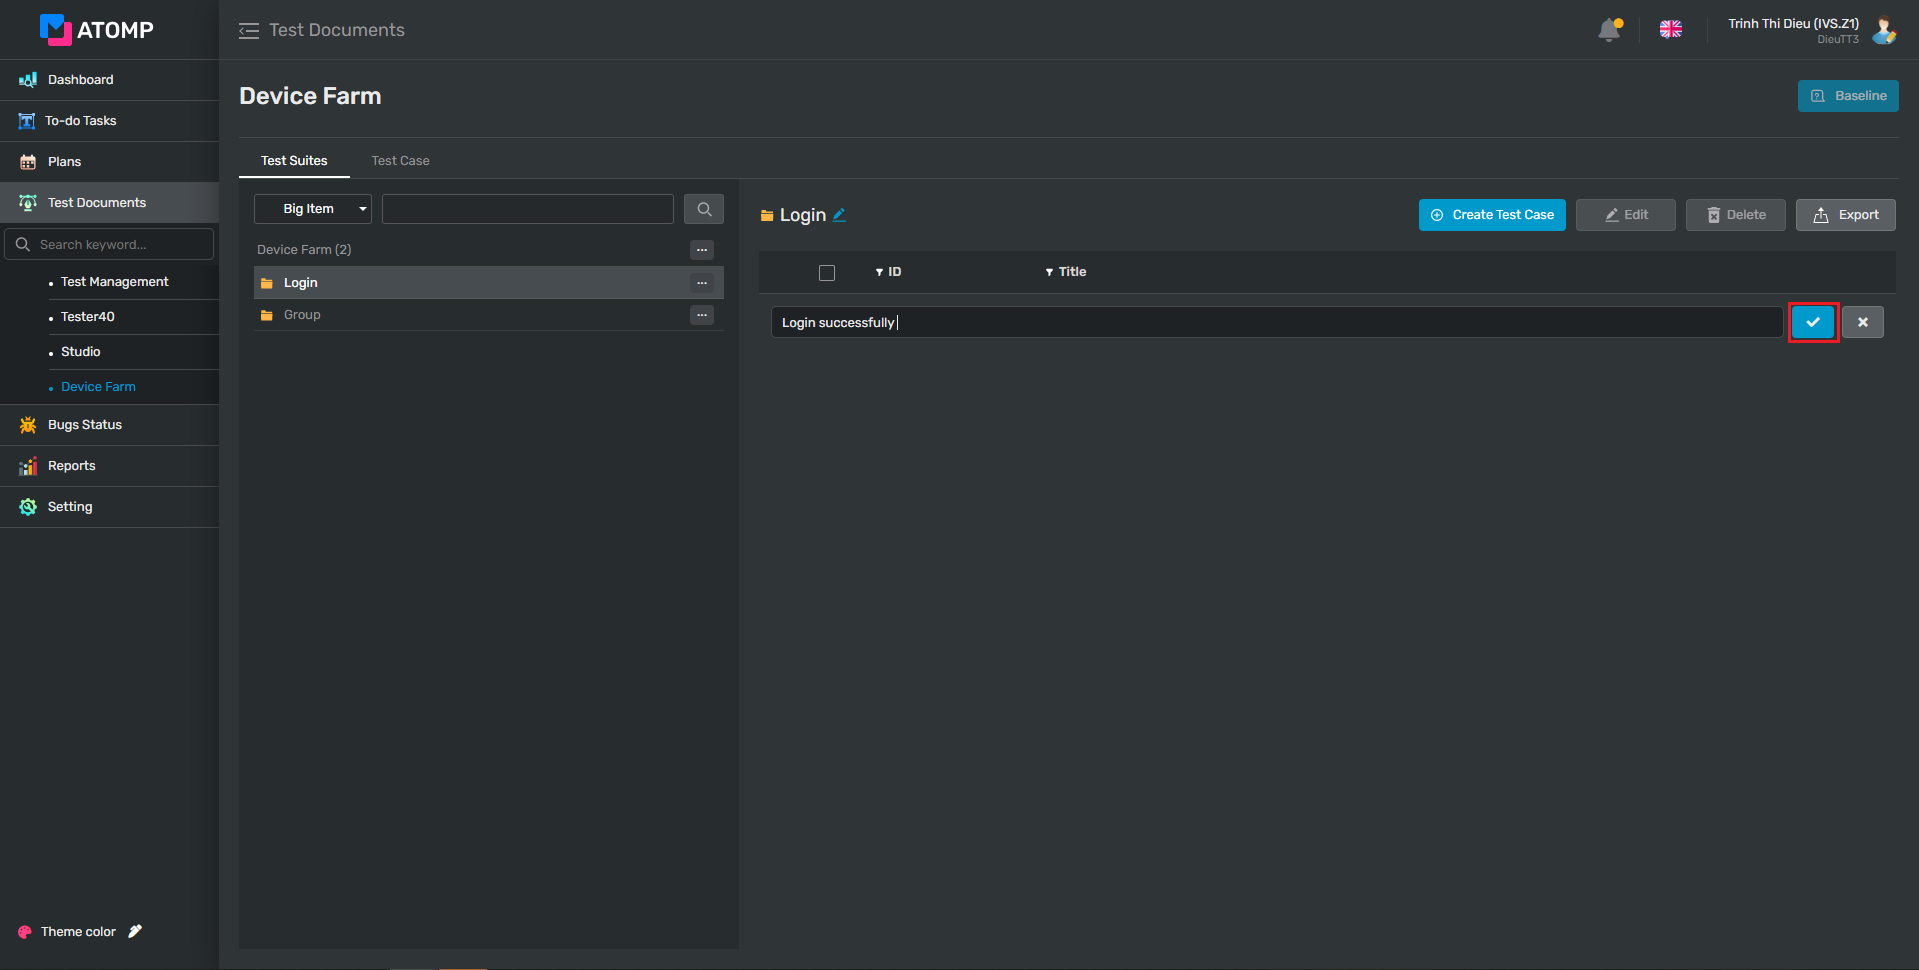
Step 2: Click on [v] button to save title test case.
3. How to create a Test Case?
Creating test cases when the subproject has no test design is the same as creating test cases when the subproject has test design. And there are also 2 ways to create a complete test case:
✤ The 1st way – Create from Test Management

✤ The 2nd Way: Create by Importing test case
Please follow how to create test cases in Part3 of How to create test cases.
4. How to edit Test Case?
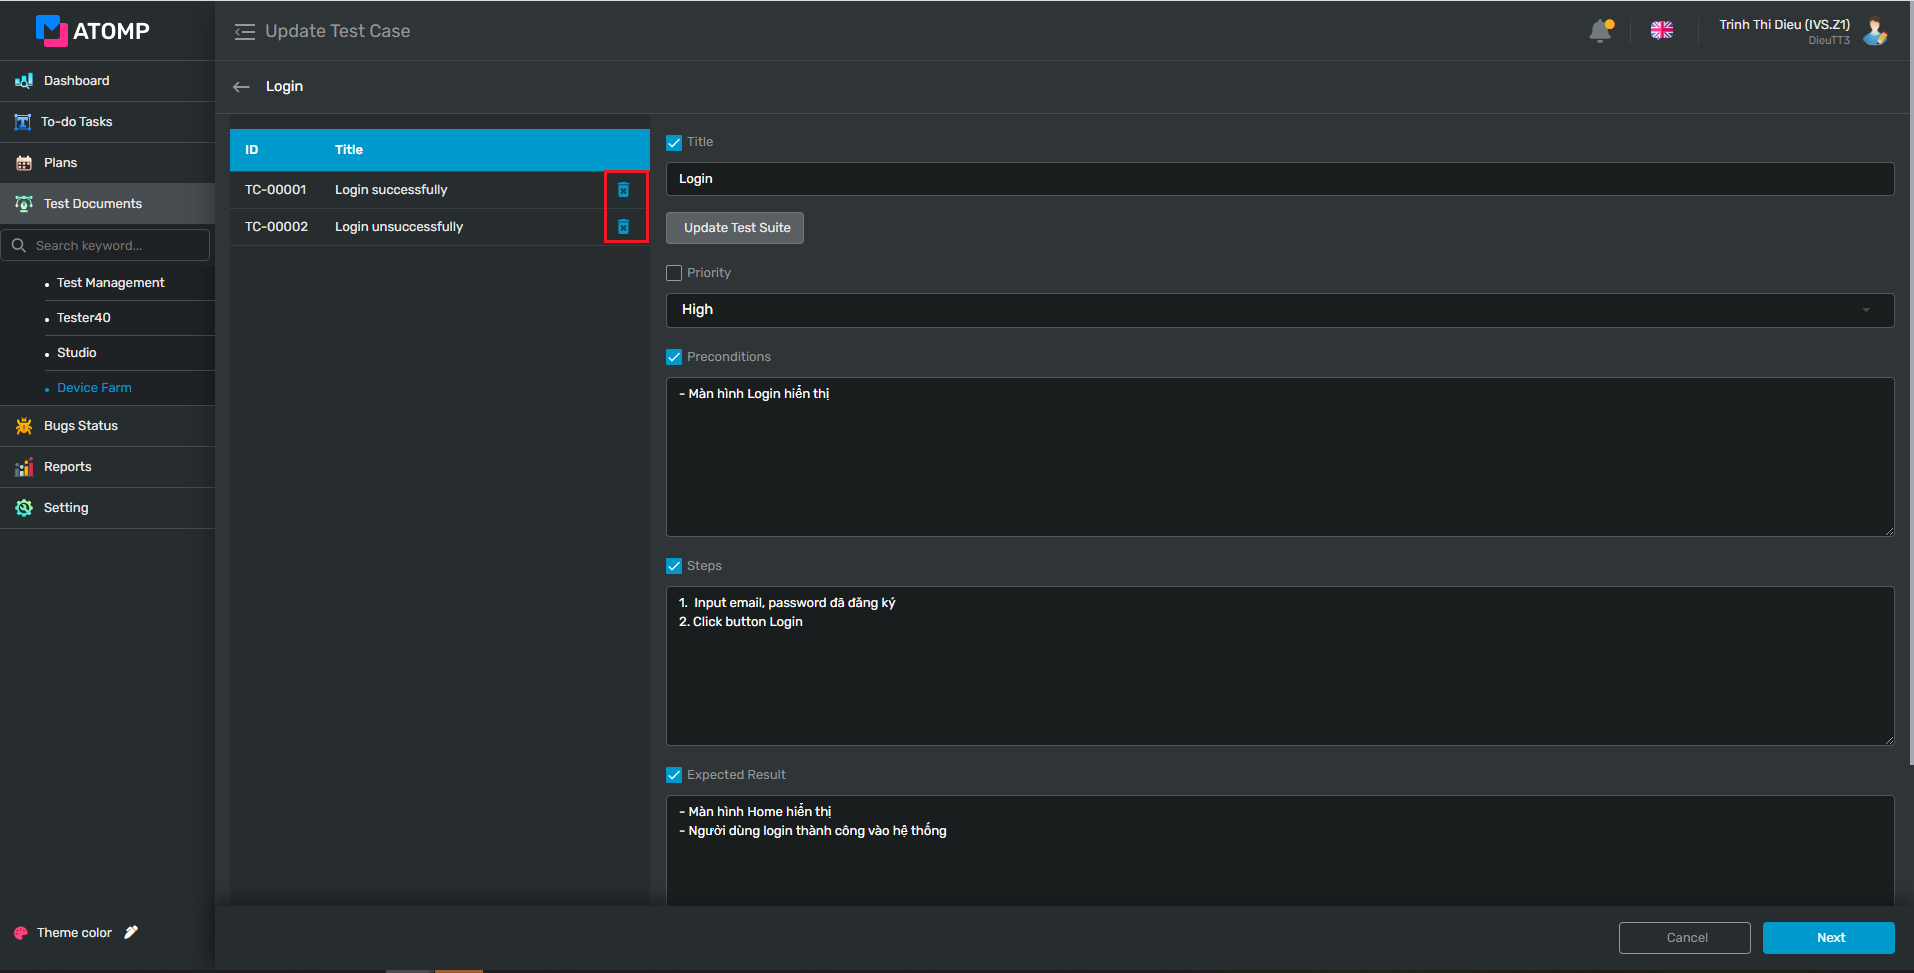
On the Test Suite screen, all test cases are edited once or are edited individually.
Step 1: Execute tick all test cases or tick test cases the user wants to edit -> Click on [Edit] button
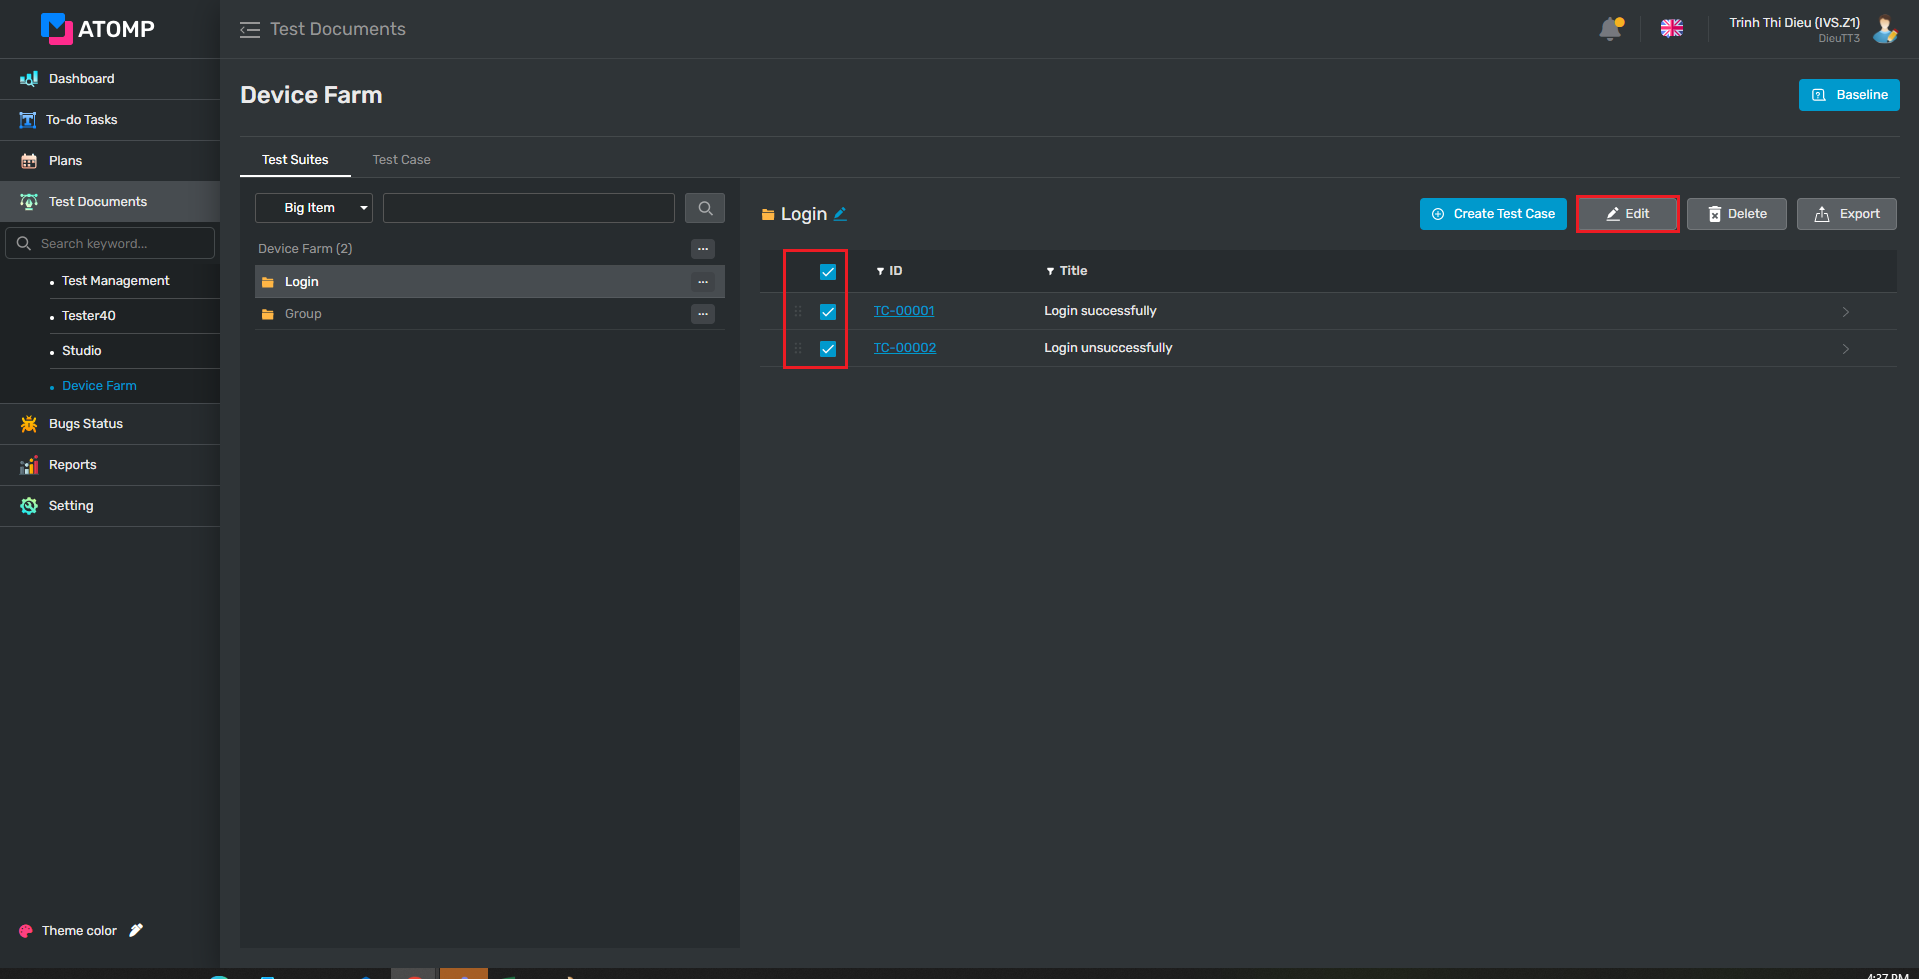
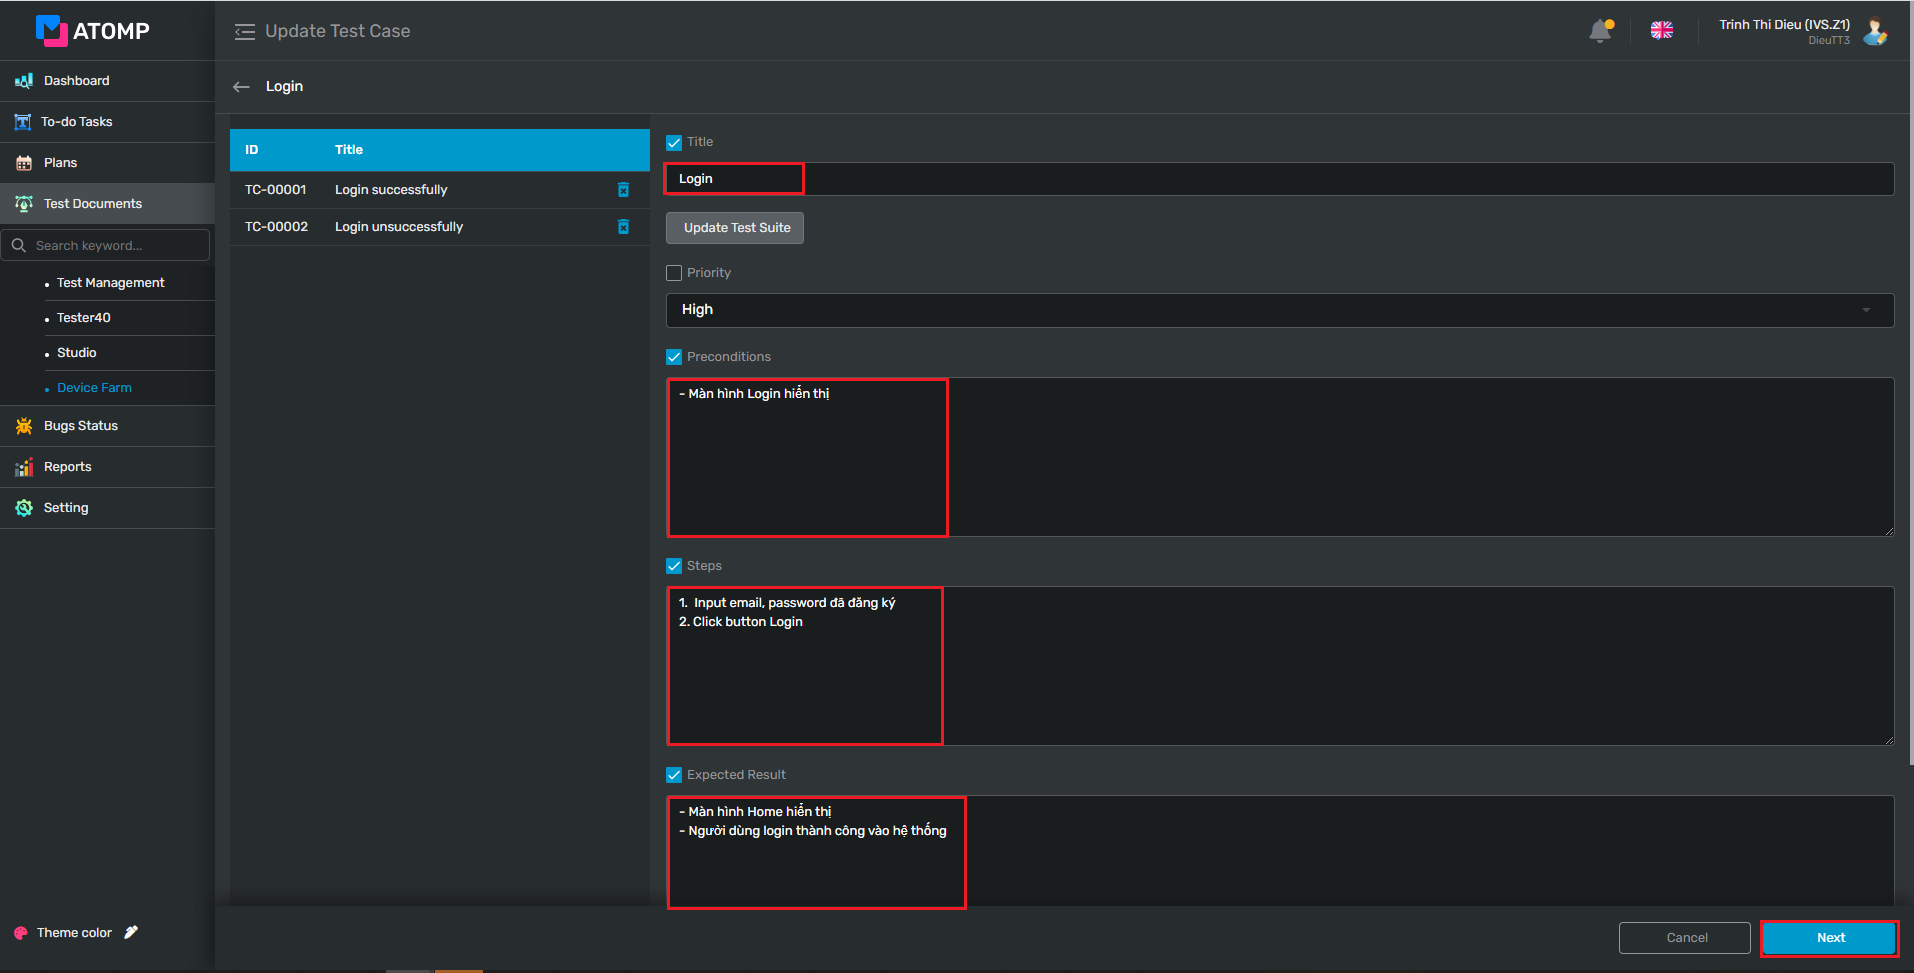
➩ Update Test Case screen is displayed.
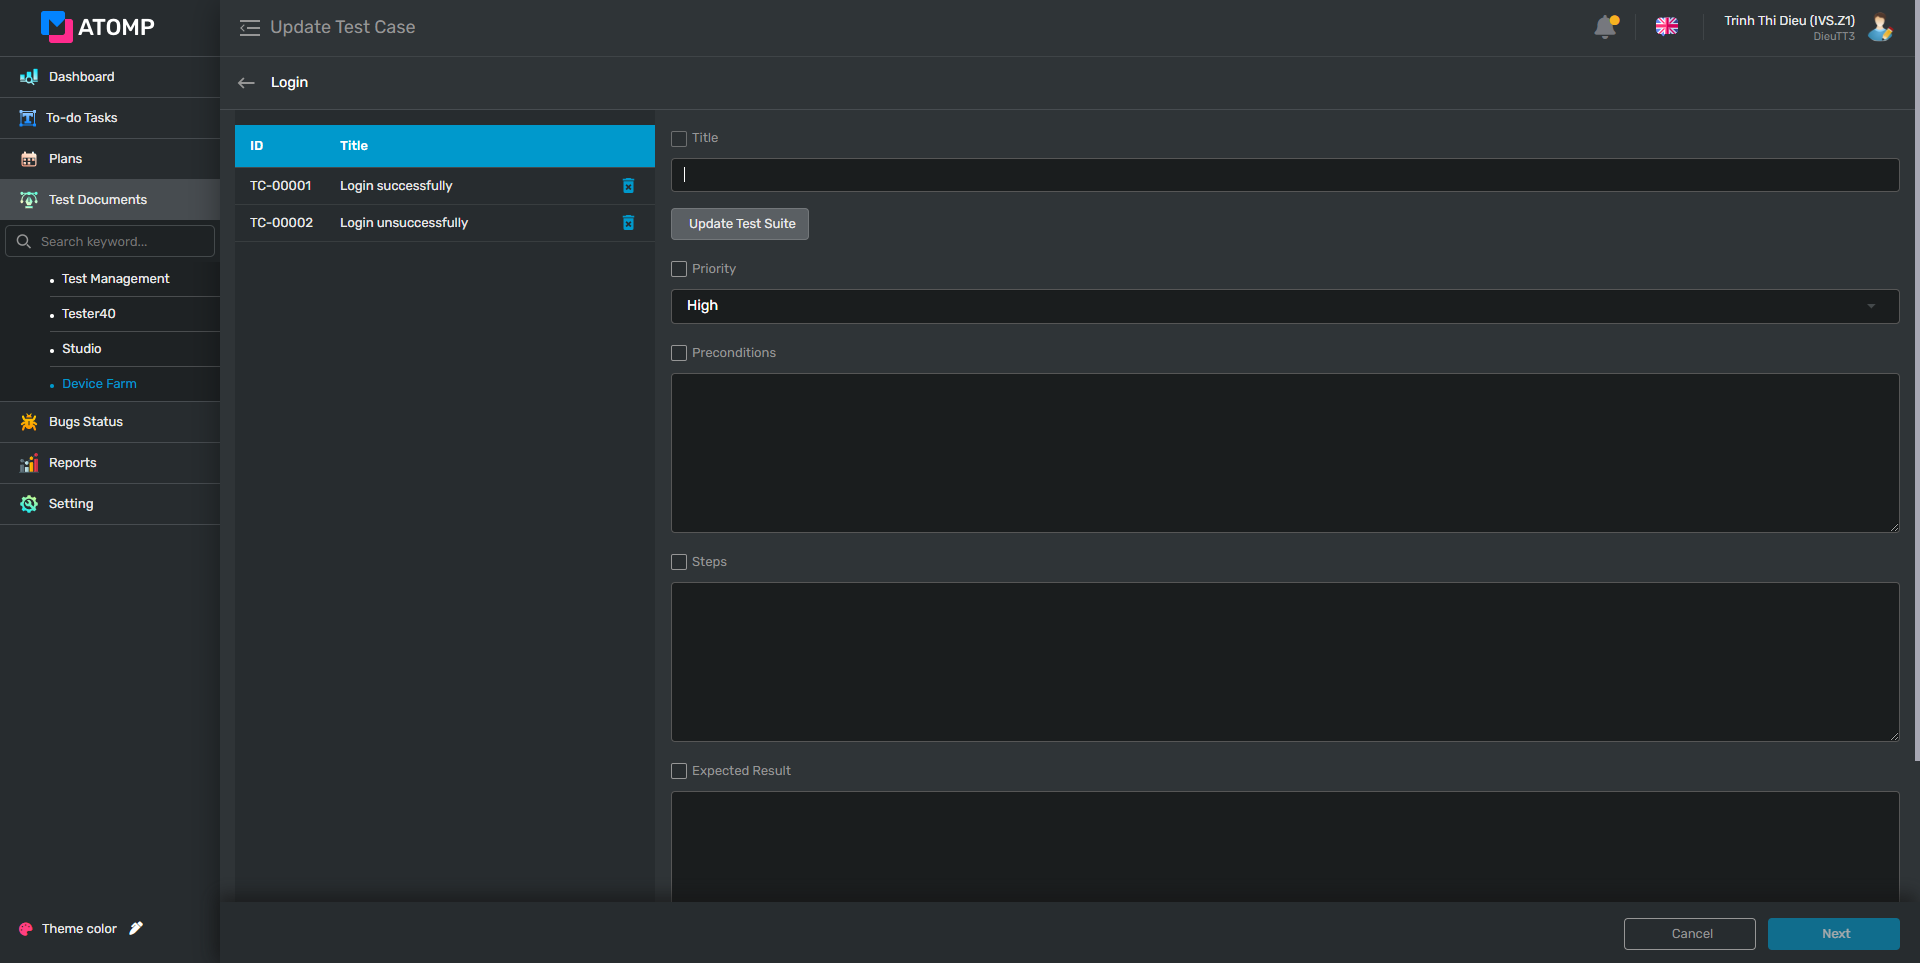
Step 2: Input data directly into text boxes inside the Update Test Case screen
(1) Input valid data into the Title
(2) Input valid data into the Precondition field
(3) Input valid data into the Steps field.
(4) Input valid data into the Expected Result field.
(5) Click on [Save] button.
When editing all test cases but in the editing process there are test case that don’t want to be edited, the user click on the delete icon to delete that test case from the edit list.