Part 5: Plans
III. How to Execute Test?
1. Select Test case

Leader can choose a test case from the test case list by following these 5 steps:
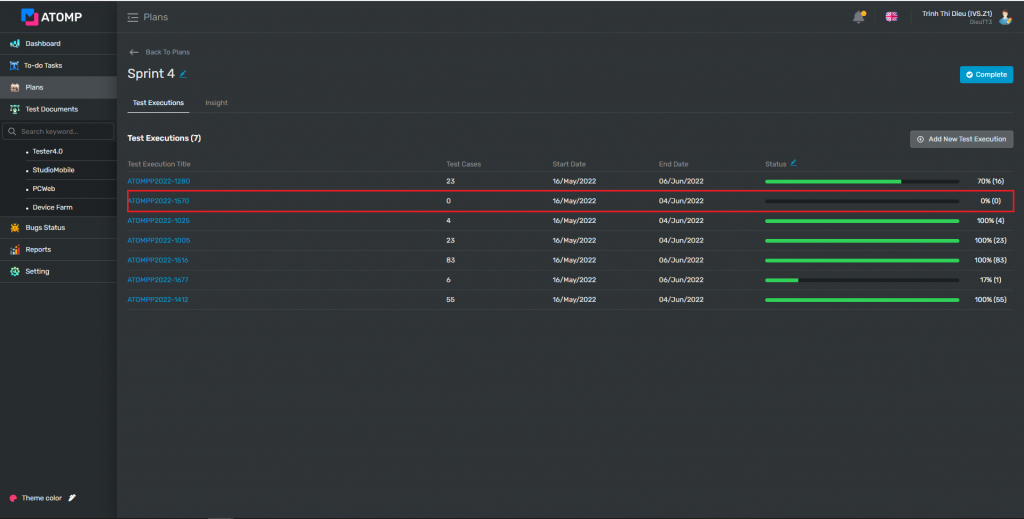
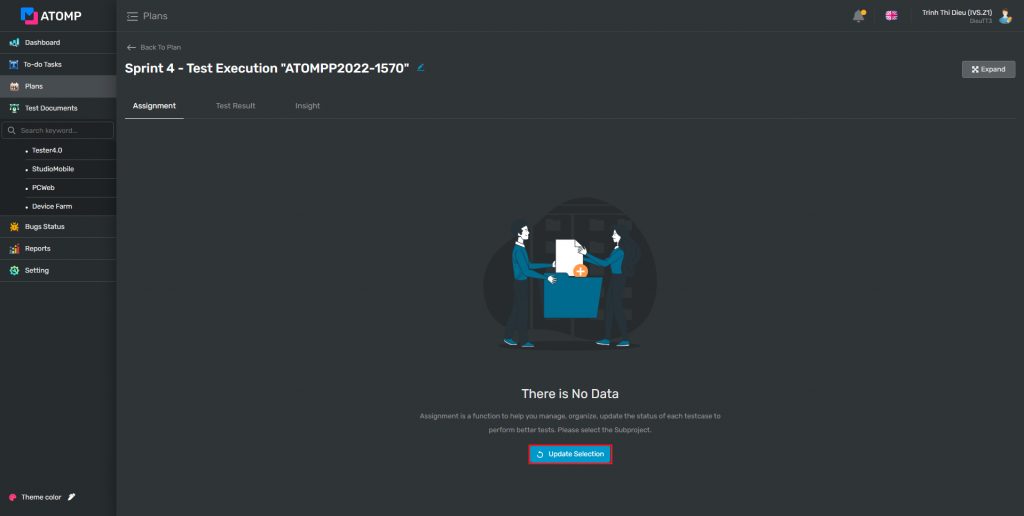
Step 1: Click on the Test Execution name area -> show Test Execution detail screen about “Assignment”, “Test Result”, “Insight” tabs.
Step 2: Click [Update Selection] button -> Test case list that was base lined by PM or Test Leader will be showed.
Step 3: Select test cases for test release
- Select a single test case: Click on the checkbox of each test case
- Select all test cases: Click on the checkbox on the header column “Test Case ID”.
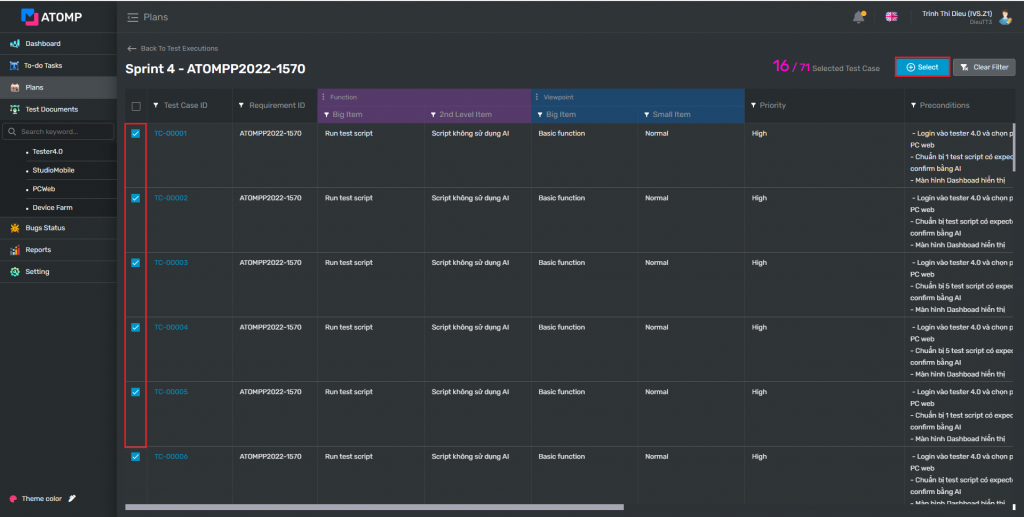
Step 4: Click [Select] button -> Show all selected test cases on the Test Plan tab.
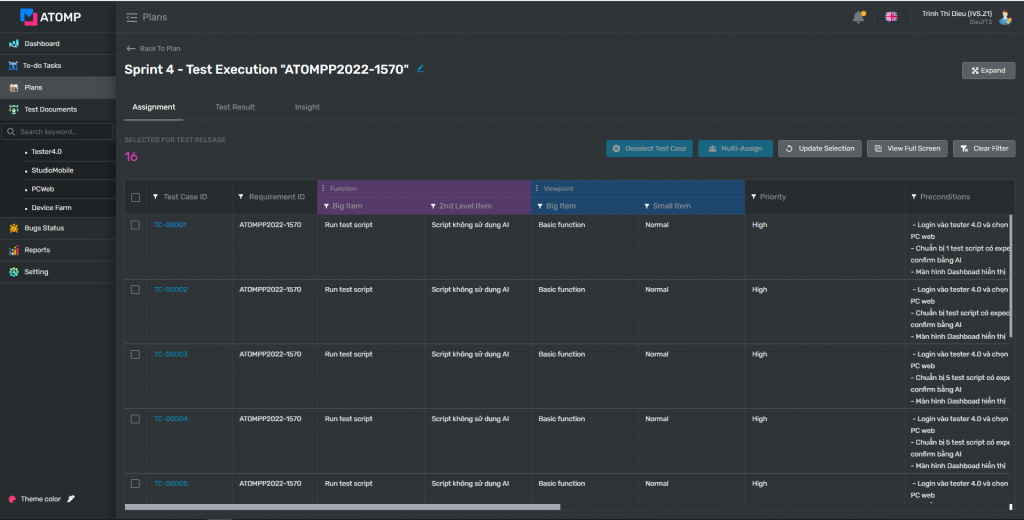
Note:After creating the test plan for the release, if the user wants to re-select test cases, they can click on [Update selection] button.
2. Assign test case for tester
Before assigning test cases, PM needs to add Tester/ Test Leader and devices for the test.
You can add Tester by referring to Setting “Members & Role” Add Members Roles.
You can add Device by referring to Setting “Environment” Add Test Device.

There are 2 ways to assign a test case to a tester:
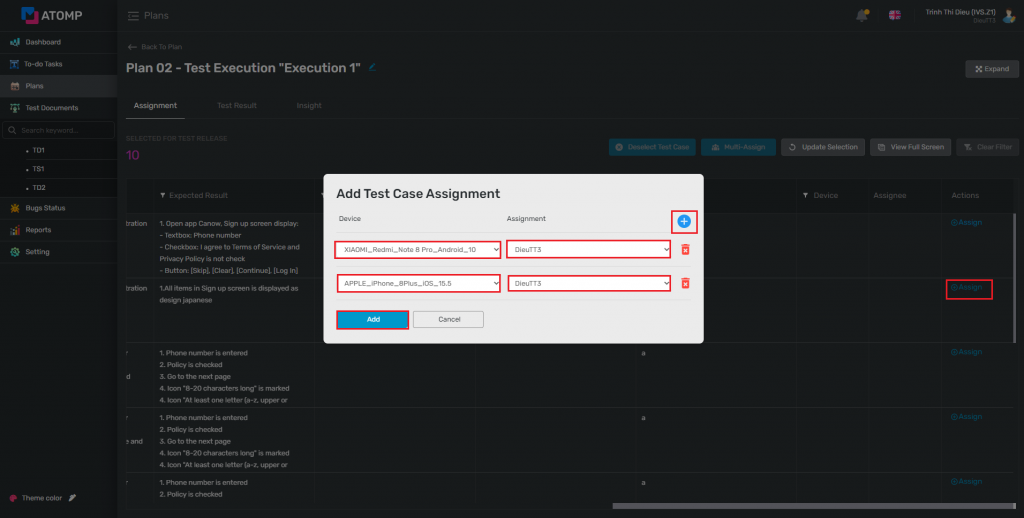
- The 1st way: Assign a test case:
(1) Click the Assign button on the test case.
(2) For reach row, choose a test device and a tester who executes this test case
(3) User can assign one or many test devices and testers by clicking on the Add button (but each device can only be assigned to a single tester).
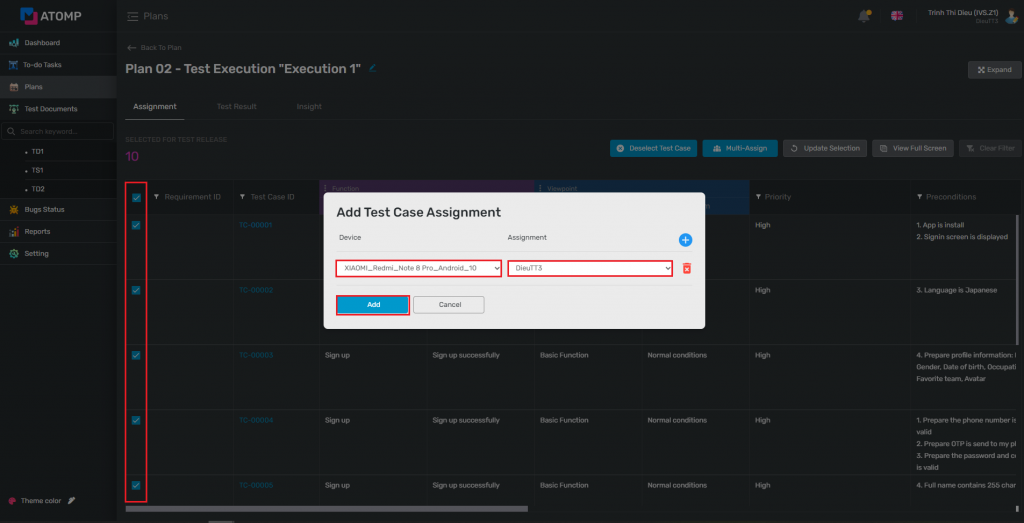
- The 2nd way: Assign multiple test cases
(1) Select multiple test cases by checking on the box of each test case ID (or select all test cases by checking on the box from the header column).
(2) Click Multi Assign -> Popup Add Assign Test Case will be displayed (User chooses test devices and testers who execute this test case, the same for assigning a test case).
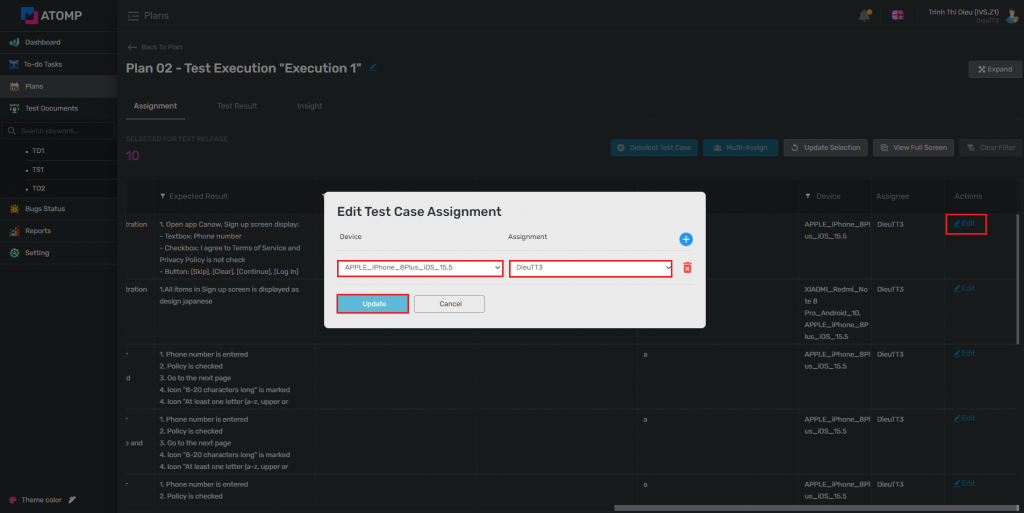
(3) Leader can assign other users and devices by clicking the [Edit] button => Popup “Edit Assign Test Case” will be displayed.
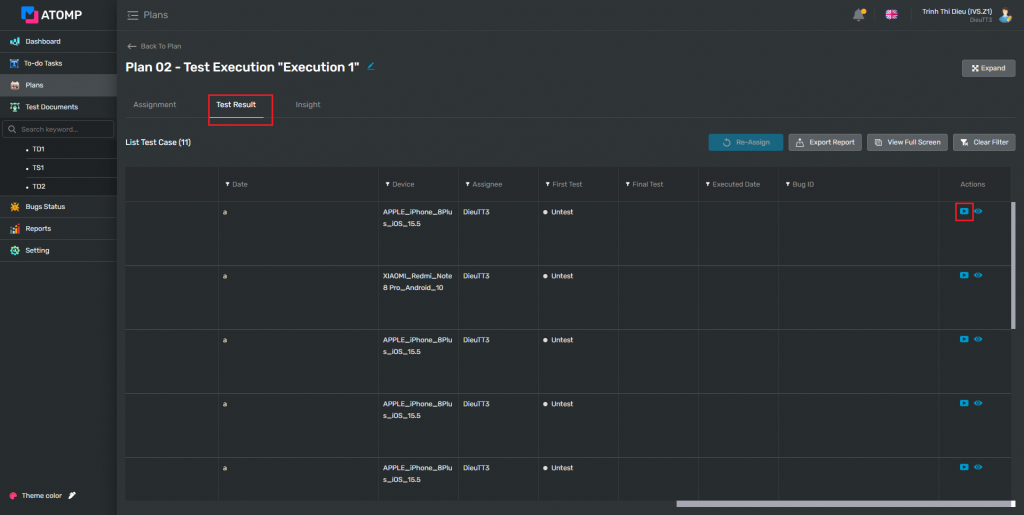
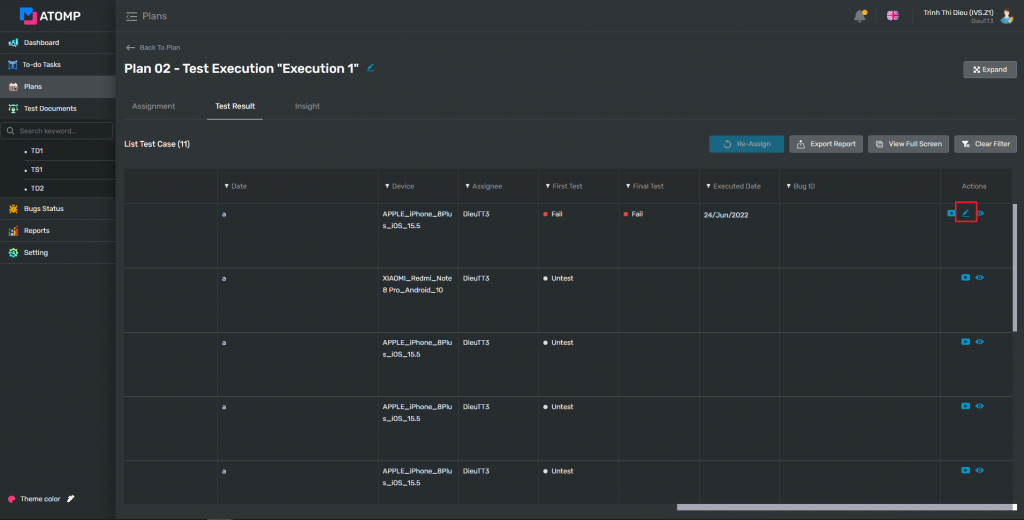
3. Run Test

When the Test Leader finishes assigning test cases for testers, Testers go to Test Result screen and filter assigned test cases, execute test cases and fill test result. Steps fill test result as below:
Step 1: Tester clicks on the Quick Test/Re-test button under column “Action” -> Open Test Run screen which shows test case information and test results.
Step 2: Select a test result (user chooses from the drop down list with the following options: Pass, Fail, Wait, Block, N/A, Cut.)
Step 3: Select a software version test added by PM. (When the developers release new software version -> PM needs to add a new software package inside the Setting Environment screen. Detail on how to add a new software function here Add Software Package)
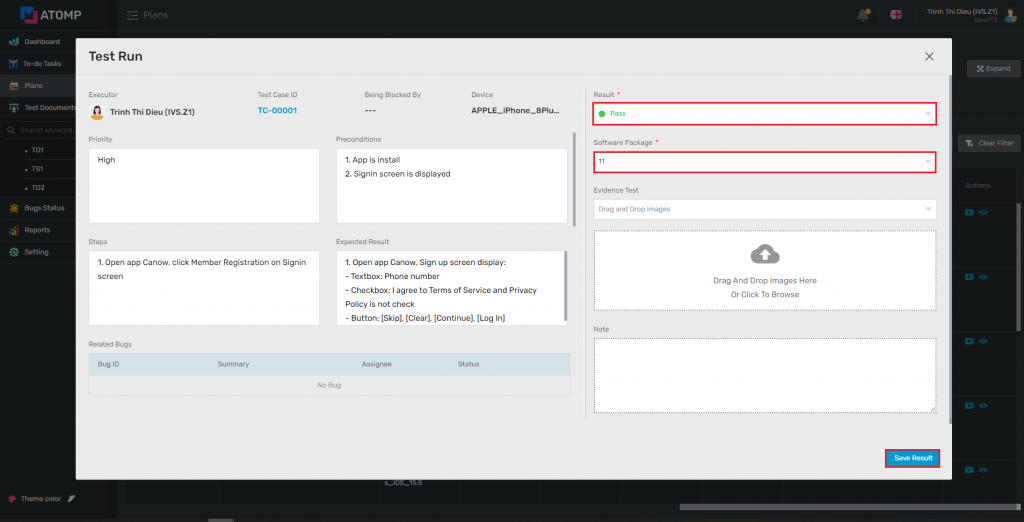
Step 4: Tester inserts test evidence images (Inserts from browser or drags and drops).
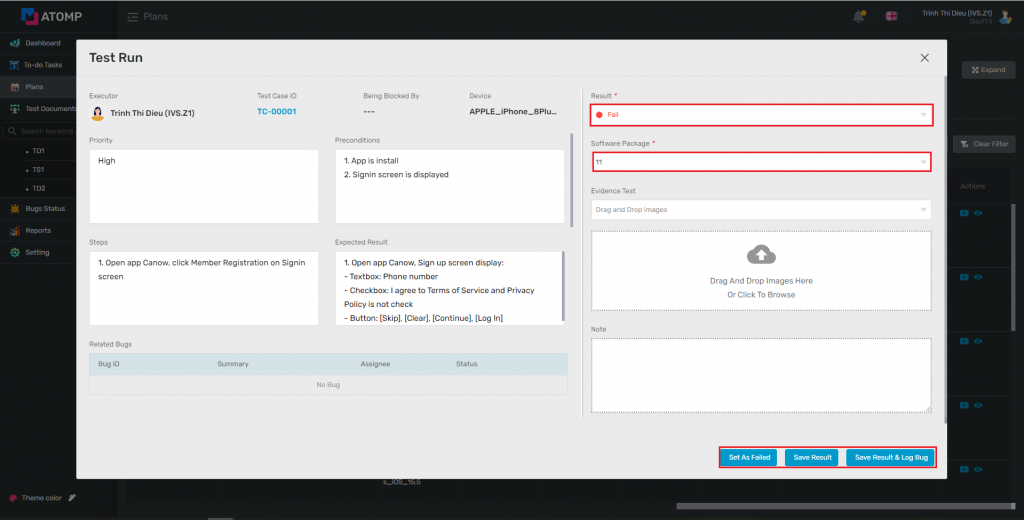
- In case the Test result of the test case is Fail: user needs to preform step 5,6,7 below:
Step 5: Button [Save Result & Log Bug] will be active -> click this button -> User can login from Jira and logs bug for the project (Project PM setting Bug Management Intergration).
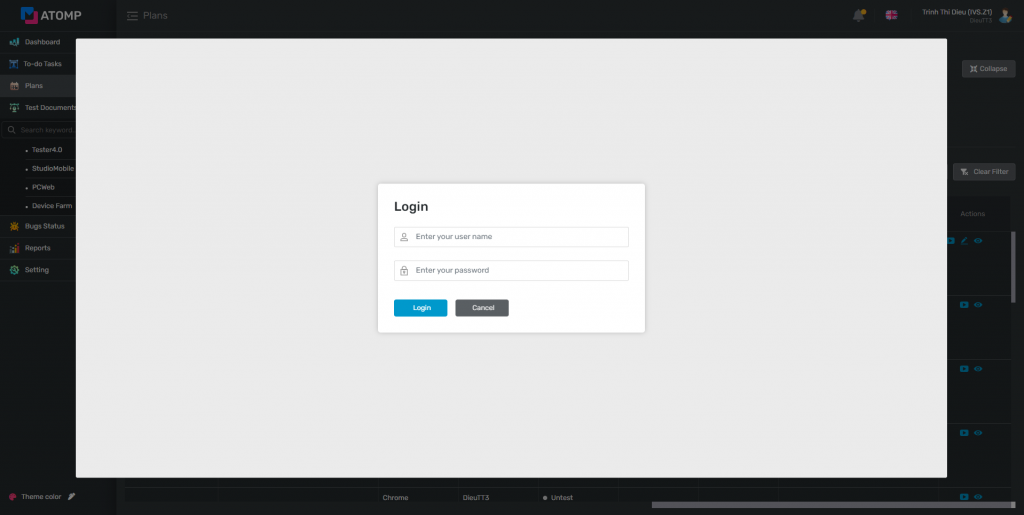
Step 6: (If this is the first time) Input username and password -> login to Jira tool.
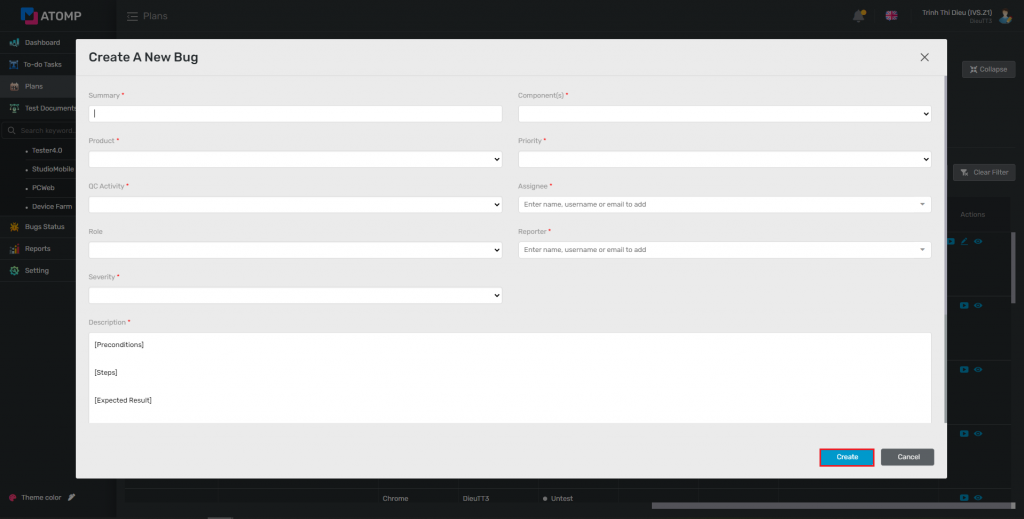
Step 7: Input the same bug information from the Jira tool then Click [Create] button -> the bug will be logged on Jira tool).
- Set as Failed
In case Test result of the test case is Fail and user wants to attach an existing bug on Jira to a test case, user needs to preform step 5,6,7,8,9,10 below:
Step 5: User clicks the button [Set as Failed] -> Project’s bug list will be loaded from Jira
Step 6: User logs in to Jira
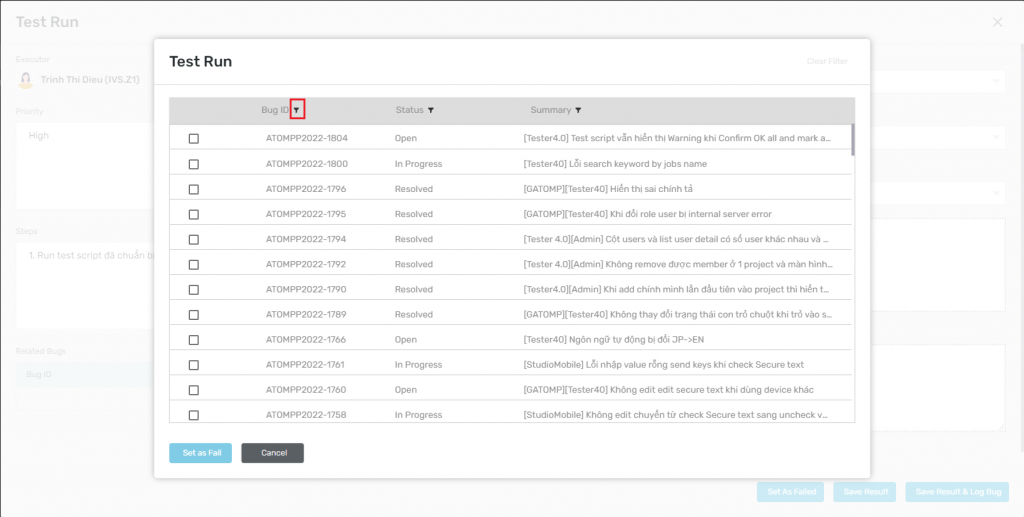
Step 7: User can filter the bug ID by clicking icon  from column “Bug ID”.
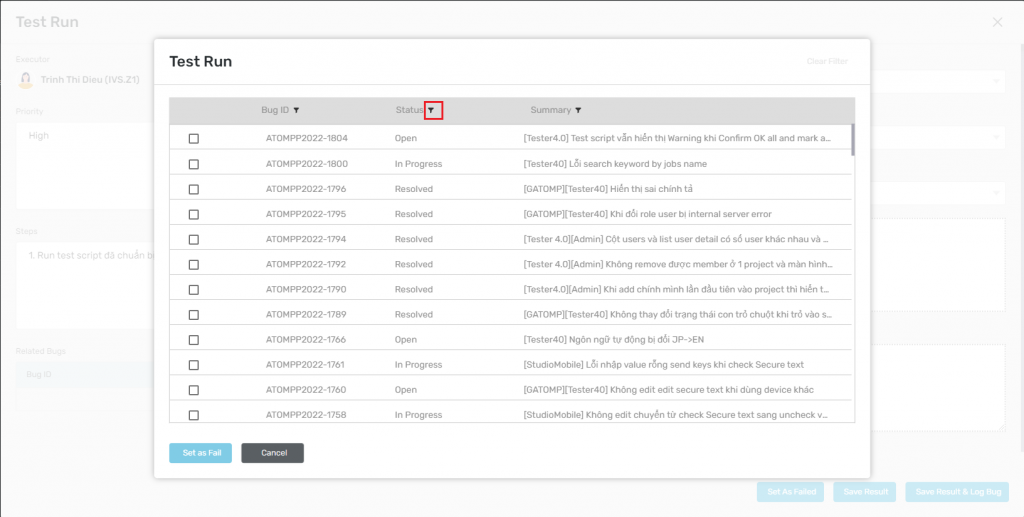
Step 8: User can filter the statuses by clicking icon from column “Status”.
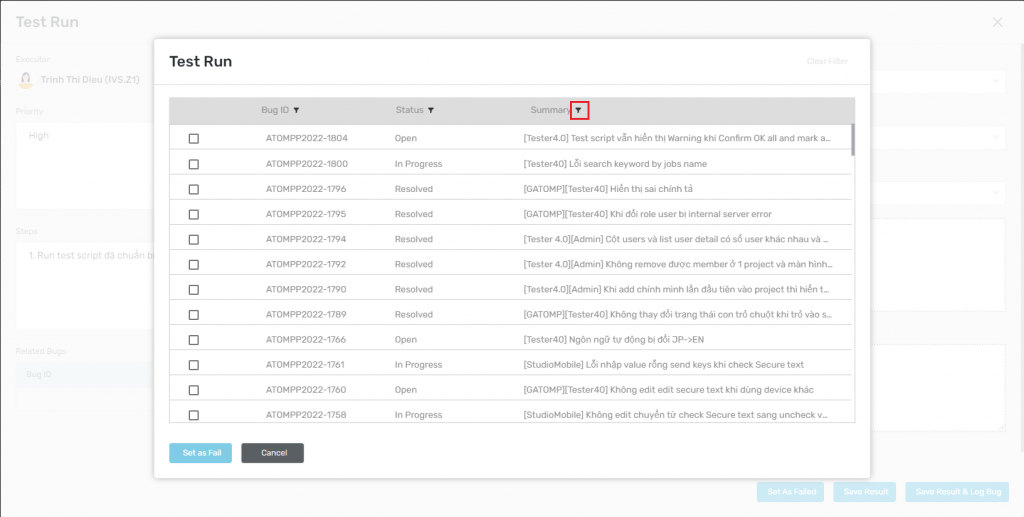
Step 9: User can filter the summary by clicking icon from column “Summary”.
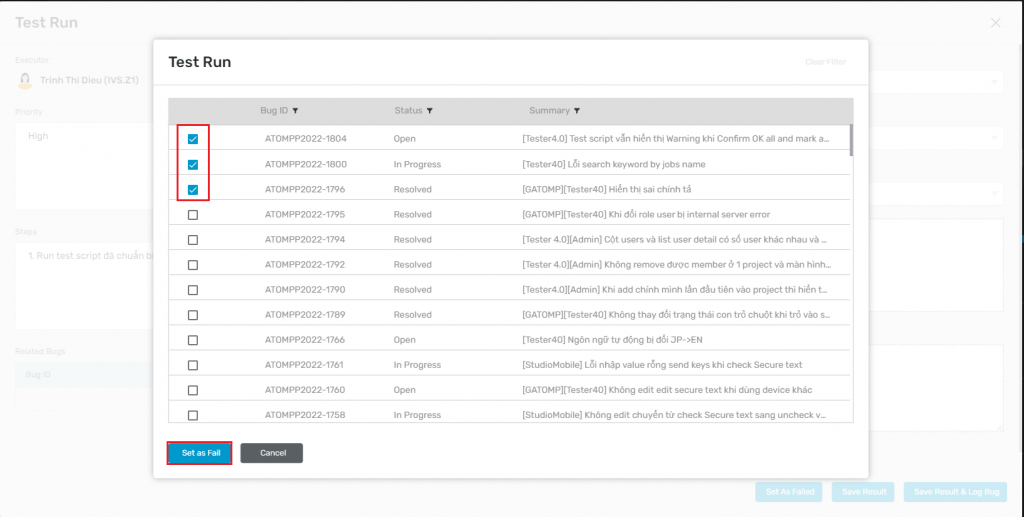
Step 10: User can choose one or more bugs which is related the test case -> click [Set as Failed].
- In case Test result of the test case is Block: user needs to preform step 5,6,7,8,9,10 below:
Step 5: User clicks the button [Set as blocked] -> Project’s bug list will be loaded from Jira
Step 6: (If the status of the test case is Fail) User logs in to Jira.
Step 7: User can filter the bug ID by clicking icon from column “Bug ID”.
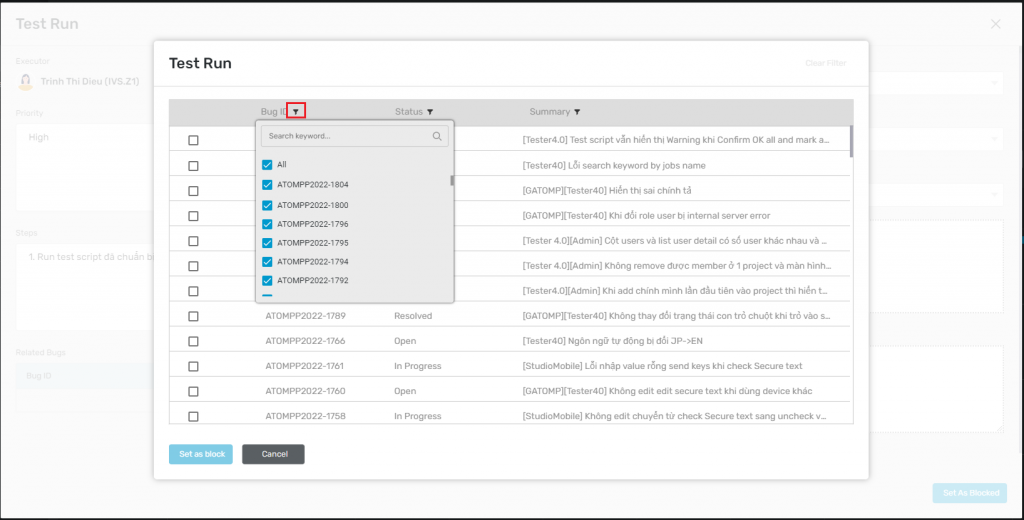
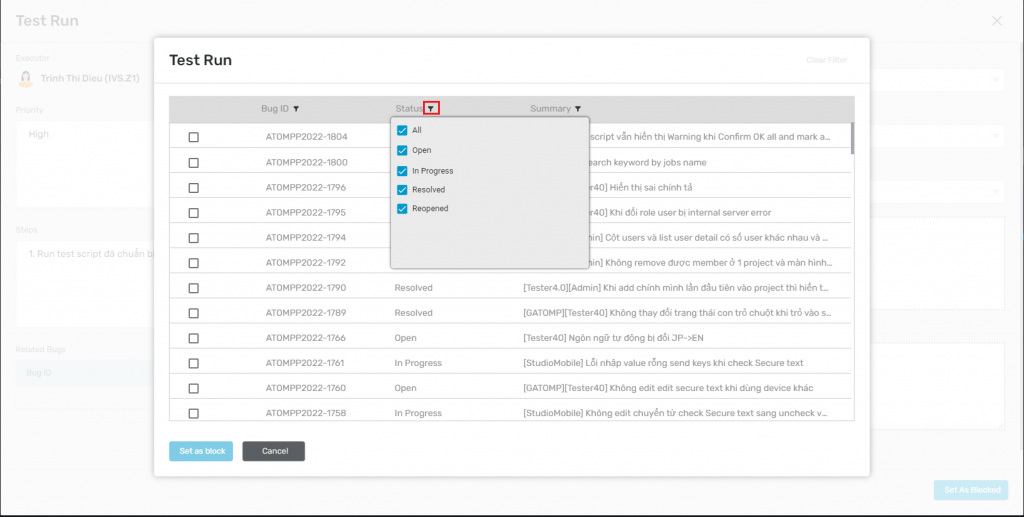
Step 8: User can filter the statuses by clicking icon from column “Status”.
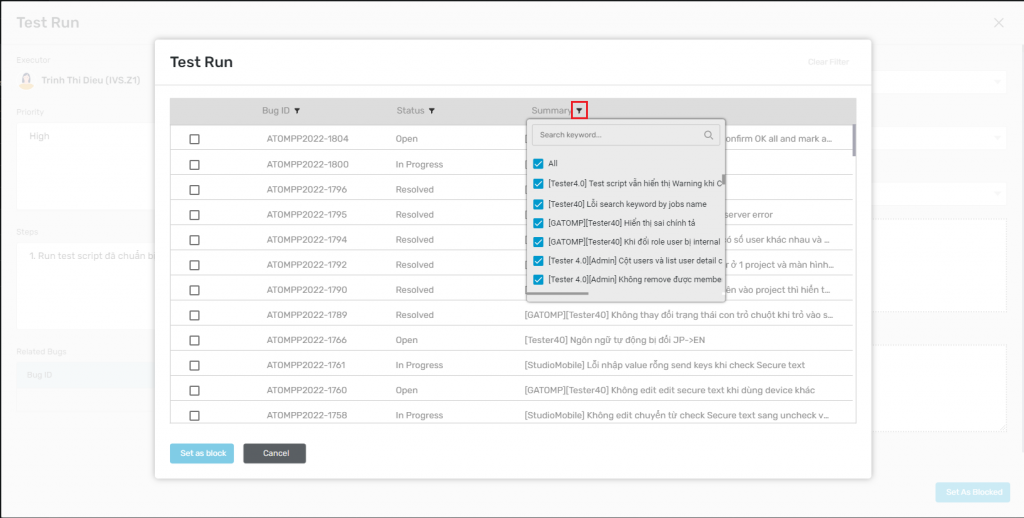
Step 9: User can filter the summary by clicking icon from column “Summary”.
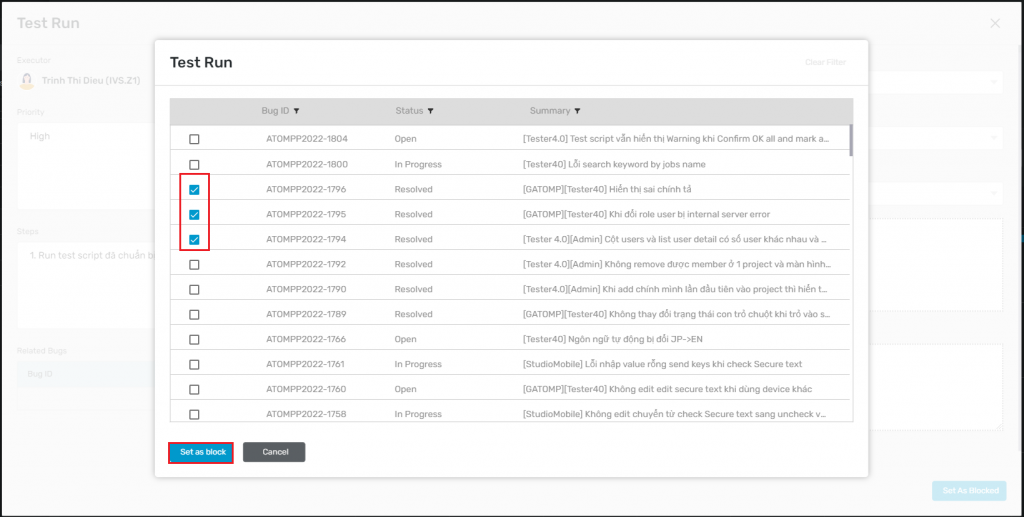
Step 10: User can choose one or more bugs which blocked the test case -> click [Set as block].
Only PM and Test Leader can perform this function
Click icon  corresponding to each test run to perform this function.
4. Insight

After tester fills the test result -> Test result will be displayed on the chart
- Chart: Count total test run = total test case * test device assigned for tester.
Example: A Test plan for a release have 10 test cases, include:
+ 2 test cases on 2 devices
+ 8 test cases on 1 device
➩ Total test run = (2 test cases * 2 device) + (8 test cases * 1 device) = 12 test run.
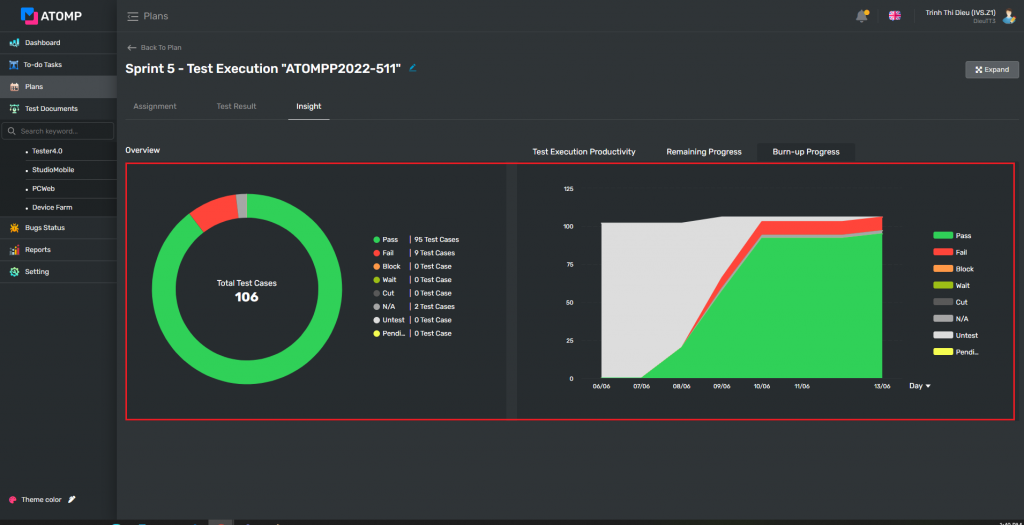
- Insight: User can export the test report by clicking on [Export Report] button. All test case’s result of the test execution will be displayed in the export file.